Introdução
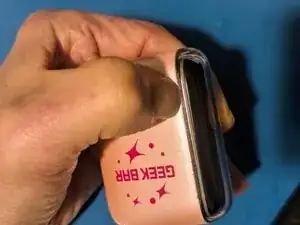
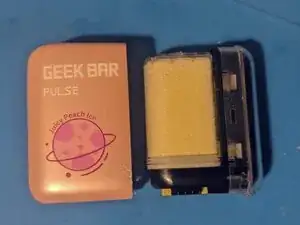
The Geek Bar Pulse is a marvelous little device which would be indefinitely reusable if only the mesh coils and cotton were replaceable.
If your Geek Bar Pulse still tastes burnt after you've refilled it, or you vaped it to the last drop and it no longer produces any vapor you can fix it!
It is possible to renew the coils and cotton on your vape, and once you've refilled it you've got a device that can be used many more times. This guide will take you step by step through the process of disassembling the tank and rebuilding the coil assembly.
Once you've completed the rebuild, this is the perfect opportunity to refill the tank. The following guide shows you how.
-
-
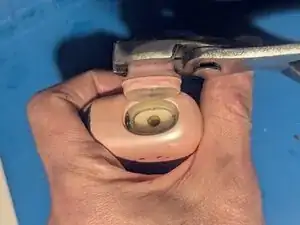
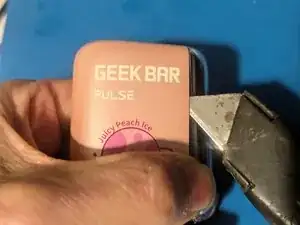
Grasp the mouthpiece with a pair of pliers.
-
Give it a good, solid twist, left or right doesn't matter.
-
-
-
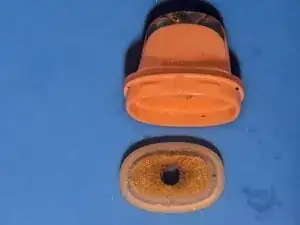
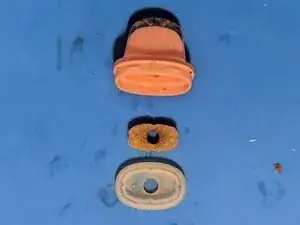
Hopefully the mouthpiece seal stays in place when you removed the mouthpiece, but it doesn't always. If it has come off, you need to know how to replace it.
-
It is inserted into the mouthpiece with the felt piece up. Putting it in the other way will not allow for an airtight seal between the tank and the mouthpiece.
-
-
-
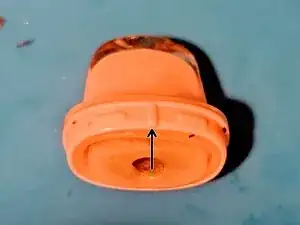
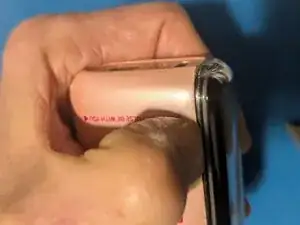
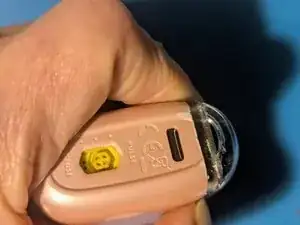
Note that the mouthpiece has a tab that only allows it to be mounted in one orientation. The arrow here points to the one you'll need to match up with on the case.
-
Here you can see inside the case where the tab on the mouthpiece lines up.
-
-
-
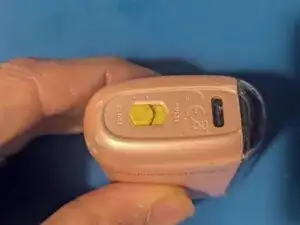
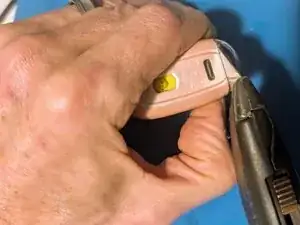
Use your utility knife to lever the power button up. It is only pressed on, so there is no adhesive or clips to deal with.
-
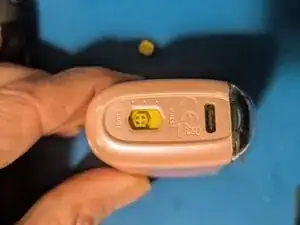
Remove the power button.
-
-
-
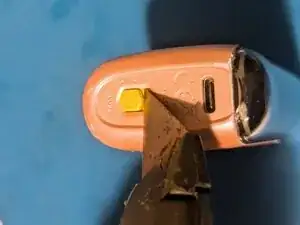
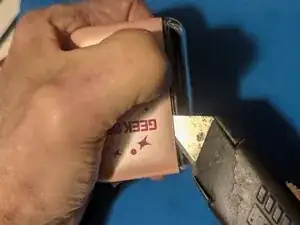
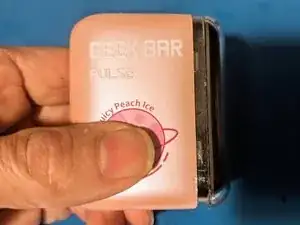
Position your thumbnail on the seam near the bottom of the vape.
-
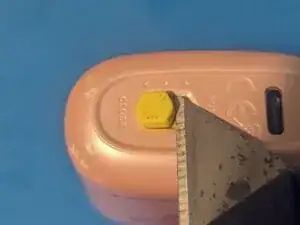
Work your utility knife into the two high points of the case on the bottom.
-
Pry the near side of the case far enough open to get your fingernail into the gap to keep it open.
-
-
-
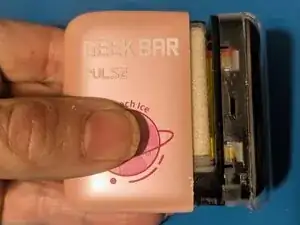
Insert your knife and slide it down, then use it to lever the top of the vape out of the case.
-
Using the knife, go back to the bottom and lever the opposite side out.
-
On the other side, insert the knife and use it to pop the clips on that side.
-
-
-
The clips should be free all the way around at this point.
-
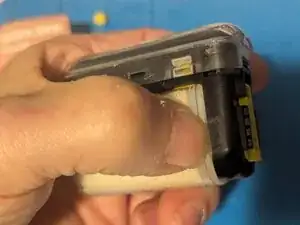
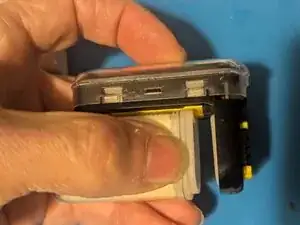
Pull the vape straight out of the case.
-
-
-
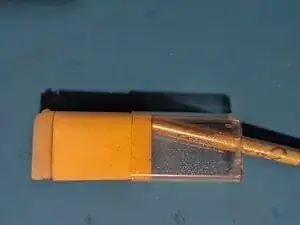
The tank is simply fitted into the body of the Geek Bar Pulse, so removal is just a matter of lifting it out. Grasp the silicone seal at the bottom of the tank and pull up on it.
-
-
-
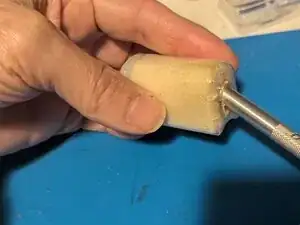
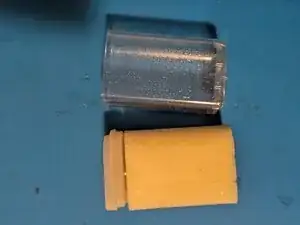
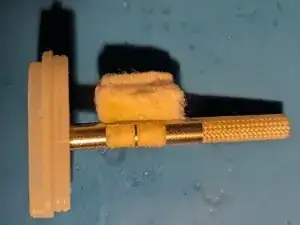
Using a blunt object small enough to fit through the top hole (in this case the bottom end of an X-Acto knife), push the foam out of the cover.
-
Continue pushing on the pad until it's free of the cover.
-
-
-
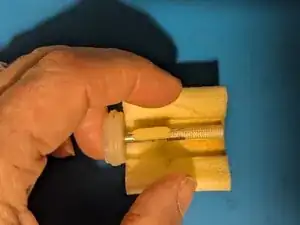
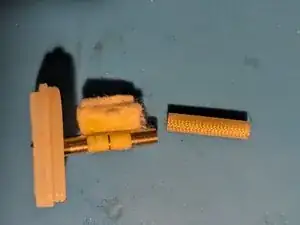
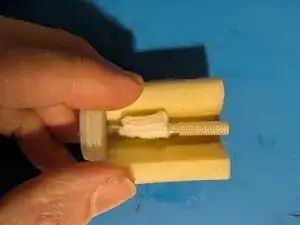
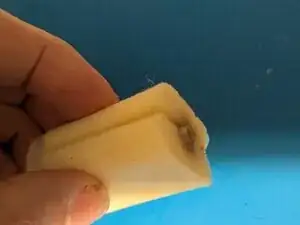
The foam is split along the front side of the tank. To remove it, simply spread it open and take it off.
-
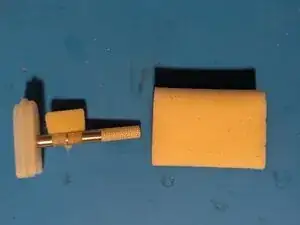
Here is the coil assembly separated from the tank foam.
-
-
-
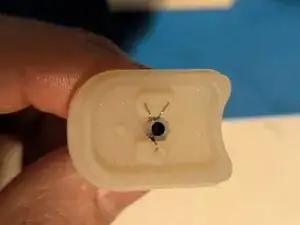
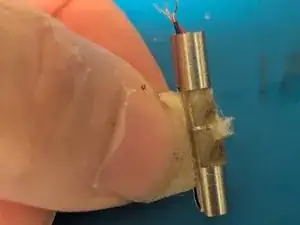
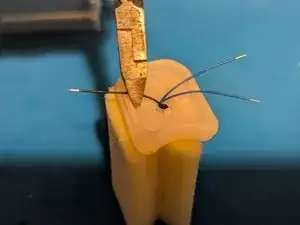
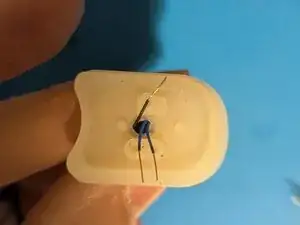
At this point the silicone tank seal is held on by the electrical wires, that are bent over into depressions that fit over pins in the base.
-
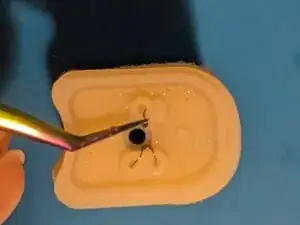
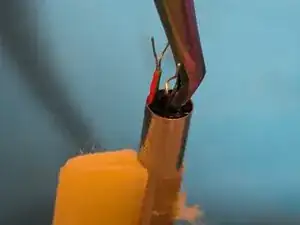
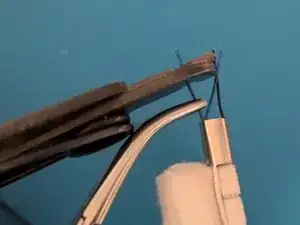
Use fine tip tweezers or needle nose pliers to straighten out the wires so they will pass through the opening in the tank seal.
-
-
-
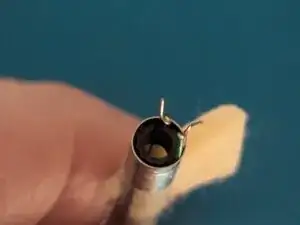
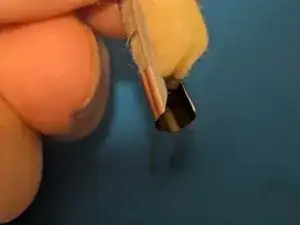
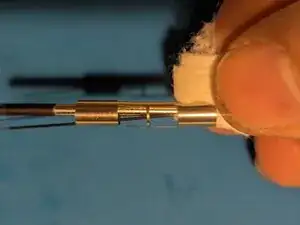
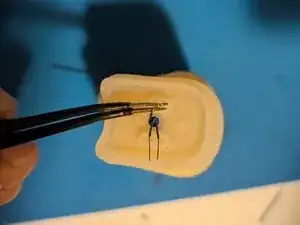
In this picture you can see the retainer that holds the wires securely inside the metal tube of the vaporization chamber; it's the black ring visible just inside the opening.
-
It's fitted in there fairly securely, so it may take some significant prying to get it out.
-
-
-
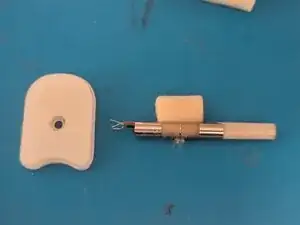
Note that the end that goes in first is tapered to make it a little easier to insert, so pay attention to the orientation when reassembling the coil tube.
-
-
-
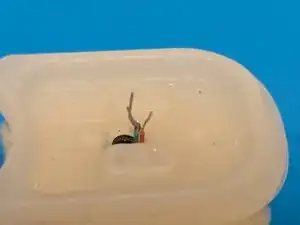
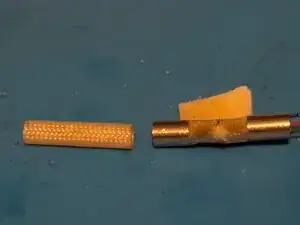
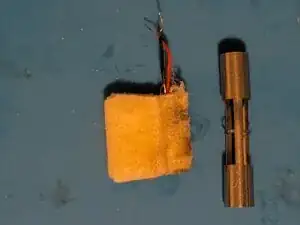
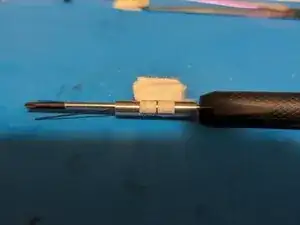
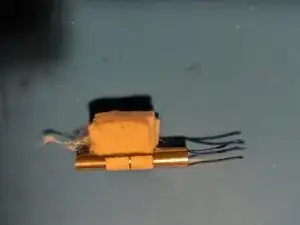
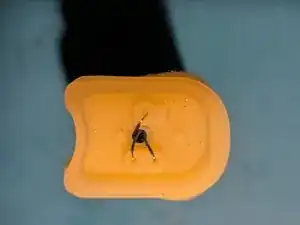
The cotton/coil set is free.
-
Here you can see the condition of this assembly in a vape that is well past it's prime; the cotton is burnt and the coils are covered with carbon.
-
-
-
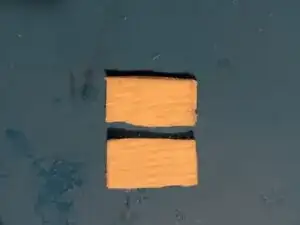
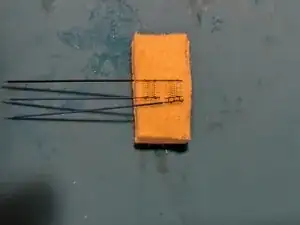
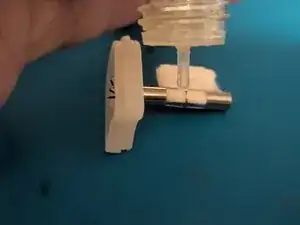
Start with an organic cotton face cleansing pad.
-
Cut it into two 15 X 30 mm rectangles.
-
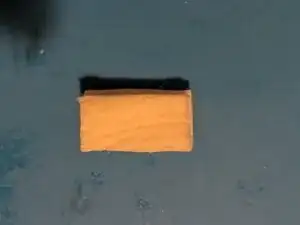
Stack one on top of the other.
-
-
-
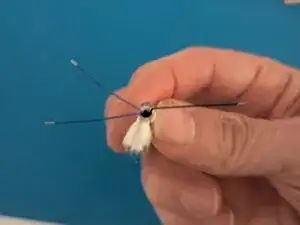
Lay the replacement coil down on the cotton with the two wires closest to you, centered on the cotton pad.
-
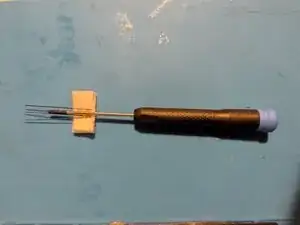
For this step you'll need a solid dowel of some sort to wrap the assembly around. This forms the coil and leaves an airspace in the center of the assembly. The shaft should be somewhere between 2 and 3 mm in diameter; in this case I used an iFixit Standoff Screwdriver, which measures at 2.5 mm.
-
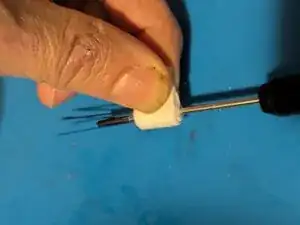
Wrap the cotton tightly around the shaft and hold it in place.
-
-
-
Carefully fit the end of the assembly into the end of the tube with the opening slot.
-
Slide the cotton into the tube; you may have to compress the cotton to get it started.
-
Continue inserting the cotton until it bottoms out firmly at the end of the slot.
-
-
-
If you laid the mesh coils down correctly, the two wires should be on the left side as viewed with the cotton facing down, with the common wire on the right. Bend them to the sides in preparation for the wire retainer.
-
-
-
Carefully insert the wire retainer into the tube with the tapered end first.
-
It may take some amount of force to press it in.
-
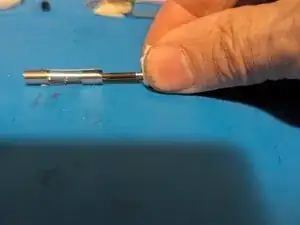
It should be flush with the end of the tube when it's inserted fully.
-
-
-
With the wires secure, it is now safe to remove the tool you're using as a spacer.
-
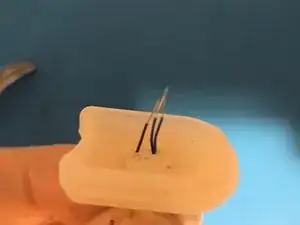
Straighten the wires back out so the tank seal will fit over them.
-
-
-
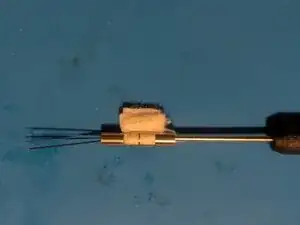
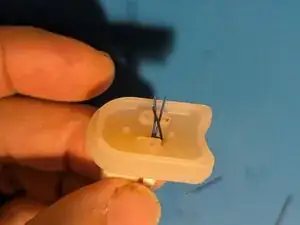
Slide the tank seal over the wires and fit it onto the tube. The rounded end faces the same direction as the cotton pad.
-
-
-
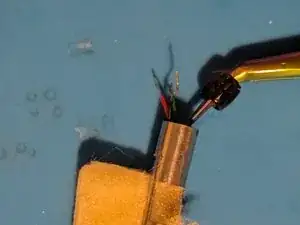
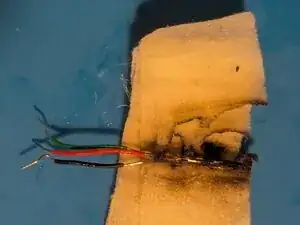
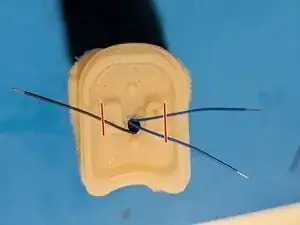
Bend the wires so they cross the holes in the base where the electrical contacts fit.
-
The red lines indicate the outer edge of the contact island where the wires should be trimmed.
-
Trim the three wires
-
-
-
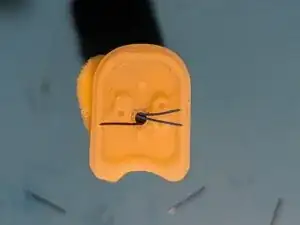
Mark the inside edge of the contact island on all three wires.
-
Straighten the wires so the bottom seal can be removed.
-
-
-
Replace the bottom seal onto the tube.
-
Once more, bend the wires over the contact holes; black (common) to the single hole, and the individual coil contacts (blue in this case) to the double holes.
-
-
-
Using tweezers or small needle nose pliers, bend the bared ends of the wires down into the contact holes. The wires should extend straight down along the edges of the holes.
-
-
-
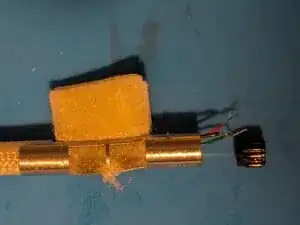
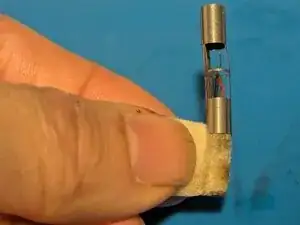
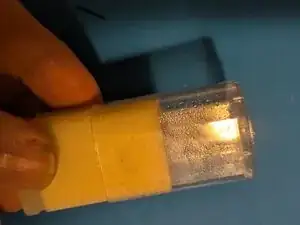
Squeeze the end of the breather tube slightly to fit it into the metal tube and slide it down until it sits securely against the cotton.
-
-
-
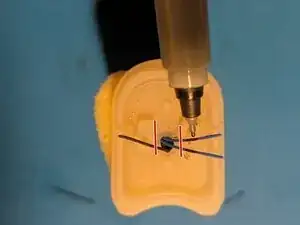
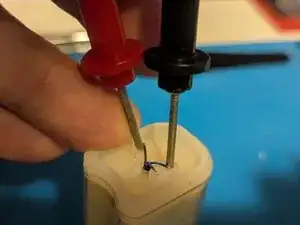
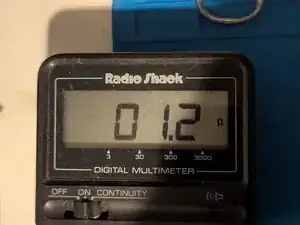
Insert the probes of your ohmmeter between the common wire and each of the two coil wires. They should both read approximately 1.2 ohms. This will verify the coils are properly in place and not shorted.
-


To continue reassembly, follow these instructions in reverse order from Step 10 to the beginning. But before you do, now is the perfect time to refill your Geek Bar Pulse tank.