Introdução
Although these devices are well made and work amazingly, it's disappointing that they simply make their way into the garbage once they're empty.
It is, however, possible to refill these with your favorite flavor of ejuice, and this guide will show you the right way to go about it.
Three or four refills are all that are recommended; after that the heater coils get too gummed up with carbon and the cotton gets burnt, resulting in bad flavor and poor vapor production.
If you're considering refilling your vape for the first time, be sure to stop using it just as soon as you start tasting a burn flavor. A couple of pulls that taste burnt won't hurt anything, but if you continue you'll burn the cotton and possibly burn out a coil.
Ferramentas
-
-
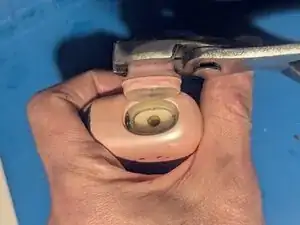
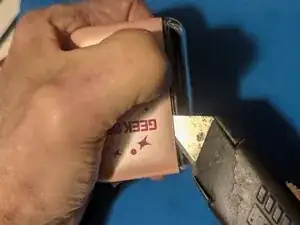
Grasp the mouthpiece with a pair of pliers.
-
Give it a good, solid twist, left or right doesn't matter.
-
-
-
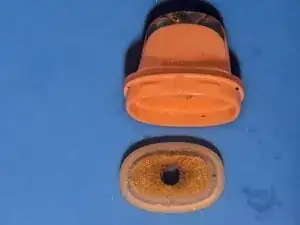
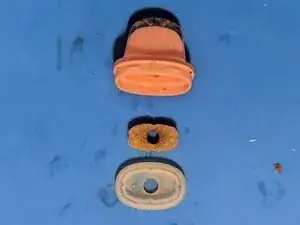
Hopefully the mouthpiece seal stays in place when you removed the mouthpiece, but it doesn't always. If it has come off, you need to know how to replace it.
-
It is inserted into the mouthpiece with the felt piece up. Putting it in the other way will not allow for an airtight seal between the tank and the mouthpiece.
-
-
-
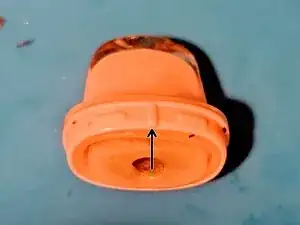
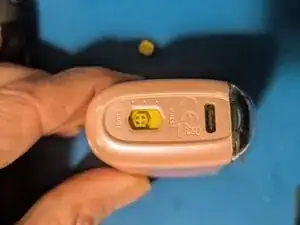
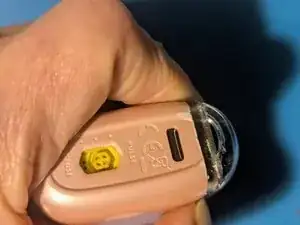
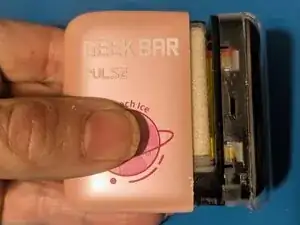
Note that the mouthpiece has a tab that only allows it to be mounted in one orientation. The arrow here points to the one you'll need to match up with on the case.
-
Here you can see inside the case where the tab on the mouthpiece lines up.
-
-
-
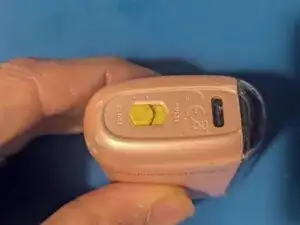
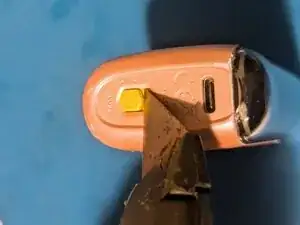
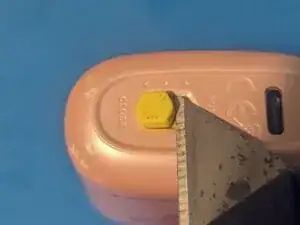
Use your utility knife to lever the power button up. It is only pressed on, so there is no adhesive or clips to deal with.
-
Remove the power button.
-
-
-
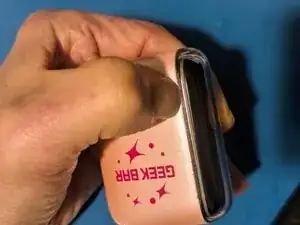
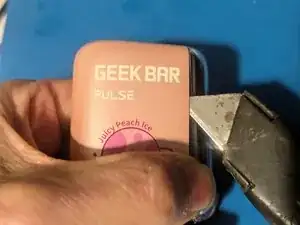
Position your thumbnail on the seam near the bottom of the vape.
-
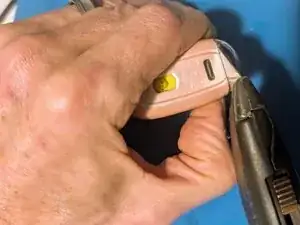
Work your utility knife into the two high points of the case on the bottom.
-
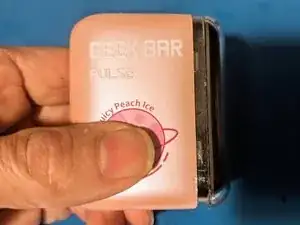
Pry the near side of the case far enough open to get your fingernail into the gap to keep it open.
-
-
-
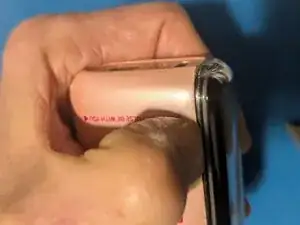
Insert your knife and slide it down, then use it to lever the top of the vape out of the case.
-
Using the knife, go back to the bottom and lever the opposite side out.
-
On the other side, insert the knife and use it to pop the clips on that side.
-
-
-
The clips should be free all the way around at this point.
-
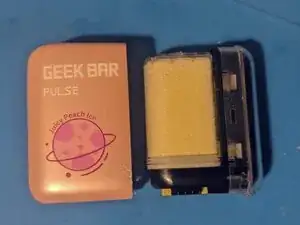
Pull the vape straight out of the case.
-
-
-
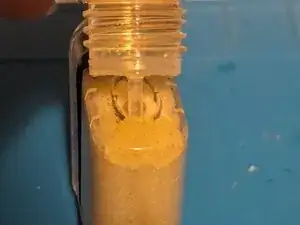
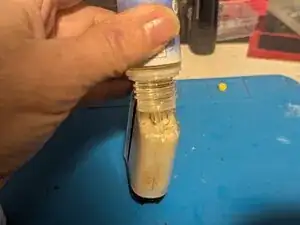
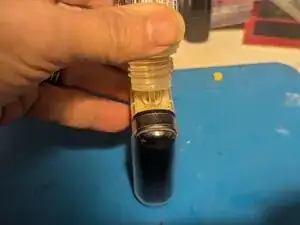
Start with pressing the tip of your bottle or syringe on top of the foam. Aim it toward the side and fill until the top of the vape fills with liquid, then stop.
-
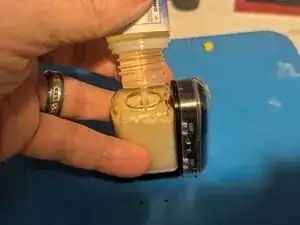
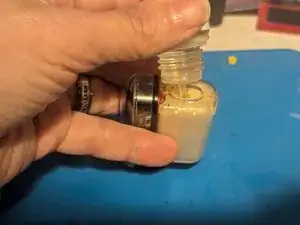
In the second picture you can see the liquid spreading out into the foam and filling the space between the foam and the clear case.
-
-
-
Move to one of the sides to continue filling.
-
...And continue to the next side.
-
And finally the last side.
-
-
-
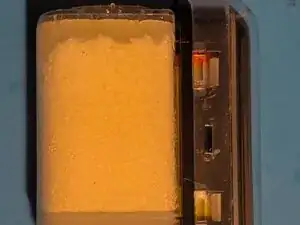
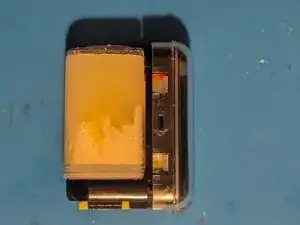
Here you can see the liquid as it soaks into the foam.
-
Continue filling on all four sides.
-
Stop when you get to about 2/3rd of the way down; the liquid will continue to spread through the foam. Too much will again end up dripping.
-


To reassemble your device, follow these instructions in reverse order.