![[Prerequisite] Avid Fast Track Solo Front Cover and Plate Reassembly Step](../../images/https/guide-images.cdn.ifixit.com/igi/VMItqAuMfUFamM2R.standard)
Introdução
Prerequisite Only
This is a Prerequisite Only guide step for the Avid Fast Track Solo!
Guide Information
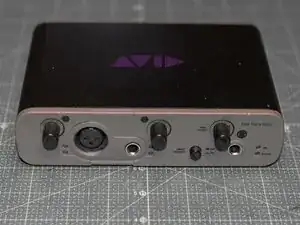
This is a guide covers how to attach the plastic front cover and the metal front plate from the Fast Track Solo.
This guide only resassembles the front cover and plate, this does not disassemble it due to differences in process order.
See this guide for disassembly of the front cover and plate [Prerequisite] Avid Fast Track Solo Front Cover and Plate Disassembly Step.
-
-
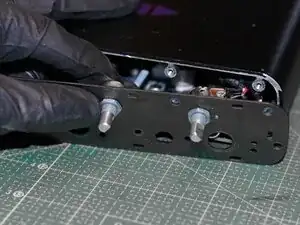
Insert the three potentiometers into the front plate.
-
Each potentiometer has a small prong that is to be fitted through the front plate, either to the right or below the potentiometer stem.
-
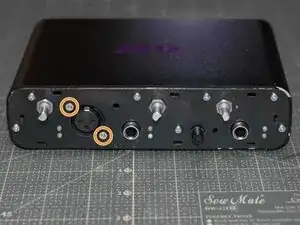
Reattach and tighten the washers for the potentiometers.
-
-
-
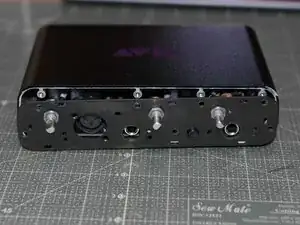
Reinsert and tighten all screws into the front plate, in the following order:
-
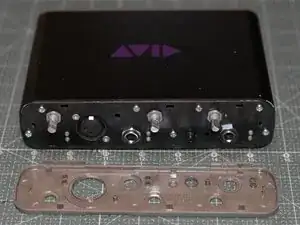
Reinsert and tighten all PH2 screws securing the front plate to the chassis.
-
Reinsert and tighten the two PH1 screws securing the XLR jack into the front plate.
-
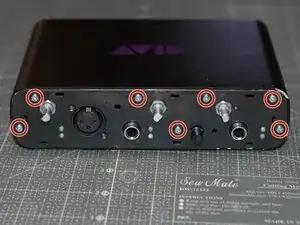
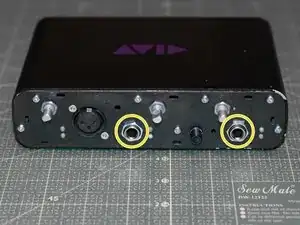
Reattach and tighten the washers for the two 6.3 mm jacks.
-
Use pliers to make sure the washers for the potentiometers and the 6.3 mm jacks all are tight and secured.
-
-
-
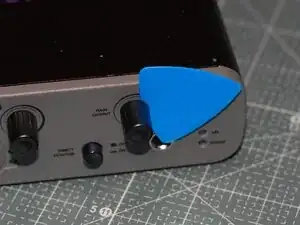
Reattach the plastic front cover by pressing it on. Put pressure on the sides, and work around the edges of the unit.
-
-
-
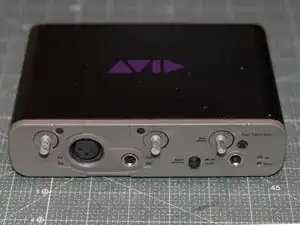
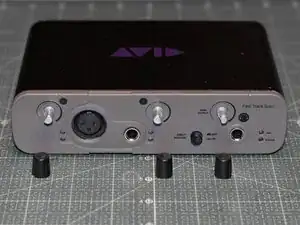
Attach all three knobs to the potentiometer stems by pressing them straight on. They are interchangeable and the knobs will only fit in one orientation on the stems.
-
To see the disassembly of the front cover, see [Prerequisite] Avid Fast Track Solo Front Cover and Plate Reassembly Step.