![[Prerequisite] Avid Fast Track Solo Front Cover and Plate Disassembly Step](../../images/https/guide-images.cdn.ifixit.com/igi/i3woicAJLKyBjJSM.standard)
Introdução
Prerequisite Only
This is a Prerequisite Only guide step for the Avid Fast Track Solo!
Guide Information
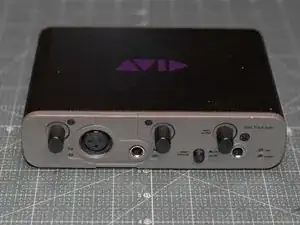
This is a guide covers how to remove the plastic front cover and the metal front plate from the Fast Track Solo.
This guide only disassembles the front cover and plate, this does not reattach it due to differences in process order.
See this guide for reassembly of the front cover and plate [Prerequisite] Avid Fast Track Solo Front Cover and Plate Reassembly Step
Before Starting
Before you begin, completely unplug all cables from this unit.
-
-
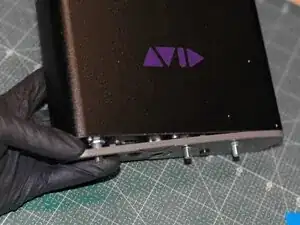
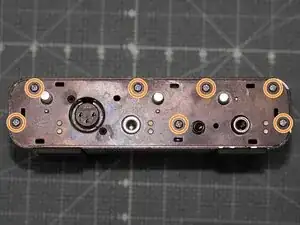
Turn the unit upside down.
-
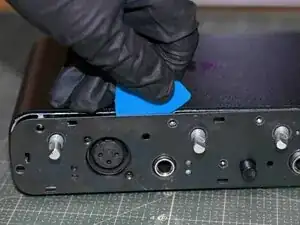
Insert an iFixit pick in the ridge between the body and the front plate, start in front of the feet pads and work around the unit.
-
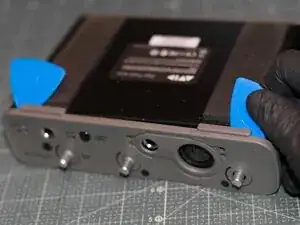
Carefully pry of the front plate.
-
-
-
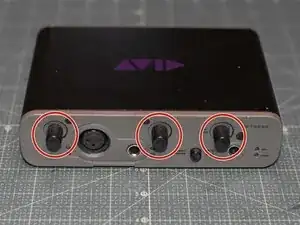
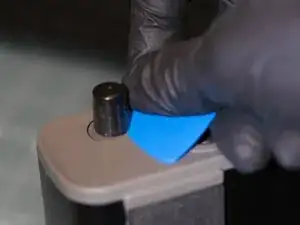
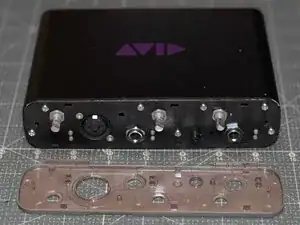
Use pliers to loosen the washers on the three potentiometer stems. The washers can then be unscrewed by hand.
-
Use pliers to loosen the washers on the two 6.3 mm jacks. The washers can then be unscrewed by hand.
-
-
-
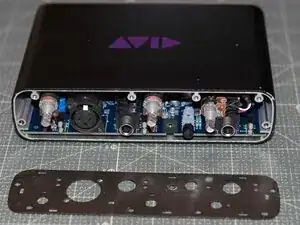
Unscrew all the screws fitted on the front plate, in the following order:
-
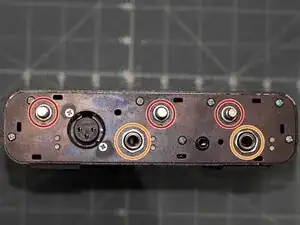
Use a PH1 screwdriver to remove the two PH1 screws securing the XLR jack.
-
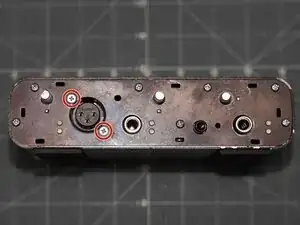
Use a PH2 screwdriver to remove the remaining PH2 screws securing the front metal plate to the chassis.
-

To reassemble your device, see this guide [Prerequisite] Avid Fast Track Solo Front Cover and Plate Reassembly Step.