Introdução
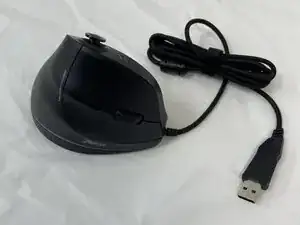
Having trouble using your mouse sensor? This guide will teach you how to replace your optical sensor on the Zeltoes Vertical Mouse C-18.
The sensor could not detect anything due to grime or the surface being used on, be sure to test these possibilities before replacing the part completely.
Before beginning, ensure you have a clear workspace, secure any loose parts, and handle parts with care. This guide will require soldering, so feel free to read over iFixit's soldering guide.
-
-
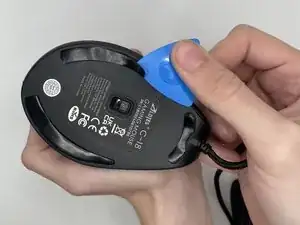
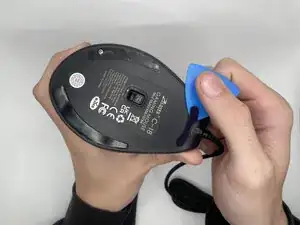
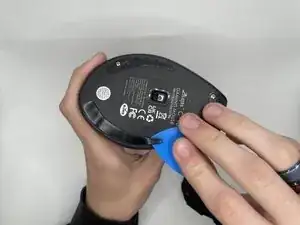
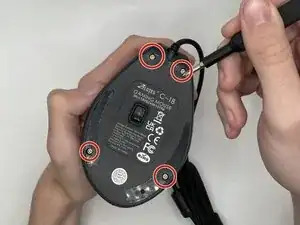
Use an opening pick to gently pry off the mouse feet and stickers on the bottom of the mouse to expose four hidden screws.
-
-
-
Using a Phillips #0 screwdriver to remove the four 9 mm-long screws on the bottom of the mouse.
-
-
-
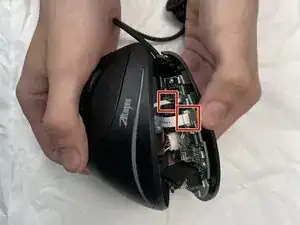
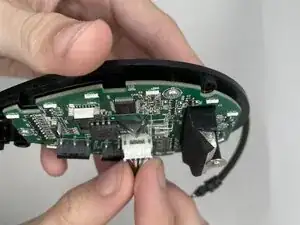
Using a spudger, carefully lift the locking tab by gently alternating pressure on each side until it’s in the unlocked position
-
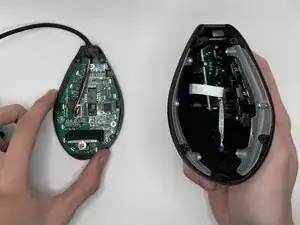
Detach the ribbon cables by gently pulling them straight (perpendicularly) away from the motherboard.
-
-
-
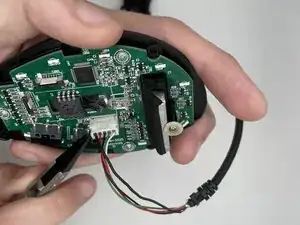
Unattach the 5-pin connector by slowly moving it side to side and using a tool to help pull it out safely.
-
-
-
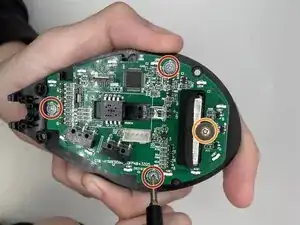
Use a Phillips #0 screwdriver to remove all four screws securing the motherboard:
-
Three 5 mm-long screws
-
One 7 mm-long screw
-
-
-
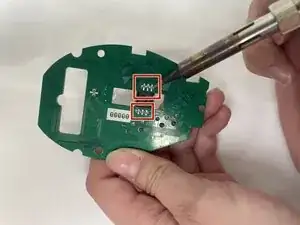
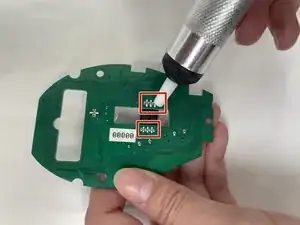
Use the desoldering pump to remove the melted solder and detach the optical sensor.
-
When adding the new part, you melt solder on the wire as shown before it was desoldered.
-

To reassemble your device, follow the above steps in reverse order.
Take your e-waste to an R2 or e-Stewards certified recycler.
Repair didn’t go as planned? Try some basic troubleshooting or ask our Answers community for help.