Introdução
If you are unsure how to write a Windows 10/11 ISO to a USB flash drive, this guide will show you how to use Rufus and bypass the Microsoft account requirements if you do not want to have one on your PC or do not want to create one during setup. It can also be used to create an installer that works on “unsupported” PCs. This guide focuses on making a bootable USB drive, which is the most common method as most computers no longer include an optical drive.
Choosing a USB drive:
TL;DR: When buying a new USB drive, stick with name-brand USB 3.0 32GB+ drives like SanDisk, and avoid Amazon if you can. Outside of clearance drives from name brand manufacturers, you never save more then ~$1 for 16GB drives and ~$2 for 64GB+ drives. USB2 drives work, but they should be avoided as they are slow, unless you have a PC with known issues booting from USB3 drives (this is increasingly rare as it was a UEFI transition era bug).
IF YOUR BUDGET IS THIN, YOU ARE BETTER OFF REUSING AN OLD 8-16GB NAME-BRAND DRIVE THAT CAN BE ERASED IF YOU ARE CHOOSING BETWEEN NEW NO-NAME JUNK OR A KNOWN-NAME BRAND! Your drive must be at least 8GB -- anything smaller (4GB or less) will not show up as these are too small.
Used drives should be erased before formatting in Rufus. Rufus also does this, but preformatting it (format, like NTFS/exFAT/FAT32 does not matter) makes detection easier if the drive has been used prior.
READ: 8GB USB drives will work, but leave limited extra spare space (e.g., application installers and device drivers). Generic drives are also known to be more troublesome compared to name brand ones as well. Any new 8GB drive made today will use failed 16GB chips with the bad half disabled.
Amazon purchase warning:
If you buy the flash drive on Amazon and it has issues out of the box, it is probably counterfeit - get rid of it and buy another one in person. If the drive is NOT directly sold by Amazon and came from a 3rd party reseller (even FBA), test it with H2TestW FIRST!
Win11 minimum specification bypass warning:
WARNING: YOUR PC WILL BE UNSUPPORTED BY MICROSOFT if you bypass the minimum requirements. Feature updates must be force-installed through bypassed bootable media. If you insist on doing it with the Rufus tweaks, try and limit it to the CPUs listed here as these are proven safe (this is also in Step 5 on this guide):
- AMD: Zen1/Zen+
- Intel 7th-gen
- Anything older then this means you run a higher risk of future compatibility or stability issues. The bypasses have generally been proven safe on 7th gen and Zen1/Zen+ CPUs. However, you are on your own in the eyes of Microsoft.
- Minimum CPU floor: SSE 4.2, PopCnt support (Population Count).
- Minimum RAM capacity is 4GB, but try for 8-16GB installed.
Ferramentas
Peças
-
-
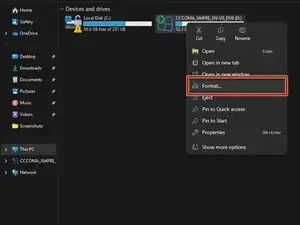
With the USB drive plugged into the computer, go into Windows Explorer, right click Format. For all intents and purposes format type used here does not matter as Rufus does a format before writing the drive image.
-
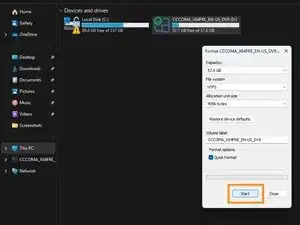
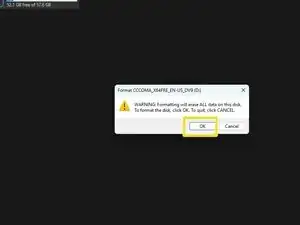
Click on Format and click OK on the data loss warning. Once done the drive is ready to be imaged with Rufus.
-
-
-
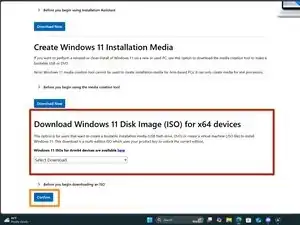
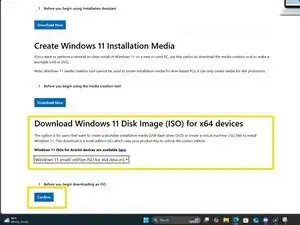
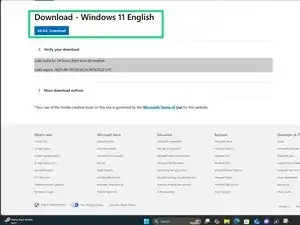
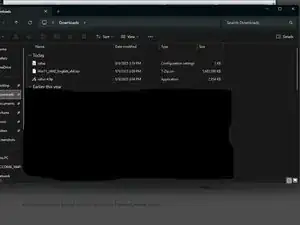
Download a Windows 10 or 11 ISO from Microsoft - do not use other sources unless you trust it.
-
Windows 11: https://www.microsoft.com/en-us/software...
-
Windows 10: https://www.microsoft.com/en-us/software...
-
-
-
Legacy PCs only: If your device is pre UEFI, most of these struggle with GPT formatted drives. Change it to MBR or you may have issues.
-
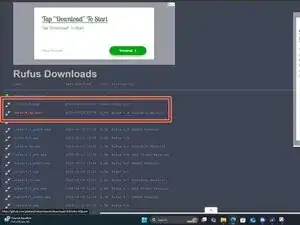
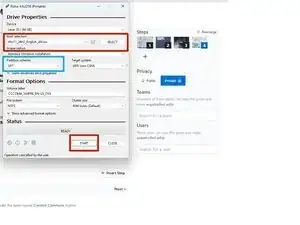
Open Rufus and click SELECT. Find the ISO and click Open.
-
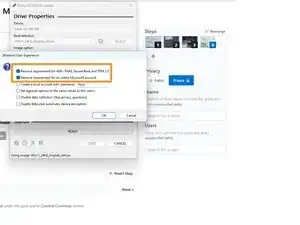
Select the options you want to enable. For most people the defaults are fine, but you can enable and disable options as you desire.
-
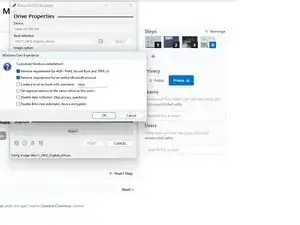
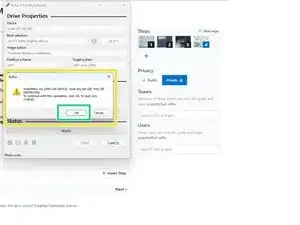
After configuring the writing process, click start. Click OK on the formatting warning.
-
-
-
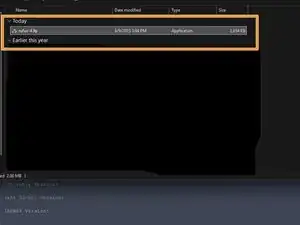
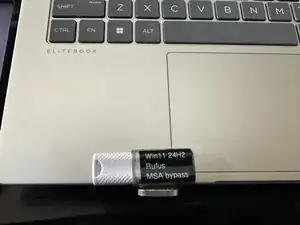
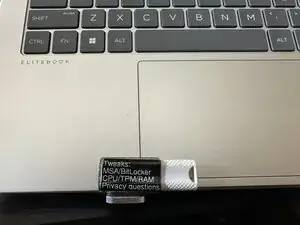
How you do this is up to you, but depending on the drive size -- you might find yourself with little room - in these cases, choose carefully what you put on the drive. If you have a larger drive like this one, you can have a more "full" label.
-
-
-
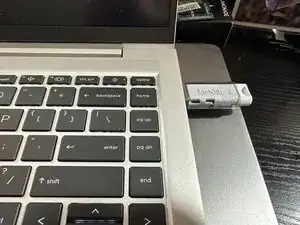
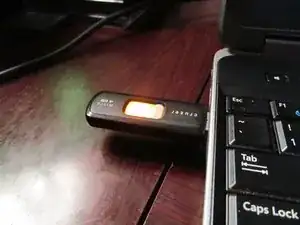
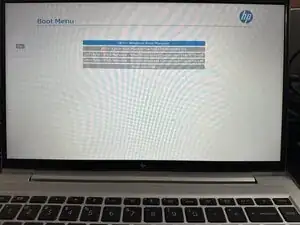
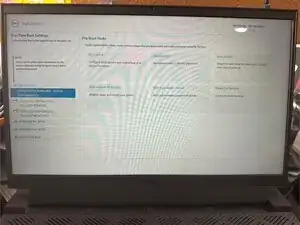
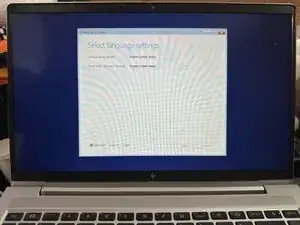
After selecting the drive from the BIOS startup menu, follow the prompts to install Windows 10/11 on your PC.
-

Um comentário
Merci encore a ifixit
Rufus kann selbstverständlich auch den Datenträger Formatieren und zwar im Setup.
BusterOdin -
Dieser Schritt ist für Laufwerke vorgesehen, deren vorhandene Formatierung beschädigt ist und die daher zuvor gelöscht werden müssen.
Übersetzung via Google Translate.
This step is for drives which are broken in terms of the existing formatting and need to be wiped prior.
Translation via Google Translate.
Nick -