Introdução

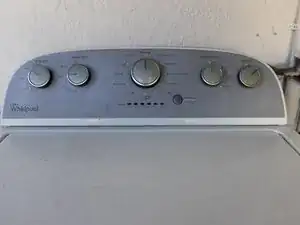
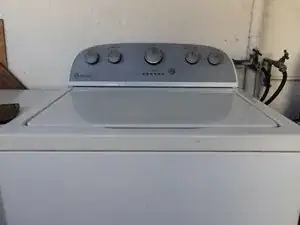
This guide provides step-by-step instructions for replacing the Whirlpool WTW5000DW top-load washing machine drive belt. Usually, the main reason the washing machine fails to spin properly is due to worn or broken bearings, seals, or drive belt.

The guide is simple yet can still cause water or electrical damage if not followed appropriately, especially if the washer is located inside the house with other electrical appliances. It's important to work in a clean and dry space for a safe working environment.

Before you begin, disconnect the washer from the power outlet.

  1. WRQlnMtVyRoDeIaN
    WRQlnMtVyRoDeIaN
    4bGklCQb3bOAns2E
    kfT2Xn2ayq1lMgCy
    • Before performing any repairs or replacements, please be aware of your surroundings and ensure you have plenty of safe space to work.

    • Cut the washing machine's water and power before beginning.

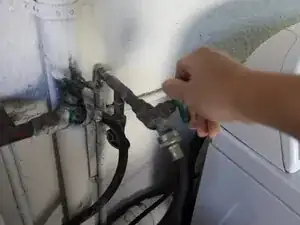
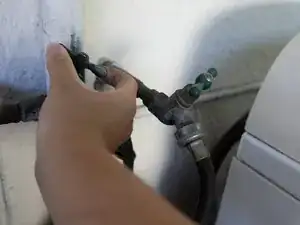
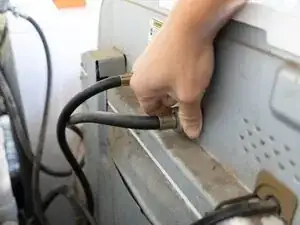
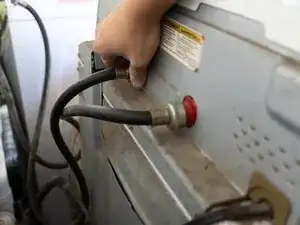
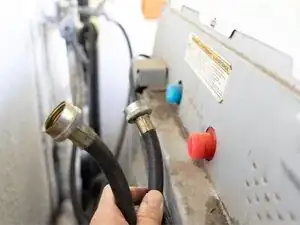
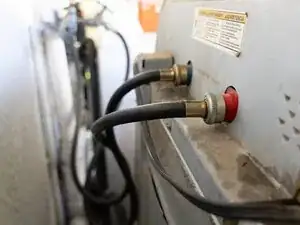
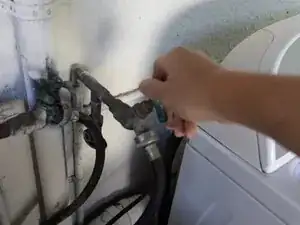
    • There will be two valves: one for hot water and one for cold water. Don't forget to unplug the electricity as well.

  2. 42wZ3vi5yHuVPUsd
    • Follow the water line to your washer.

  3. T1SsanLFqIJcUNDK
    T1SsanLFqIJcUNDK
    4C4JMCNJVlHKJ6QG
    ttTM2oOsUXUrFSFu
    • Unplug both water lines.

    • Mark which one is for hot water and which is for cold water.

  4. AeLaHWedsxrBrboS
    • Safely lower the washing machine; it may contain small amounts of water. Just in case, have a towel ready.

    • Then, with your nut-driver remove the metal backing of the washing machine.

  5. MJiHBNJwlPJWgvHU
    MJiHBNJwlPJWgvHU
    pykg2pRJOyRNmaCc
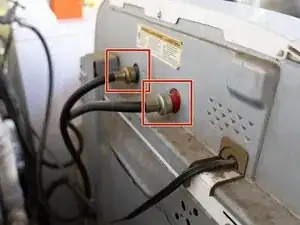
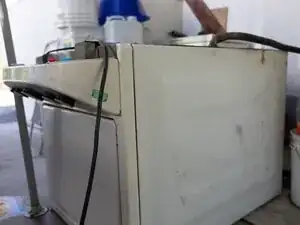
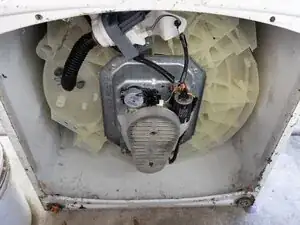
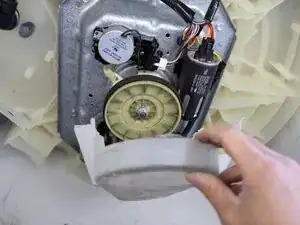
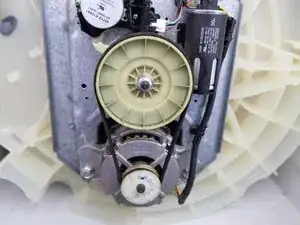
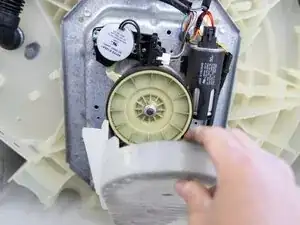
    • Go to the back of the washing machine; you will find the main panel for the drive belt, which is located behind a clear plastic lid.

  6. iJPNkowVL22ZZmTY
    iJPNkowVL22ZZmTY
    YVETa5QSPRNKl6Jt
    cy6lUXI2jtlxBEee
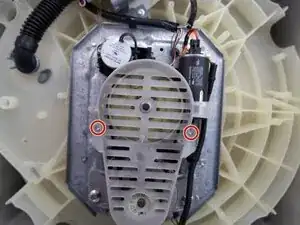
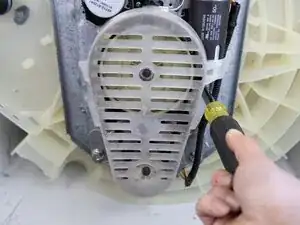
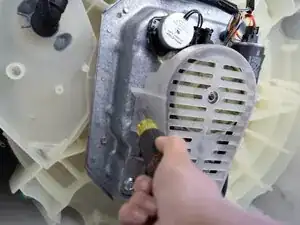
    • Use the 5/16" Nut Driver to unplug both of the 5/16" hex bolt screw on both sides of the lid and then take the lid out.

  7. fqQkdr5YpdCyEIQH
    fqQkdr5YpdCyEIQH
    CKCNjObAISjdLr31
    t1CPm5cKuIEsCFGt
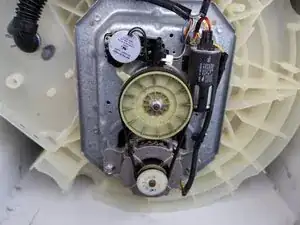
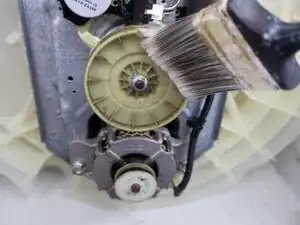
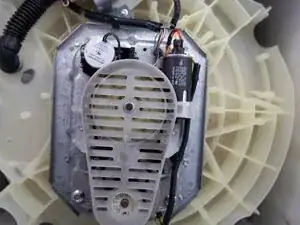
    • After removing the lid, you will find the drive belt of the washing machine.

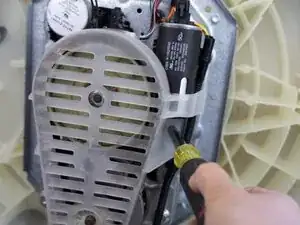
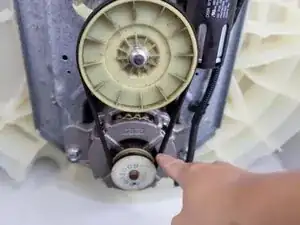
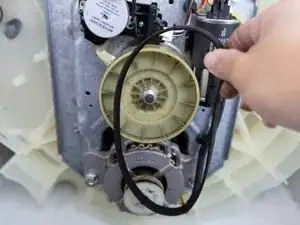
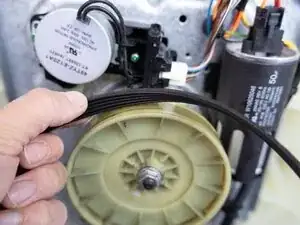
    • Pull the belt out slowly; it's designed to fit tightly, so this may be difficult.

  8. mw2gEsTOtY516fQv
    mw2gEsTOtY516fQv
    WTuW5DVgufUPorKq
    • Use a brush or towel to clean the wheel where the belt was.

  9. EXrZkQYkZdunnibn
    EXrZkQYkZdunnibn
    PSeUooIPefChSUVh
    SIESym5EnD1GbPYe
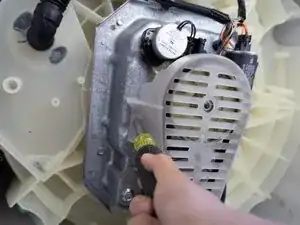
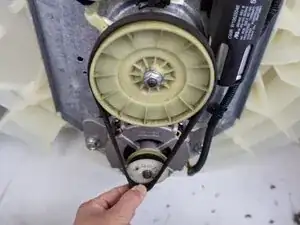
    • Put the new drive belt on, make sure the smooth side faces away from the wheel, and the side with many lines faces toward the wheel.

    • It's essential because the belt needs grip to spin the washer.

  10. NT4ti6XOGGBV2Esy
    NT4ti6XOGGBV2Esy
    NdP1HPRrRgwHxoYt
    glKaDNVhgZjfTyKS
    • Reinstall the lid and screw in the two 5/16" hex bolts back in.

  11. FMdKHnaXAFPLXcTK
    • Make sure everything is back to the original stage before lifting the washing machine back on. The back and lid should be the only two components you altered here.

  12. 5iWpHYrPnV44hami
    5iWpHYrPnV44hami
    ZR5ttoSuk1UyoUt4
    MTmETh64ZRohOsBB
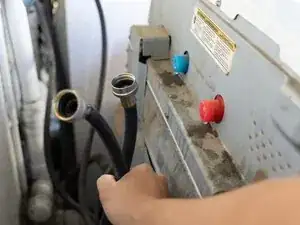
    • Plug the water line back in and the electricity—hot water for the hot water line, and the same for cold water before turning it back on.

  13. a4JmdTXGWNonLHV6
    • Congratulations, you have finished replacing the washing machine drive belt!

Conclusão

To reassemble your appliance, simply follow these instructions in reverse.

Khanh Le

Membro desde: 25/09/25

709 Reputação

0 comentários