
Introdução
In the case that your motherboard stops working, here are the steps on how to access and change the motherboard.
This guide requires soldering. If you're unfamiliar with soldering, review the How to Solder and Desolder Connections guide and take appropriate precautions before beginning.
Ferramentas
-
-
Depress the tip eject button and remove the tip.
-
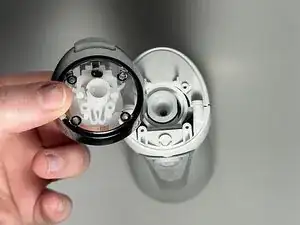
Use an opening tool to pry off the tip rotator.
-
-
-
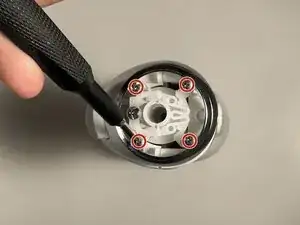
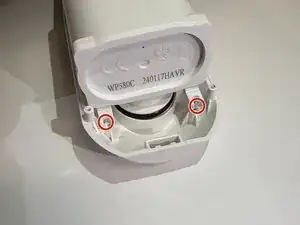
Use a Phillips #0 screwdriver to remove the two screws beneath the eject button assembly.
-
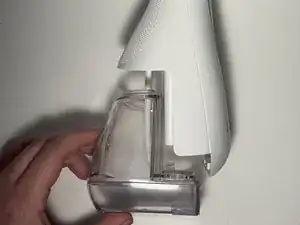
Remove the water reservoir.
-
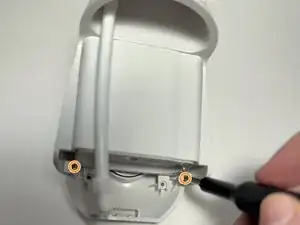
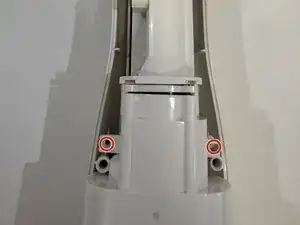
Remove the two Phillips #0 screws toward the bottom of the device.
-
-
-
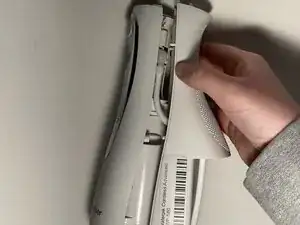
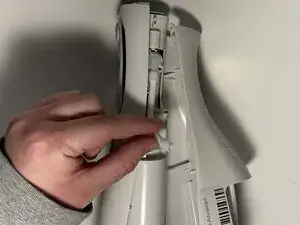
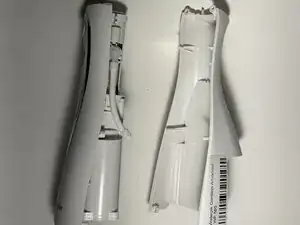
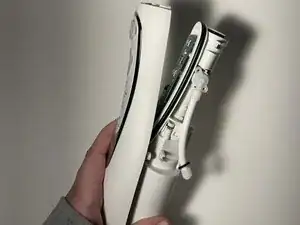
Insert the flat end of a spudger into the seam between the front and rear case and gently begin to pry the two halves apart.
-
Disconnect the hose from the right side of the device and fully separate the two halves.
-
-
-
Remove the two screws at the top, two screws in the middle, and two screws at the bottom using a Phillips #0 screwdriver.
-
Gently separate the outer casing from the rest of the inside pieces - there are cords here holding them together.
-
-
-
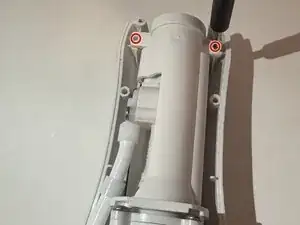
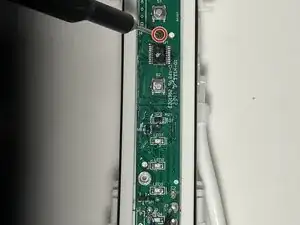
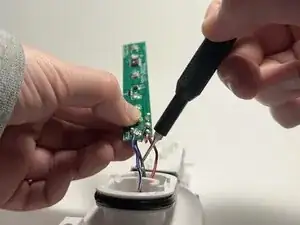
Carefully desolder the black, red, and blue wires from the motherboard.
-
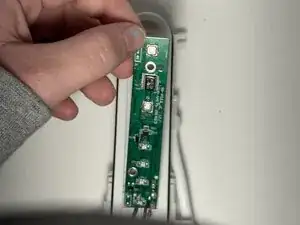
Remove the motherboard.
-


To reassemble your device, follow the above steps in reverse order.
Take your e-waste to an R2 or e-Stewards certified recycler.
Repair didn’t go as planned? Try some basic troubleshooting or ask our Answers community for help.