
Introdução
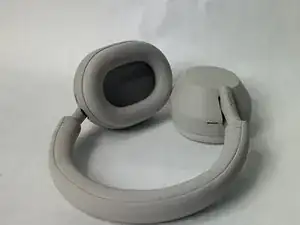
This guide will walk you through the process of replacing the charging board in your Sony WH-1000XM5 headphones. If your headphones are no longer charging properly or showing signs of a damaged charging port, the charging board may need to be replaced.
Step 6 requires you to desolder 2 wires connected to the power board. Please wear safety glasses and take caution when handling a hot soldering iron. If you are new to soldering, you can follow the How To Solder and Desolder Connections guide for more in-depth instructions.
Follow each step carefully to safely disassemble your device and install a new board. Make sure your headphones are powered off and disconnected from any cables before beginning.
-
-
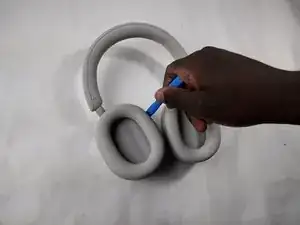
Place the edge of an iFixit opening tool under the earpad cushion.
-
Slide it alongside the edge of the cushion until it detaches from the rest of the headphones.
-
-
-
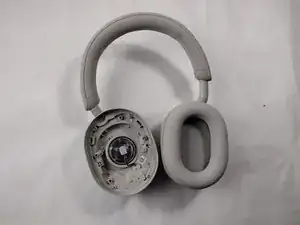
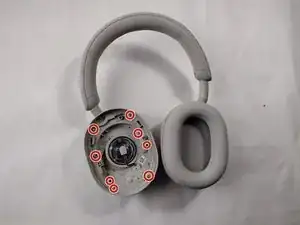
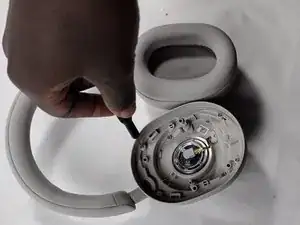
Use a Phillips #000 screwdriver to remove the eight screws along the outer inside edge.
-
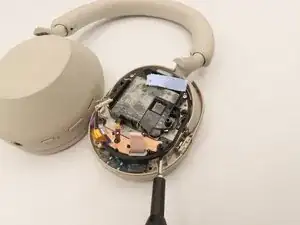
Flip the headphones to the other side and slowly lift up the back plastic cover piece.
-
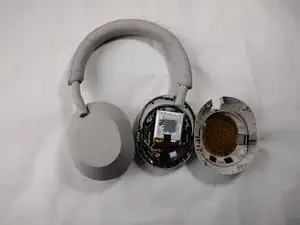
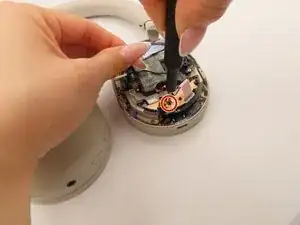
Gently disconnect the touch sensor ribbon cable by pulling it out evenly from the main board.
-
-
-
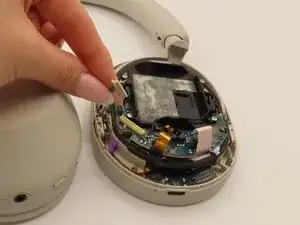
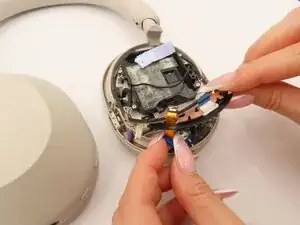
Peel off the tape covering the battery connector.
-
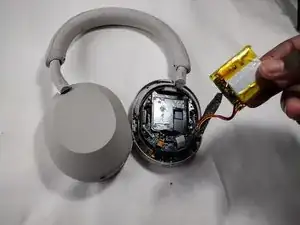
Pull out the battery and disconnect the battery cable from the motherboard.
-
-
-
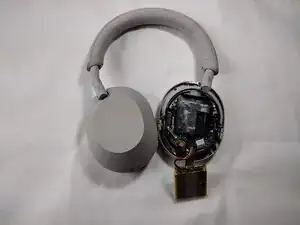
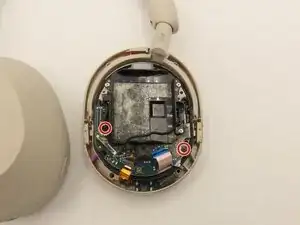
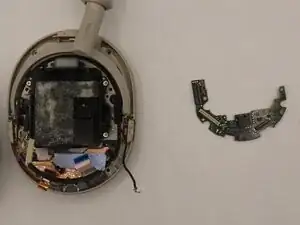
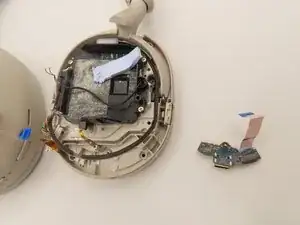
Use a Phillips #000 screwdriver to remove the two black 1.6mm Phillips screws holding the power board down.
-
Carefully lift the power board from the unit.
-
-
-
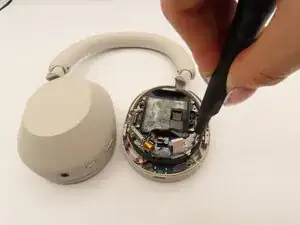
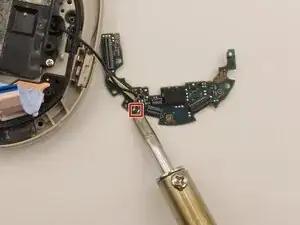
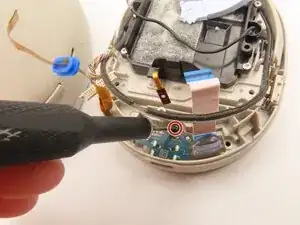
Plug in the soldering iron and wait 1-3 minutes for it to heat up.
-
Place the flat side of the soldering iron on the 2 globs of metal for 2-3 seconds as shown.
-
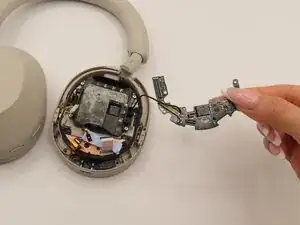
While the globs are still hot, use your tweezers to carefully detach the black and red wires from the power board.
-
-
-
Set the blue sticky strips to the side.
-
Use a spudger to lift up the dark gray mesh from the back plastic part.
-
Use a Phillips #000 screwdriver to remove the 1.6 mm screw in the center.
-
Carefully pull the ribbons through.
-
To reassemble your device, follow these instructions in reverse order.
Weis mann auch ob man die Originalen Orpolster irgendwo beschaffen kann? Ich kann nirgens etwas finden. Wär cool wenns einen link dazu gibt.
Skater Kid -