Introdução
To replace a broken wire connected to the circuit board, soldering must be done. Before attempting this guide, please read the IFixit's guide to soldering (Como soldar e dessoldar contatos). For this replacement, perform all steps on a table away from any flammable objects.
Peças
-
-
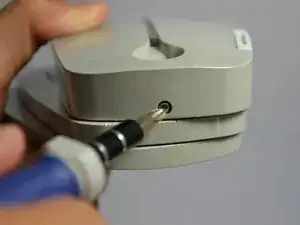
Using the Phillips #1 screwdriver, remove the 2mm screw located on the bottom of the device, near the hinge.
-
-
-
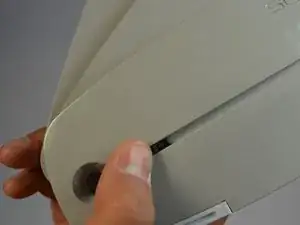
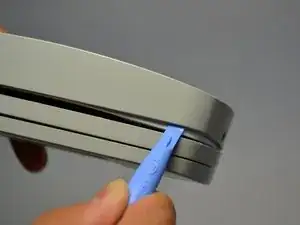
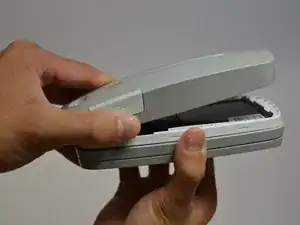
Using the plastic opening tools, gently pry open the side of the large panel.
-
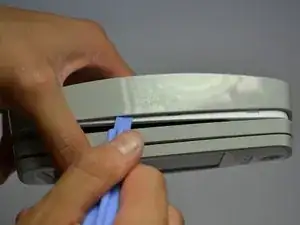
Keeping the tool in, slowly slide the tool along the side of the panel.
-
-
-
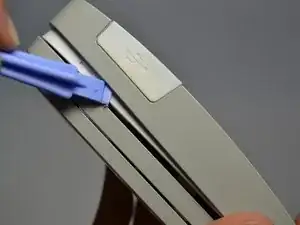
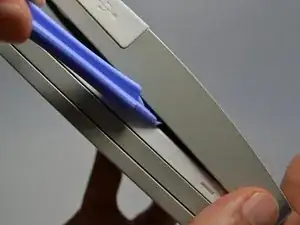
Rotate the device 180 degrees.
-
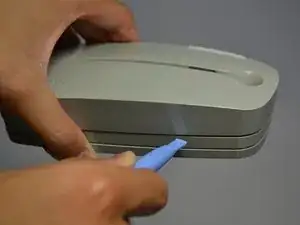
Gently slide the plastic opening tool along the side of the panel.
-
-
-
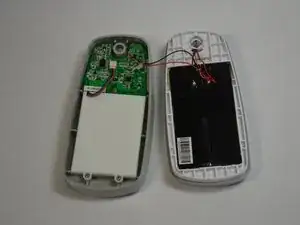
Using both hands, slowly pull apart the back panel from the rest of the device.
-
Gently flip the back panel open so the circuit board faces up and the two panels are side by side.
-
-
-
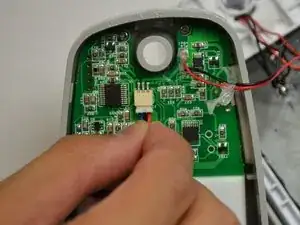
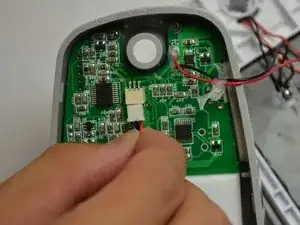
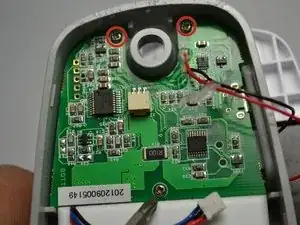
Softly pinch the red and blue wires close to the white connector.
-
To pull the wires out, wiggle them back and forth until the connector is fully out.
-
-
-
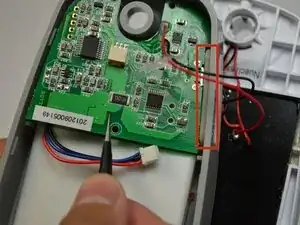
Unscrew the three 2mm screws holding the circuit board down using a Phillips #1 screwdriver.
-
-
-
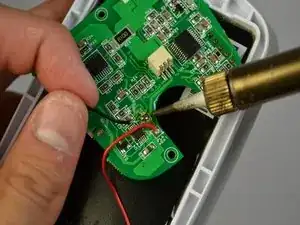
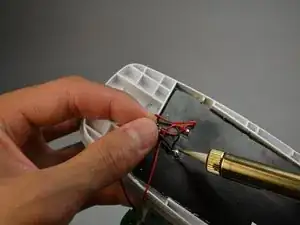
Using a solder iron with a fine tip, slowly solder off the broken wire from the first connection point.
-
Repeat for other connection point of wire.
-
To reassemble your device, follow these instructions in reverse order.