
Introdução
If your device is failing to charge properly, use this guide to replace the charging port.
Before starting, be sure to troubleshoot your device to check for other possible causes. Use this troubleshooting guide for more info on charging and battery problems: Samsung Galaxy Tab A8 Battery Doesn't Hold Charge
Make sure to clean out the old charging port before attempting to replace it, as that may be the cause of the issue.
The charging port may become dysfunctional due to dust interference, overcharging, or other outside damage. The port is crucial to continue to supply power to your device for extended use and recharge the battery. Also, keep in mind this is a USB-C port, and needs a specific component for replacement. Attain the needed replacement part before starting this guide.
-
-
Fully power off the device.
-
Orient the screen so it is face-up.
-
Apply anti-clamp or other suction device to apply constant upward force on the screen.
-
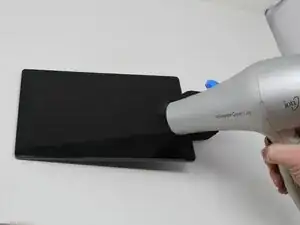
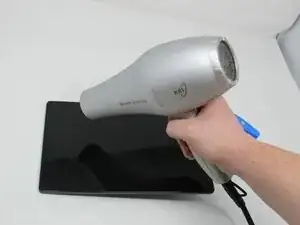
Heat the screen to soften the adhesive with a heat gun or blow dryer. Be sure to heat all sides as evenly as possible.
-
-
-
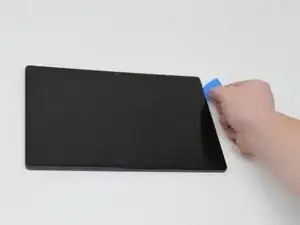
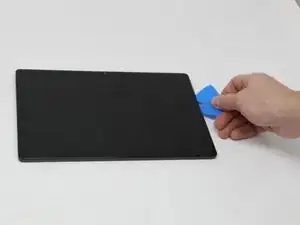
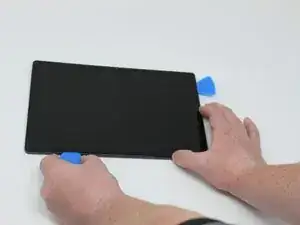
Use plastic opening picks, or a Jimmy if necessary, to remove the adhesive and get under the screen.
-
Using the plastic opening picks, move around the screen slowly, one corner at a time. Every few inches, leave an additional opening pick behind where you are working to hold the screen open while continuing to remove the adhesive.
-
-
-
Continue to pry the screen off with the opening picks, using additional tools if more leverage is required.
-
-
-
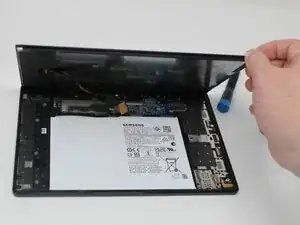
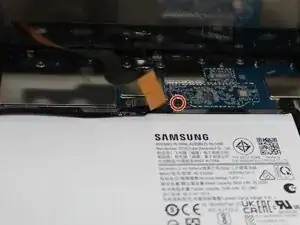
Using a Phillips #000 screwdriver, remove the 1.8mm screw holding the clamp that holds the screen ribbon in place.
-
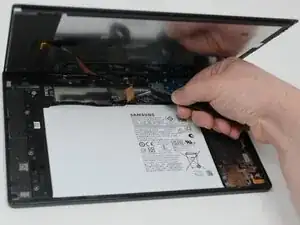
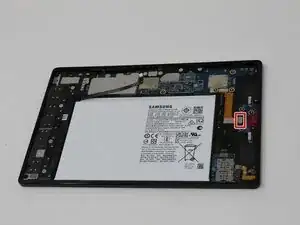
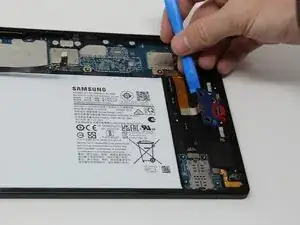
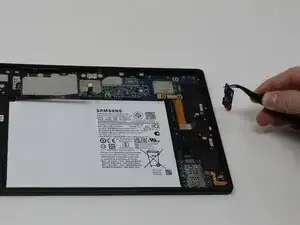
Remove the battery connector ribbon to help prevent short circuiting of the device and/or shock hazards.
-
-
-
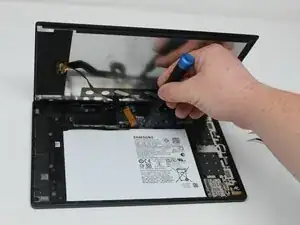
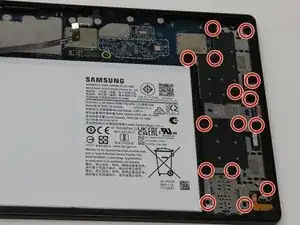
Remove the fifteen 1.8mm screws using a Phillips #000 screwdriver.
-
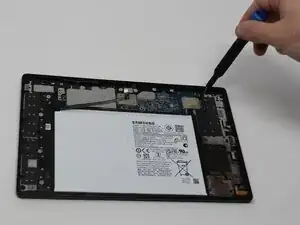
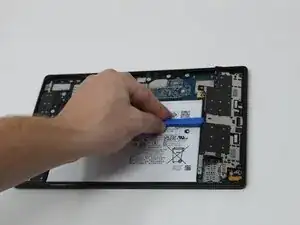
Carefully remove the speaker cover to gain access to the port and other components.
-


To reassemble your device, follow these instructions in reverse order.

Um comentário
Great explanation
One tip from my experience with removing some Tab A8 displays:
Once the screen is loose,
Don't immediately start prying between the display and the PCB assembly with a screwdriver.
Instead, look at where the display cable is connected to the screen.
Because that's where it's attached to a so-called flip connector. Just loosen the adhesive tape.
Remove the flip-up ribbon cable from the screen.
This way, you can prevent yourself from breaking or pulling anything.
You have a more limited view of your work, because your hand with the screwdriver is working between the two panels.
My first repair job cost me a brief moment of inattention.
More extra work because I had to replace the ribbon cable connector on the PCB.
Again, not a comment on everyone's approach to repairing electronics.
But I want to encourage beginning DIY enthusiasts to follow this video and incorporate this tip into their disassembly/repair process.
Kind regards
Tony
TheNetherlands
Tony jfx -