Introdução
Welcome to my replacement guide in this guide we will be particularly working on the Samsung Galaxy Tab A 7.0, replacing the Motherboard ensure you have the needed tools, and Its highly encourage to handle all inside components with care as they're all delicate.
-
-
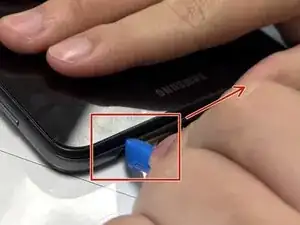
Insert the plastic opening tool into the seam between the back and front covers, starting at a corner of the tablet to create a gap.
-
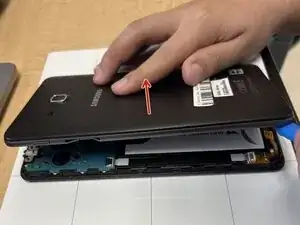
Slide an opening pick along the edge of the rear cover to release the clips.
-
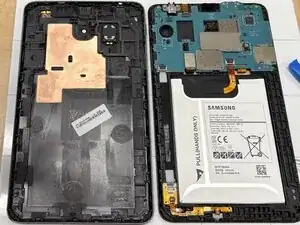
Carefully separate the back and front panel.
-
-
-
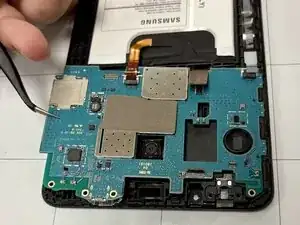
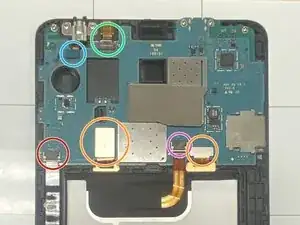
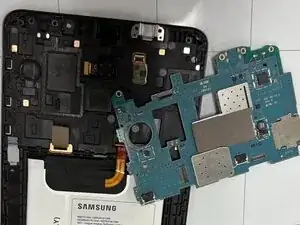
Disconnect the six connectors from the motherboard.
-
2 PCBs.
-
Battery wire
-
Audio wire.
-
Front camera.
-
Auxiliary port.
-
-
-
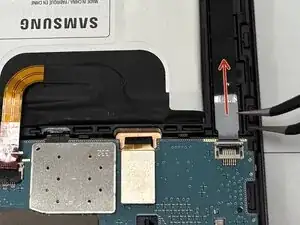
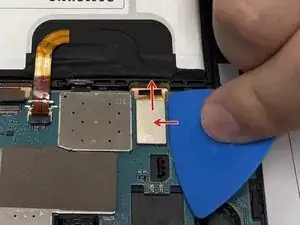
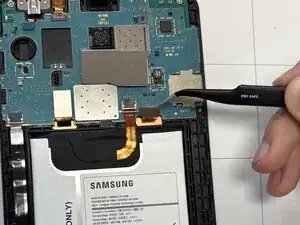
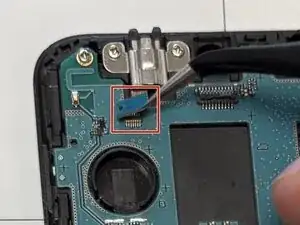
Using tweezers, lift the black connector latch to unlock the ZIF connector.
-
Pull the gray tab from the socket to remove the ribbon cable.
-
-
-
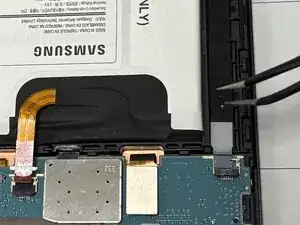
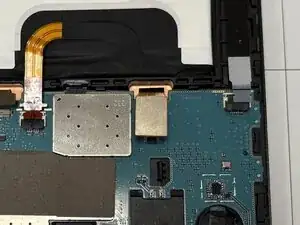
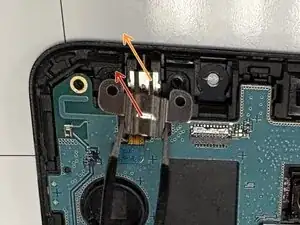
Use tweezers to flip up the black locking latch.
-
Pull the orange ribbon cable wire away from its socket.
-
-
-
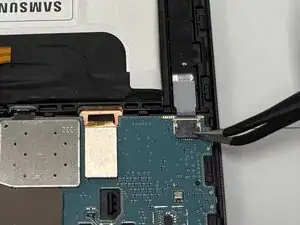
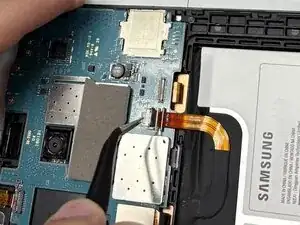
Place a spudger or an opening tool under the connector's edge and pry straight up to disconnect the press connector.
-
-
-
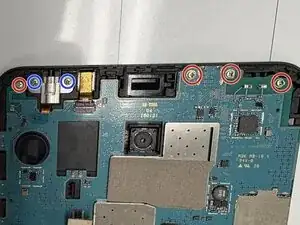
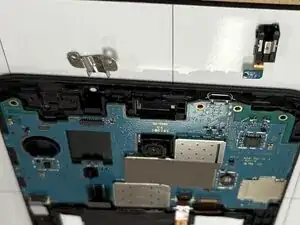
Use a Phillips #000 screwdriver to remove the six screws at the top edge of the motherboard.
-
4 screws holding down the motherboard
-
2 screws holding down the auxiliary port
-
-
-
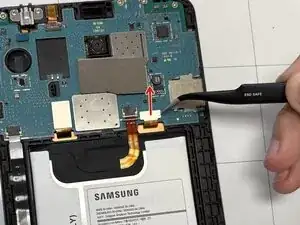
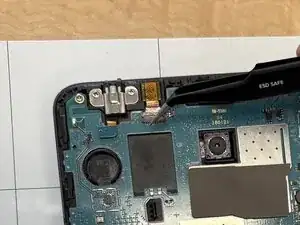
With tweezers, lift the black locking latch to the unlocked position.
-
Pull the cable with the camera from the housing.
-
-
-
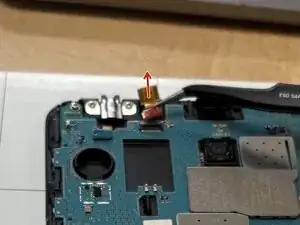
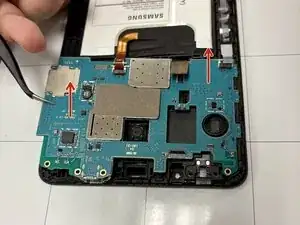
Place a spudger or an opening tool under the press connector's edge and pry straight up to disconnect it.
-
Use tweezers to remove the silver bracket covering the port.
-
Remove the audio jack port.
-


To reassemble the Samsung Galaxy Tab, please follow these instructions in reversed order. Take your e-waste to an R2 or e-Stewards certified recycler.