Introdução

  1. MCE5EQMayn4VPEUr
    MCE5EQMayn4VPEUr
    oL2iundWAaSKCDsC
    • Place the rear cameras onto the motherboard.

  2. b24RMRynZuGlYcco
    b24RMRynZuGlYcco
    GiECrukqLrpQcMSy
    RWLZEpysSiPcXuU2
    • Use your finger to press down and connect the three rear camera press connectors.

  3. np5LJIUQXIKTgprm
    np5LJIUQXIKTgprm
    EtkILTNUMNMt6DrN
    • Put the mic cover back in place near the top left corner.

  4. ljyq2IEmbXgG5CiE
    ljyq2IEmbXgG5CiE
    CcDj2IZFOQstiXVe
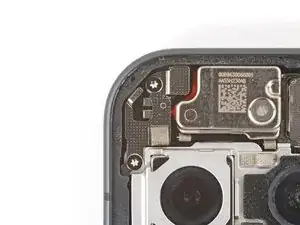
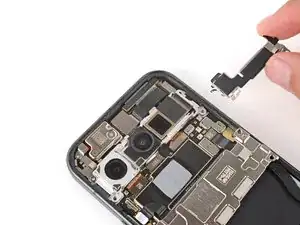
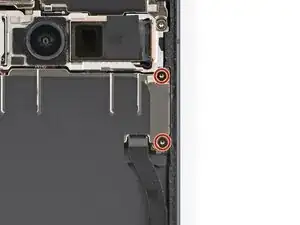
    • Use a Torx Plus 3IP screwdriver to install the two 5.0 mm‑long screws securing the mic cover.

  5. UqSpwqCNliSJYyoJ
    UqSpwqCNliSJYyoJ
    qNSSDyThZaCbPHOs
    AeDCYncZEanEcTVV
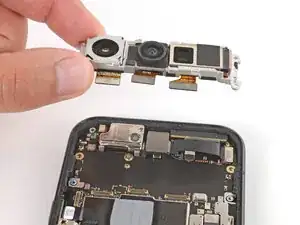
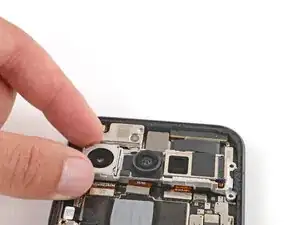
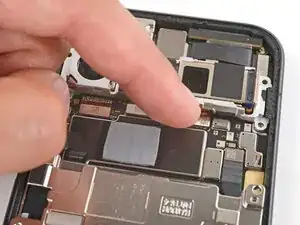
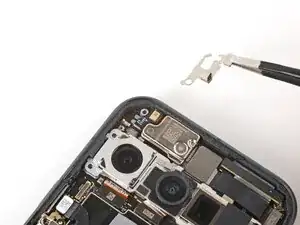
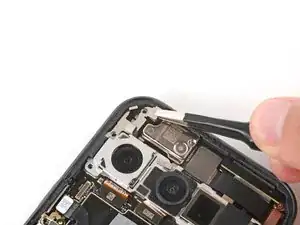
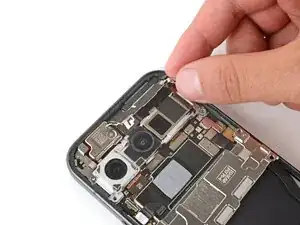
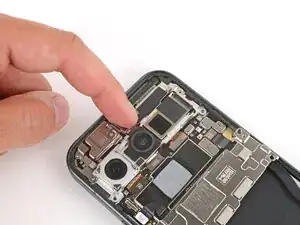
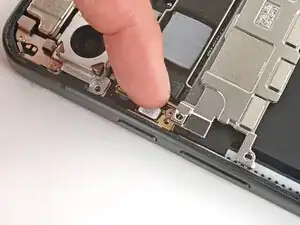
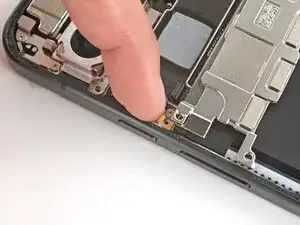
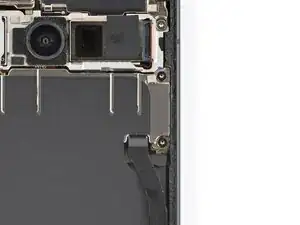
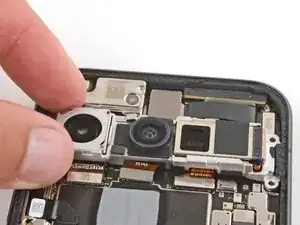
    • Slide the top corners of the front camera bracket under the lip in the frame and press the clip in to secure it.

    • Be careful not to touch the rear cameras.

  6. 2ZGRvxqufVYqZIFS
    2ZGRvxqufVYqZIFS
    JYpBc1GPqJXKSlKJ
    lFTlwdkOROSF3EVo
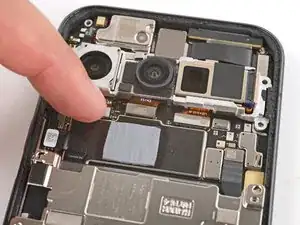
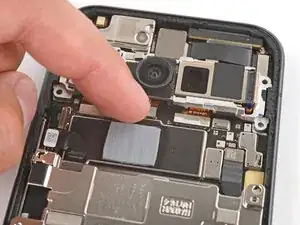
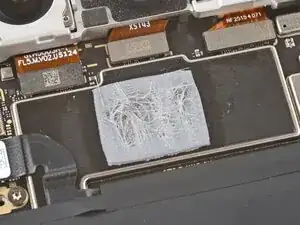
    • Check the condition of the motherboard thermal pad—it'll either be on the bottom edge of the board or on the underside of the cover.

    • If the thermal pad is damaged, follow the next two steps to replace it. Otherwise, skip down two steps.

    • Be careful when working on the motherboard cover in the next two steps, as it's still connected by delicate graphite film. If you damage the film, you'll need to replace it with a new one.

    • Use the flat end of a spudger to gently scrape up and remove all the old thermal pad from the board and cover.

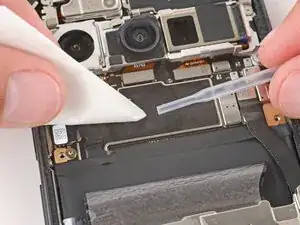
    • Use high‑concentration (>90%) isopropyl alcohol and a coffee filter (or lint‑free cloth) to clean up any thermal pad residue from the board and cover.

    • Allow the alcohol to dry completely before continuing.

  7. hhJ6WXEBIrKWbaeP
    hhJ6WXEBIrKWbaeP
    MmglbxWQGc1mFbgF
    dhYcNexoMGOFP5Jf
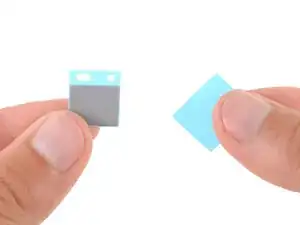
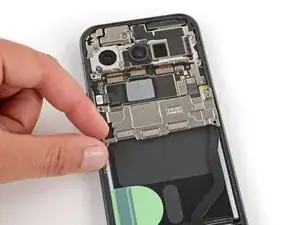
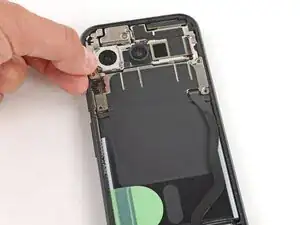
    • Remove the larger liner (without cutouts) from the thermal pad.

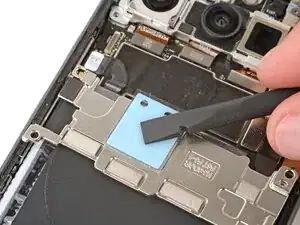
    • Lay the thermal pad in its square cutout on the underside of the motherboard cover.

    • Press down firmly on the entire surface of the pad with your finger or the flat end of a spudger.

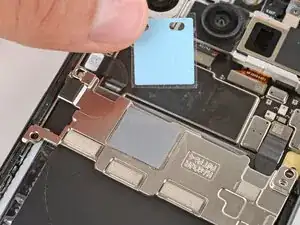
    • Slowly peel up the remaining liner.

    • If the pad starts to peel up with the liner, press it back into place and try again.

  8. rjegcSJQYbOASZGf
    rjegcSJQYbOASZGf
    F1QfBDgIxVHfRVXL
    • Use your finger to press down and connect the battery press connector.

  9. lp4AG2HlkXLPhRad
    lp4AG2HlkXLPhRad
    Sl5xwOHIkKoYyIwE
    • Gently flip the motherboard cover up and back into place.

  10. gxeUiM13YEFyUSsT
    gxeUiM13YEFyUSsT
    GmaPFZ6g4YJfFWDI
    • Use a Torx Plus 3IP screwdriver to install the two 5.0 mm‑long screws securing the motherboard cover.

Spencer Day

Membro desde: 14/09/22

165254 Reputação

0 comentários