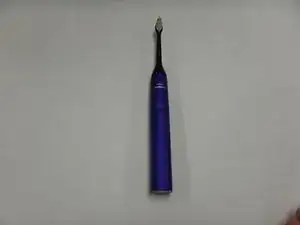
Introdução
Ferramentas
-
-
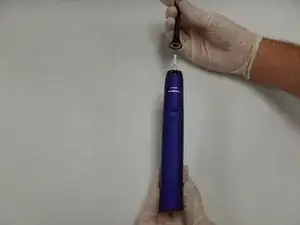
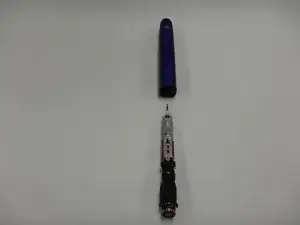
Invert the toothbrush and apply pressure against the metal tip until the internals and casing separate.
-
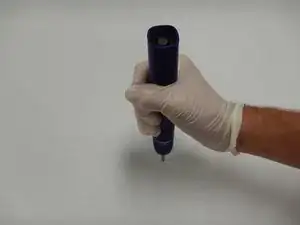
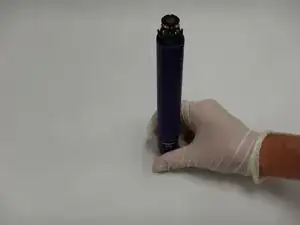
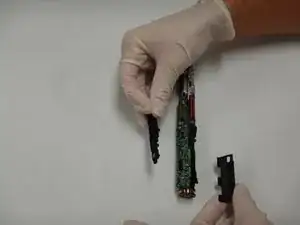
Remove the internals from the casing.
-
-
-
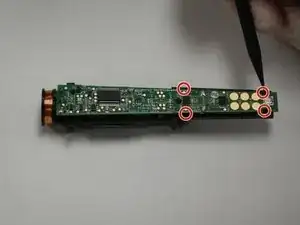
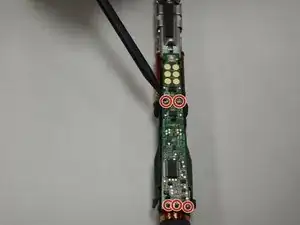
Use the soldering iron to desolder the terminals marked F1, C5, R7, R6, and JP1.
-
Remove the circuit board.
-

Conclusão
To reassemble your device, follow these instructions in reverse order.

Um comentário
If anyone needs to replace just the button, the part number is: Panasonic EVQ-PLHA15.
(you can also find variants with harder or softer click in the datasheet)
To desolder gently push a sharp point of tweezer or knife under the button, alternate melting the pins on one side while gently lifting, apply very light pressure and be careful not to lift the PCB pads.
Luke -