Introdução
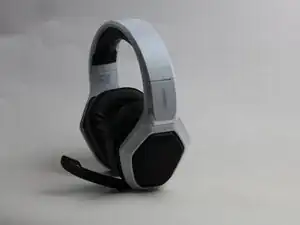
If your Ozeino OW810 gaming headset isn't working and you've already checked that the battery is working, the motherboard may be damaged. The charging port is soldered to the motherboard, so if you suspect the problem is the port, it's necessary to remove the motherboard to desolder and replace the old port.
Before you begin this repair, make sure that the headset is off and unplugged from the charger.
-
-
Before beginning this guide make sure you have gathered your tools.
-
You will need The Marlin Screw Driver Set
-
It will take approximately 3 min to get assembled
-
Once your tools are gathered you may begin the guide
-
-
-
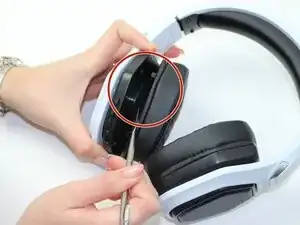
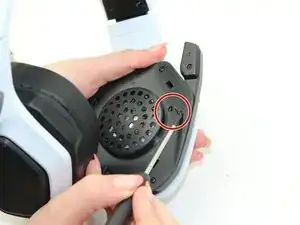
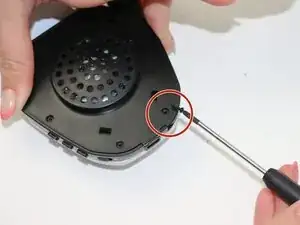
Before beginning detach the ear muff
-
Use the Metal Spudger to help detach
-
Highlighted in the red circle is what needs to be detached in order to start the guide
-
Everything will be located on the left side of The Ozeino OW810
-
-
-
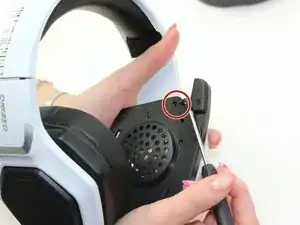
After detaching the ear muff gather your tools
-
You will need The Marlin Screw Driver set
-
Take The Phillips #0 screwdriver to begin
-
-
-
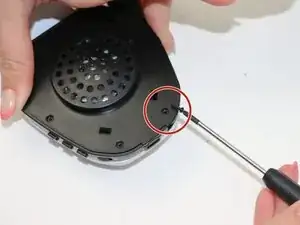
Highlighted is the last screw needed to be removed
-
Use Phillips #0 to unscrew
-
You should have unscrewed 6 screws from the ear muff
-
-
-
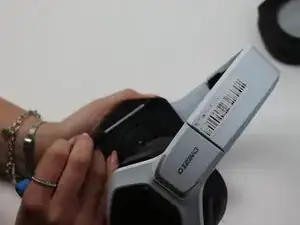
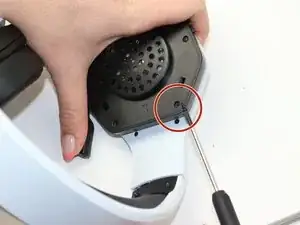
After unscrewing the screws from the ear muff remove the piece
-
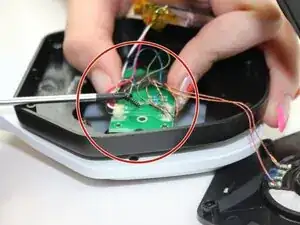
Locate circuit board highlighted
-
-
-
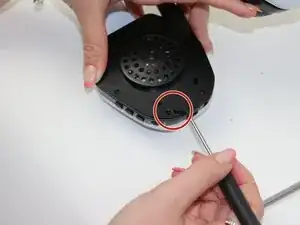
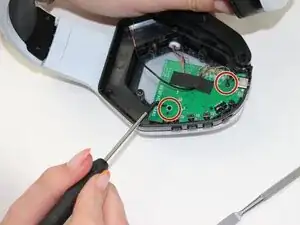
Highlighted are the screws needed to be removed from the circuit board
-
Use Phillips #0 to unscrew
-
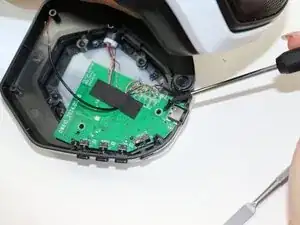
Remove the motherboard from the headset.
-
To reassemble your device, follow these instructions in reverse order.
Um comentário
There is a lot of repetition regarding the tools. I recommend being clear in the beginning which tool to use and only repeating when another tool is used. The tools and screws are the main area I would recommend fixing. This is a good guide, and easy to understand.
Morgan G -