
Introdução
This guide will show you how to replace the battery in your OnePlus Nord N10 5G smartphone.
Ferramentas
-
-
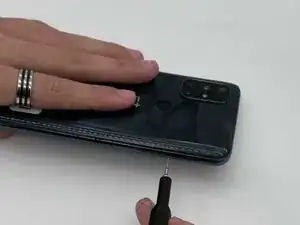
Insert a SIM card eject tool into the hole on the side of the phone, just below the SIM tray.
-
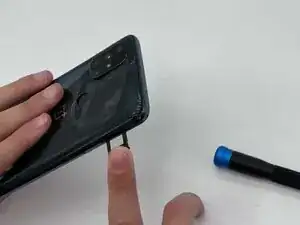
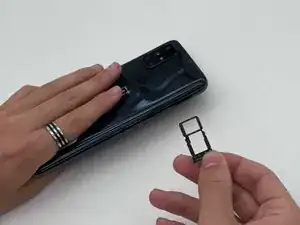
Press firmly to release the tray, then pull it out the rest of the way.
-
-
-
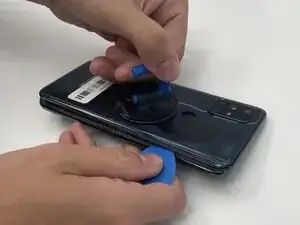
Place the suction cup onto the back and squeeze. Gently pull on the suction cup.
-
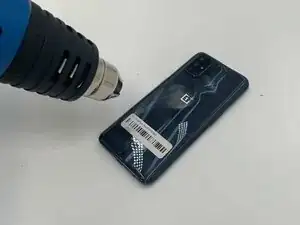
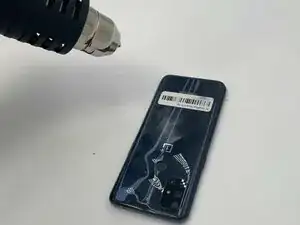
Insert an opening pick in the space between the front and back cover and slide it around the perimeter to loosen the glue.
-
Slowly remove the bottom cover.
-
-
-
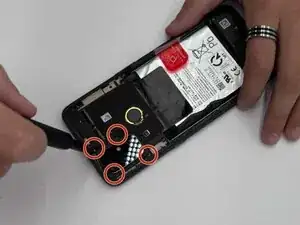
Use a small Phillips screwdriver to loosen the four screws securing the camera lens.
-
Carefully remove the lens.
-
-
-
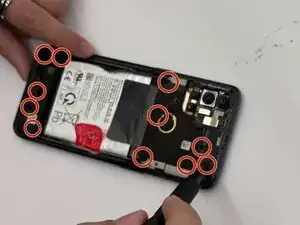
Use a Phillips screwdriver to remove the eleven screws around the back to remove the mid frame.
-
After that, use an opening tool to slowly pry off the mid frame.
-
Do not poke the battery with the screwdriver.
-
-
-
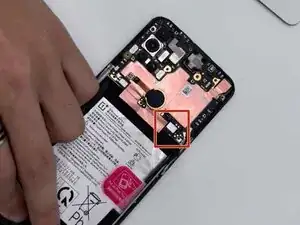
At this point, you should see the battery itself. Identify the battery connector. It should be a small silver rectangle on the top right-hand side of the battery. Then, use the spudger to unplug the battery from the device.
-
-
-
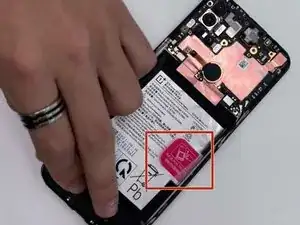
You should also see a red tab on the side of the battery. Gently pull the tab and the adhesives (thin black tape on sides) to remove the battery.
-

To reassemble your device, follow these instructions in reverse order. Apply new adhesive where necessary after cleaning the relevant areas with isopropyl alcohol (>90%).
Take your e-waste to an R2 or e-Stewards certified recycler.