Introdução
Use this guide to replace the screen assembly in the Motorola Moto G Power (2022). This device is also known as the Moto G Power (3rd Generation) or Moto G Power 2022.
The screen displays all visual content and includes the digitizer layer that registers touch input. When damaged, the display may stop responding to touch, show visual abnormalities, or become unusable. Replacing the screen restores both visual output and touch functionality.
Common symptoms indicating that the screen needs replacement include:
- Cracks, shattered glass, or spider webbing across the display.
- Black spots, colored lines, flickering, or areas of missing pixels.
- Touchscreen not responding or responding only in certain areas.
- Screen remaining black even though the phone powers on.
- Ghost touches or erratic touch behavior.
Important Safety Information
- Power off the device completely and disconnect it from any external power source before beginning the repair.
- Removing the back cover requires heat. The Moto G Power (2022) uses strong adhesive, so you’ll need to apply heat, such as a controlled heat gun to soften the adhesive. Follow this guide if you’re unfamiliar with the process.
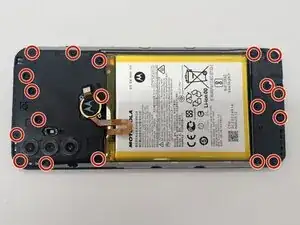
- Once the back cover is removed, disconnect the battery as soon as it becomes accessible to prevent accidental electrical shorts during the screen replacement.
- Be cautious while prying, as excessive or uneven force can crack the plastic back cover or worsen existing screen damage.
- Removing the display may create glass shards if the screen is shattered. Wear eye protection and carefully clear loose glass to prevent cuts.
- Opening the device compromises the original water-resistance, as factory adhesive seals cannot be reused.
- If the phone shows signs of a swollen battery, such as the screen lifting from the frame, do not proceed with the repair until the battery issue is safely addressed. The What to do with a swollen battery guide is a helpful resource.
Before starting this repair, ensure the Moto G Power (2022) is fully powered down and that you’re working on a clean, static-safe surface.
Ferramentas
-
-
Power off the phone by holding the volume and power button simultaneously.
-
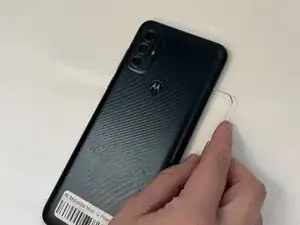
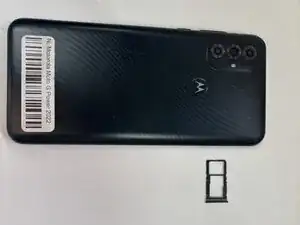
Remove the SIM card tray with a paperclip or a SIM card tool.
-
-
-
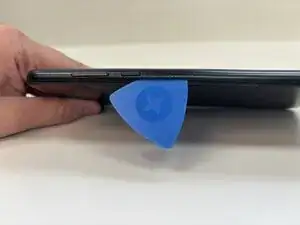
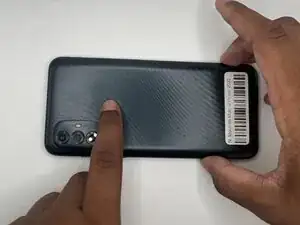
Slide an opening pick around the perimeter of the phone to break through and loosen the adhesive holding the outer case in place.
-
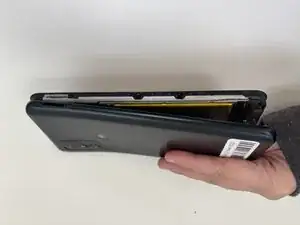
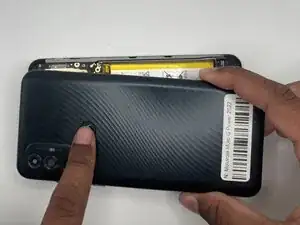
Use an opening tool to release the clips securing the front and back casing together.
-
-
-
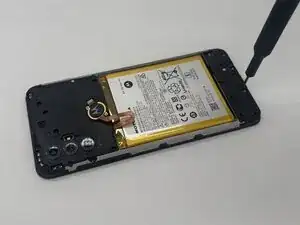
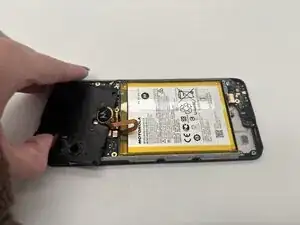
Place a spudger or an opening tool under the edge of the battery connector and pry straight up to disconnect it.
-
Remove the battery cable using an opening pick or tweezers. It may also pop right off.
-
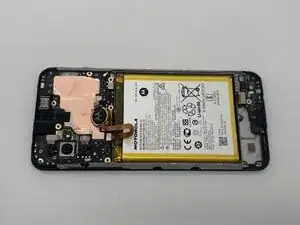
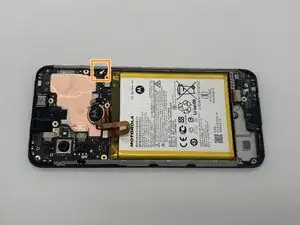
Slide a thin, ESD-safe pry tool or angled tweezers under the metal neck of the coaxial cable connector (as close to the head as possible) and lift straight up from the board.
-
-
-
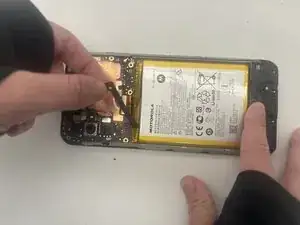
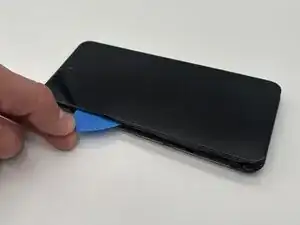
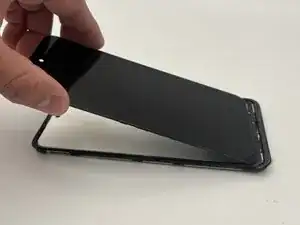
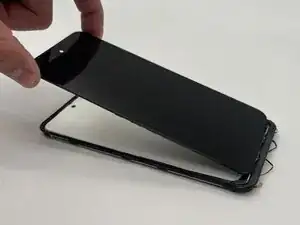
Insert an opening pick under the screen very gently.
-
Slide the pick around all edges to pry off the screen.
-


To reassemble your device, follow these instructions in reverse order. Take your e-waste to an R2 or e-Stewards certified recycler.