Introdução
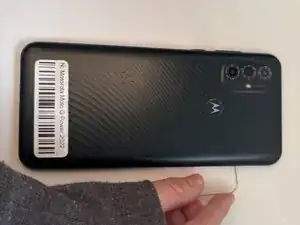
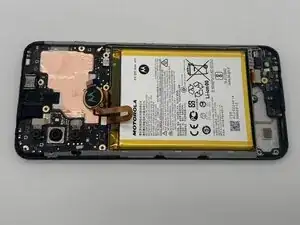
Use this guide to replace the motherboard in the Motorola Moto G Power (2022). This device is also known as the Moto G Power (3rd Generation) or Moto G Power 2022.
The motherboard is the central circuit board that connects and controls all major hardware components, including the processor, memory chips, cameras, charging circuitry, antennas, and sensors. Replacing the motherboard restores functionality when critical internal failures prevent the device from operating correctly.
Common symptoms indicating a faulty motherboard include:
- The device does not power on even with a known-working battery
- Severe overheating during boot
- Random shutdowns or boot loops
- No image on the display even when the phone vibrates or produces sound
- Cameras, storage, or other components failing simultaneously
- Corrupted system behavior that persists after factory resets
Important Safety Information
- Power off the device completely before beginning any disassembly and unplug it from external power sources.
- The back cover is held on with strong adhesive. Opening the device requires controlled heat. You can use an iOpener to soften the adhesive. Follow this guide if you’re unfamiliar with the process.
- Once opened, disconnect the battery as soon as it becomes accessible to prevent electrical shorts while working with the motherboard.
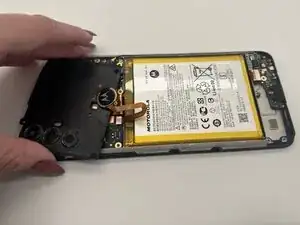
- Replacing the motherboard requires disconnecting multiple flex cables, antenna cables, and subcomponents. Handle each connector gently to avoid tearing, bending, or snapping ribbon cables.
- Be cautious when prying, as uneven pressure can crack the rear cover or damage the front display, especially near the edges.
- Opening the phone permanently reduces the device’s original water-resistance due to disturbed seals.
- If the device shows signs of a swollen battery, such as a lifted back panel or screen separation, address that issue before proceeding with motherboard removal. A swollen battery poses puncture and fire risks. For more information, review the What to do with a swollen battery guide.
Before starting the repair, ensure the Moto G Power (2022) is powered down, disconnected from any charger, and you are working on a clean, static-safe surface.
-
-
Insert the end of a paperclip or a SIM card eject tool into the small hole to eject the SIM tray, then remove it.
-
-
-
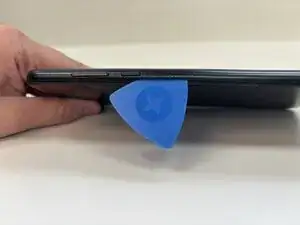
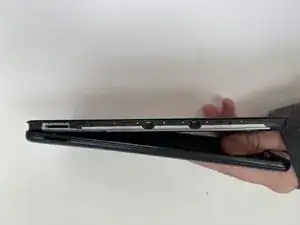
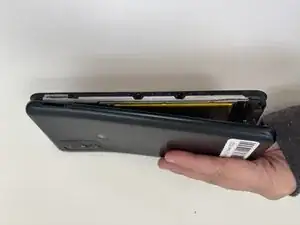
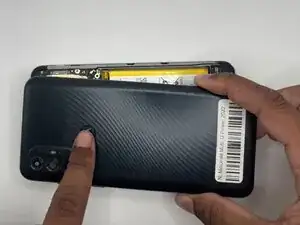
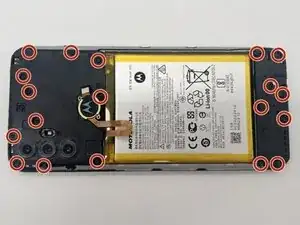
Slide an opening pick around the perimeter of the phone to break through and loosen the adhesive holding the outer case in place.
-
Use an opening tool to release the clips securing the front and back casing together.
-
-
-
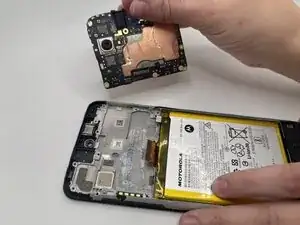
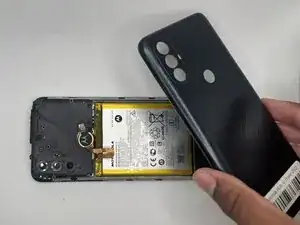
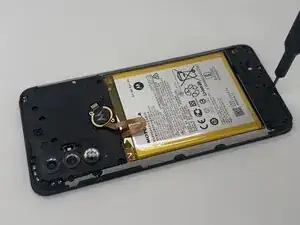
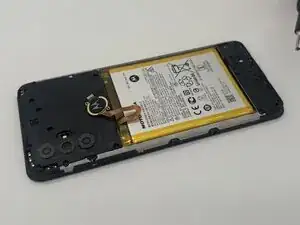
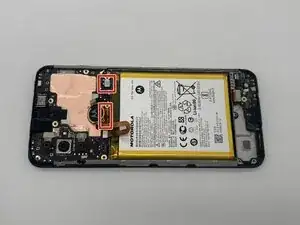
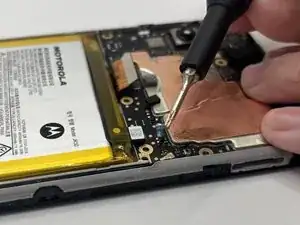
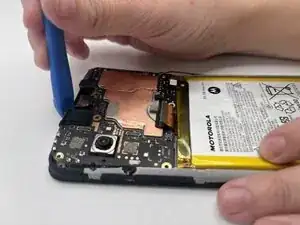
Place a spudger or an opening tool under the edge of the battery connector and pry straight up to disconnect it. Do the same to disconnect the large press connector next to the battery connector.
-
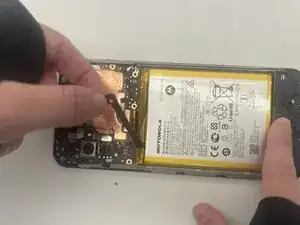
Remove the battery cable using an opening pick or tweezers. It should pop right off.
-
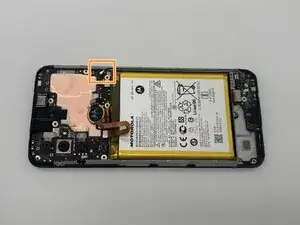
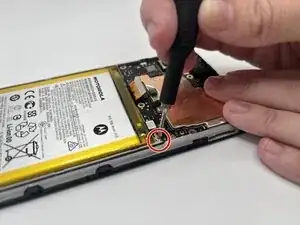
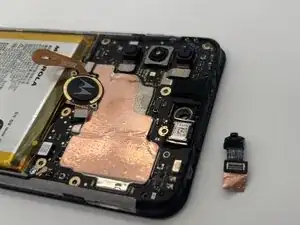
Slide a thin, ESD-safe pry tool or angled tweezers under the metal neck of the coaxial antenna cable connector (as close to the head as possible) and lift straight up from the board.
-
-
-
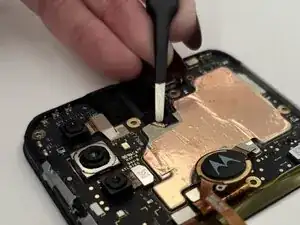
Place a spudger or an opening tool under the edge of the fingerprint sensor connector and pry straight up to disconnect it.
-
Set it aside.
-
-
-
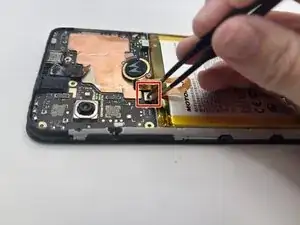
Use a pair of tweezers or an opening pick to peel the tape covering the front camera and remove them both.
-


To reassemble your device, follow these instructions in reverse order. Take your e-waste to an R2 or e-Stewards certified recycler.