Introdução
Use this guide to replace the front-facing camera in the Motorola Moto G Power (2022). This device is also known as the Moto G Power (3rd Generation) or Moto G Power 2022.
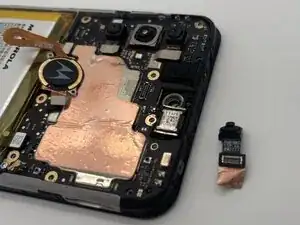
This guide will help you remove and replace the Moto G Power’s selfie camera module. The front camera handles facial imaging for selfies, video calls, and face-based authentication features. When the camera module is damaged or malfunctioning, these features may fail or produce poor results.
Common symptoms of a failing front camera include:
- Camera app shows a black screen when switching to the front camera.
- Blurry, foggy, or distorted selfie images.
- Camera app freezing or unexpectedly closing.
- Washed-out colors or excessive visual noise.
- Inability to focus on subjects.
- Front camera not detected by apps that require it.
Important Safety Information
- Power off the device completely before beginning the repair and unplug it from any external power source.
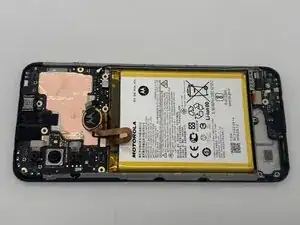
- The rear cover of the Moto G Power (2022) is secured with strong adhesive and will require heat. Use an iOpener to safely open the device. Once inside, disconnect the battery as soon as it becomes accessible to prevent short circuits and accidental activation of internal hardware.
- Be cautious when prying open the device, uneven pressure can crack the plastic back panel or damage the front display, especially around the thin area.
- Opening the phone compromises its factory water-resistance because the adhesive seals cannot be reused.
- If you notice signs of a swollen battery, such as a lifted back panel or screen separation, address that issue before attempting this guide. Swollen lithium-ion batteries should be handled carefully and disposed of through an approved recycling program. For more information, take a look at the What to do with a swollen battery guide.
Before starting the repair, make sure your Moto G Power (2022) is powered off, unplugged, and that you are working on a clean, static-safe surface.
Ferramentas
-
-
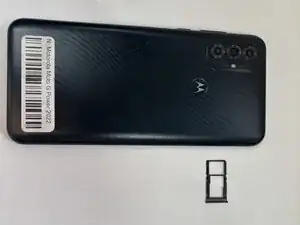
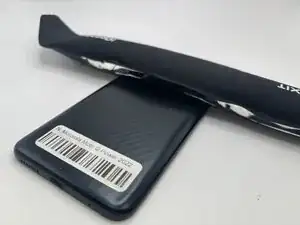
Insert the end of a paperclip or a SIM card eject tool into the small hole to eject the SIM tray, then remove it.
-
-
-
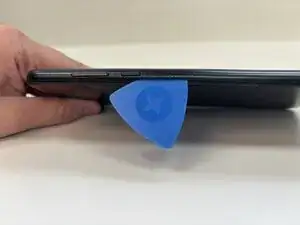
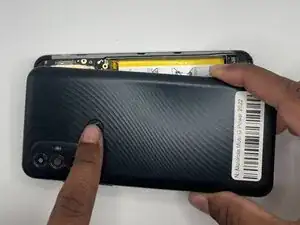
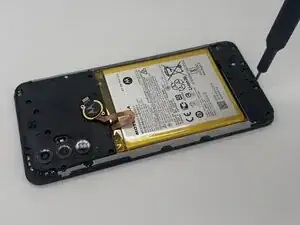
Slide an opening pick around the perimeter of the phone to break through and loosen the adhesive holding the outer case in place.
-
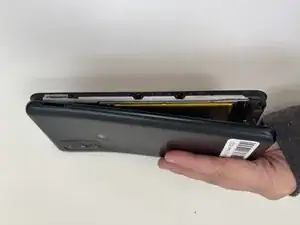
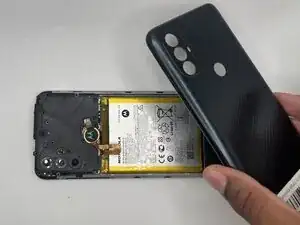
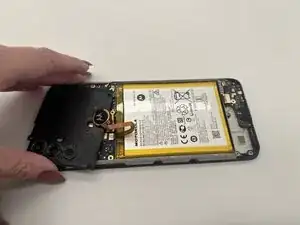
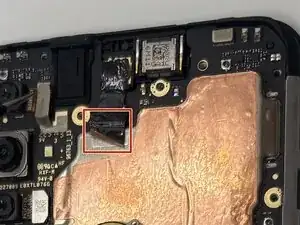
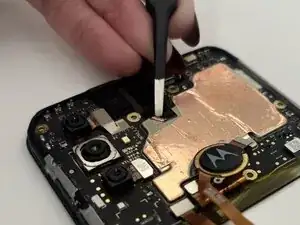
Use an opening tool to release the clips securing the front and back casing together.
-


To reassemble your device, follow these instructions in reverse order. Take your e-waste to an R2 or e-Stewards certified recycler.