Introdução
This guide will show you how to replace the battery in the Motorola Moto G Power (2022). This device is also known simply as the Moto G Power (3rd Generation) or Moto G Power 2022.
You’ll use this guide to remove the phone’s internal lithium-ion battery and install a new one. The battery stores and supplies power to the device; allowing the Moto G Power to boot, run apps, and maintain system functions. Over time, lithium-ion batteries naturally degrade, which leads to shortened battery life and other performance issues.
For more details on diagnosing these issues, see the Battery Draining Quickly, Device Won’t Turn On, and Overheating sections of the Moto G Power (2022) Troubleshooting Page.
Important Safety Information
- Check for battery swelling. If the rear cover does not sit flush or the screen appears lifted, the battery may be swollen. Stop using the device immediately. Swollen batteries are a fire risk, handle them gently, do not puncture them, and dispose of them properly at an approved battery recycling facility. Follow this, What to do with a swollen battery guide for additional information.
- Removing the back cover requires heat. The Moto G Power (2022) uses strong adhesive, so you’ll need to apply heat, such as a controlled heat gun to soften the adhesive. Follow this guide if you’re unfamiliar with the process.
- Be careful with the display and plastic rear cover. The plastic back panel can crack if pried unevenly, and the display can shatter if internal pressure is applied incorrectly.
- Disconnect the battery as soon as it becomes accessible. This prevents short circuits and accidental activation of internal components while you work.
- The overall resistance for liquids will be reduced. Opening the device breaks its original adhesive seals, which degrades its water resistance.
Before beginning, fully power off your Moto G Power (2022) and unplug it from any external power source.
-
-
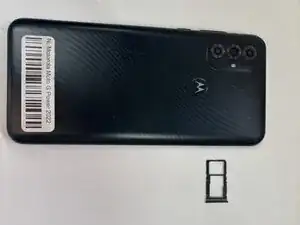
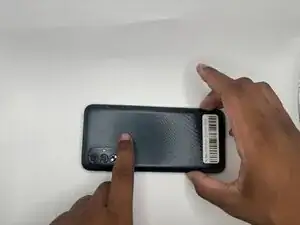
Insert the end of a paperclip or a SIM card eject tool into the small hole to eject the SIM tray, then remove it.
-
-
-
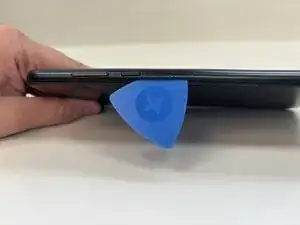
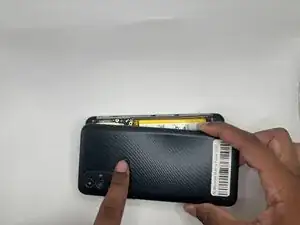
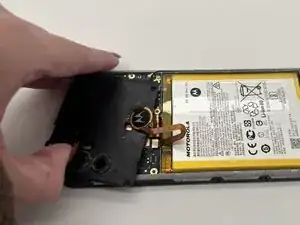
Slide an opening pick around the perimeter of the phone to break through and loosen the adhesive holding the outer case in place.
-
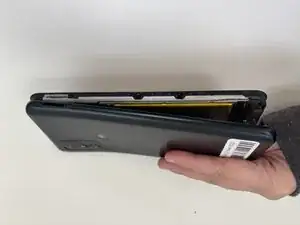
Use an opening tool to release the clips securing the front and back casing together.
-
-
-
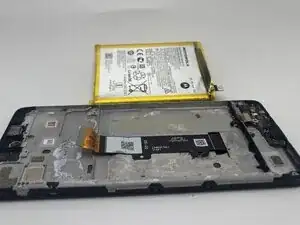
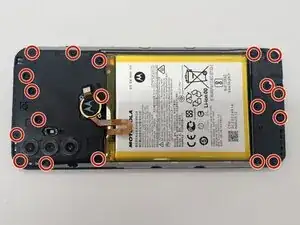
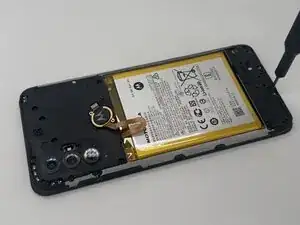
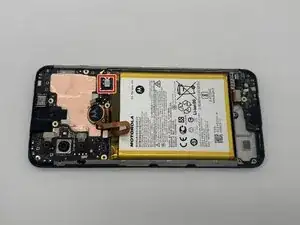
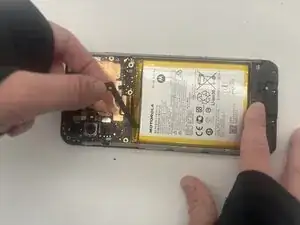
Place a spudger or an opening tool under the edge of the battery connector and pry straight up to disconnect it.
-
Remove the battery cable using an opening pick or tweezers. It should pop right off.
-
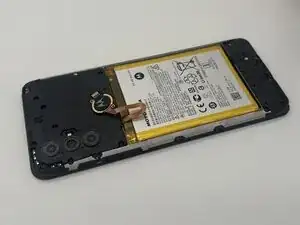
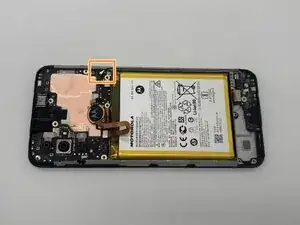
Slide a thin, ESD-safe pry tool or angled tweezers under the metal neck of the coaxial cable connector (as close to the head as possible) and lift straight up from the board.
-
-
-
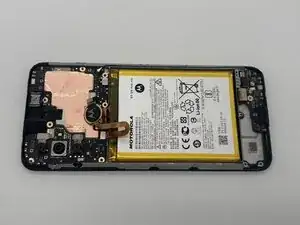
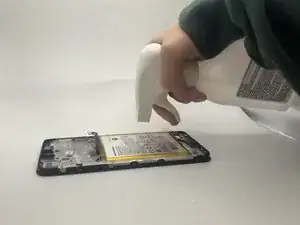
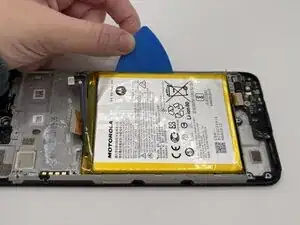
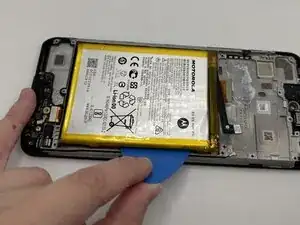
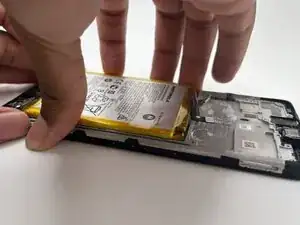
Apply 1-2 drops of high concentration (over 90%) isopropyl alcohol to the gaps in between the frame and the edges of the battery.
-


To reassemble your device, follow these instructions in reverse order. Take your e-waste to an R2 or e-Stewards certified recycler.