Introdução
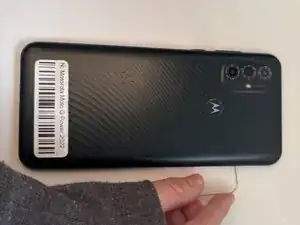
Use this guide to replace the rear camera module in the Motorola Moto G Power (2022).This device is also known as the Moto G Power (3rd Generation) or Moto G Power 2022.
This guide will help you remove the phone’s rear camera assembly, including the primary wide camera, depth sensor, and macro lens, then install a new one. The rear camera module captures all photo and video content on the Moto G Power, using multiple lenses and sensors to process images, autofocus, and handle depth information.
A failing camera module may show several symptoms, including:
- Blurry or unfocused photos
- Camera app freezing, crashing, or failing to launch
- Black screen in the camera app
- Inconsistent autofocus or inability to switch between lenses
- Visible debris or internal damage inside the camera housing
- Grainy images or distorted colors
For more help diagnosing these issues, proceed to this guide.
Important Safety Information
- Power off the device completely before beginning this repair and unplug it from any external power source.
- The back cover is held on with strong adhesive. Opening the device requires controlled heat. You can use an iOpener to soften the adhesive. Follow this guide if you’re unfamiliar with the process.
- Be cautious of the display and plastic back cover. Excessive force during prying can crack the rear panel or create pressure points on the front screen, potentially shattering the display.
- Disconnect the battery as soon as it becomes accessible. This reduces the risk of short circuits or accidental activation of the motherboard while removing the camera module.
- Opening the device weakens its factory water-resistance due to broken adhesive seals.
- Use approved safe tools when possible to reduce the risk of static discharge damaging sensitive camera and logic board components.
- If the phone shows signs of a swollen battery, such as the screen lifting from the frame, do not proceed with the repair until the battery issue is safely addressed. The What to do with a swollen battery guide is a helpful resource.
Before beginning the repair, ensure the Moto G Power (2022) is fully powered down and you have a clean, static-safe workspace prepared.
-
-
Insert the end of a paperclip or a SIM card eject tool into the small hole to eject the SIM tray, then remove it.
-
-
-
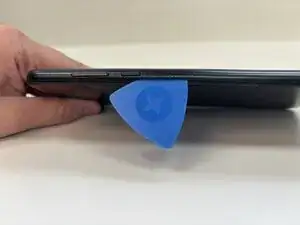
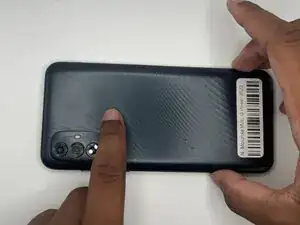
Slide an opening pick around the perimeter of the phone to break through and loosen the adhesive holding the outer case in place.
-
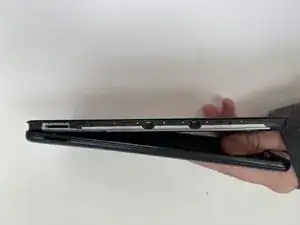
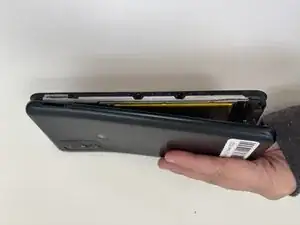
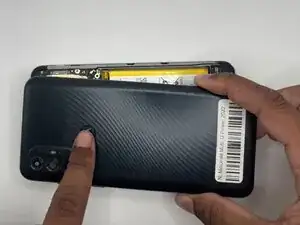
Use an opening tool to release the clips securing the front and back casing together.
-
-
-
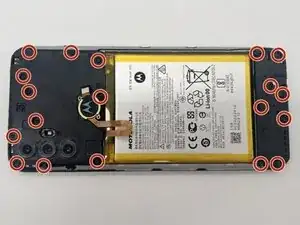
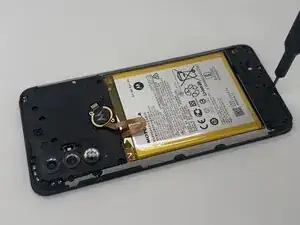
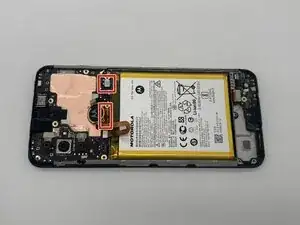
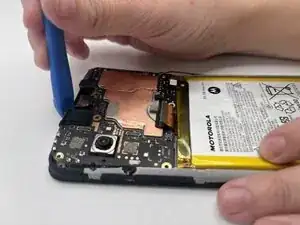
Place a spudger or an opening tool under the edge of the battery connector and pry straight up to disconnect it. Do the same to disconnect the large press connector next to the battery connector.
-
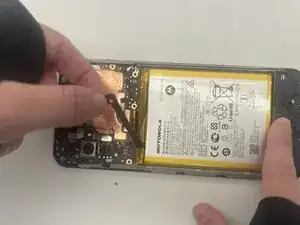
Remove the battery cable using an opening pick or tweezers. It should pop right off.
-
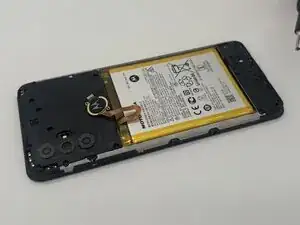
Slide a thin, ESD-safe pry tool or angled tweezers under the metal neck of the coaxial antenna cable connector (as close to the head as possible) and lift straight up from the board.
-
-
-
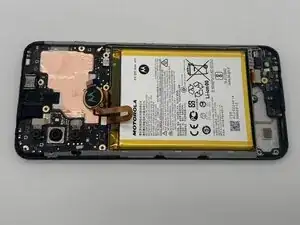
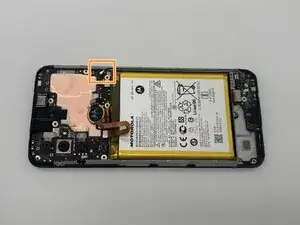
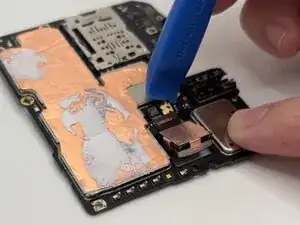
Place a spudger or an opening tool under the edge of the fingerprint sensor connector and pry straight up to disconnect it.
-
Set it aside.
-
-
-
Use a pair of tweezers or an opening pick to peel the tape covering the front camera and remove them both.
-
-
-
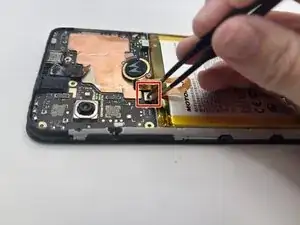
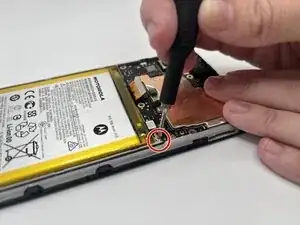
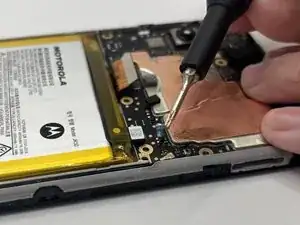
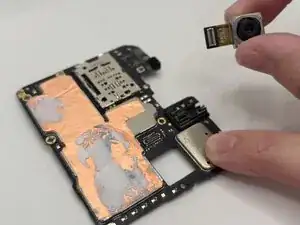
Place a spudger or an opening tool under the edge of the back camera connector and pry straight up to disconnect it.
-
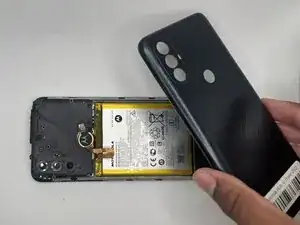
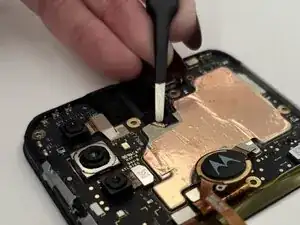
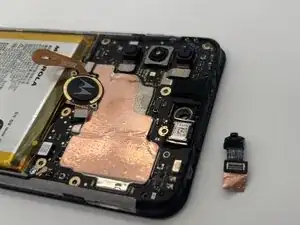
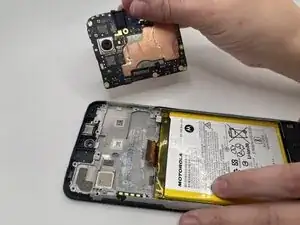
Remove the back camera.
-

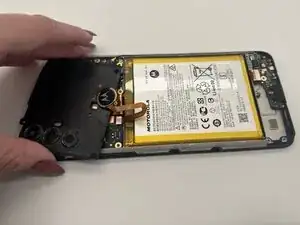

To reassemble your device, follow these instructions in reverse order. Take your e-waste to an R2 or e-Stewards certified recycler.