Introdução
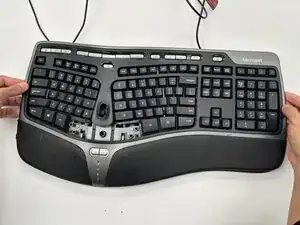
This guide will show you how to remove and replace the LED light on your Microsoft Natural Ergonomic Keyboard 4000 v1.0. Replacing a faulty LED can restore proper indicator lighting and improve usability, especially for functions like Caps Lock or Num Lock. In some cases, accessing the LED may require careful prying or precise handling of small components, so take your time and avoid damaging the circuit board or surrounding parts.
-
-
Remove the following screws from the bottom of the keyboard:
-
Eighteen 8.8 mm-long Phillips screws.
-
Three 11 mm-long Phillips screws.
-
-
-
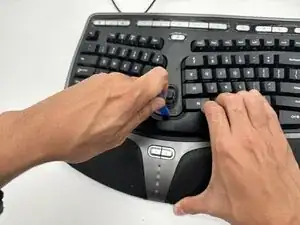
Hold one side of the spacebar up, then place the plastic opening tool in the top-middle of the spacebar.
-
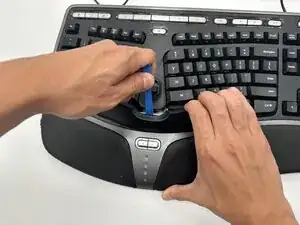
Gently apply upwards pressure with the opening tool until the spacebar comes off.
-
-
-
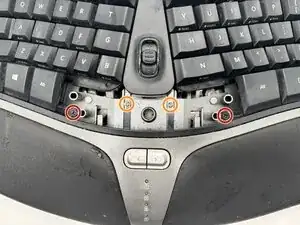
Remove the following screws from inside the keyboard:
-
Two 7 mm-long Phillips screws.
-
Two 11.8 mm-long Phillips screws.
-
-
-
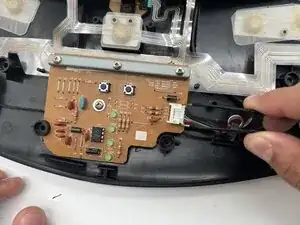
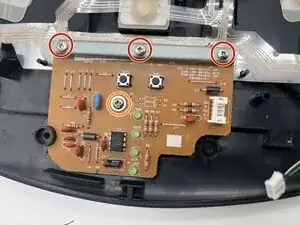
Remove the following screws from the motherboard:
-
Three 9.7 mm-long Phillips screws.
-
One 6.8 mm-long Phillips screws.
-
-
-
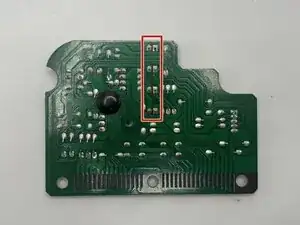
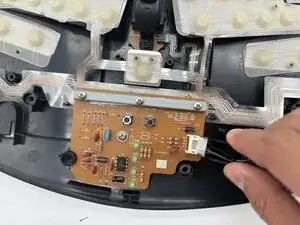
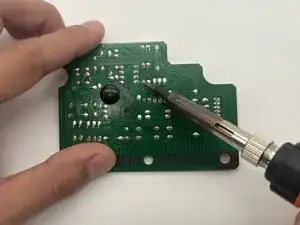
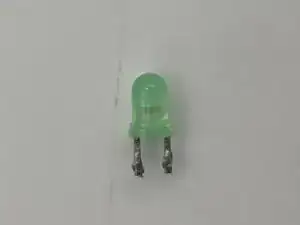
Locate the LED you want to remove on the back of the motherboard and use a soldering iron to desolder it.
-


To reassemble your device, follow the above steps in reverse order.
Take your e-waste to an R2 or e-Stewards certified recycler.
Repair didn’t go as planned? Try some basic troubleshooting or ask our Answers community for help.