Introdução
A solid-state drive (SSD) is a high-speed storage device capable of saving data persistently. Both internal and external SSDs were developed after the traditional hard disk drive (HDD); without the complex moving parts of the latter, SSDs are significantly faster and more durable.
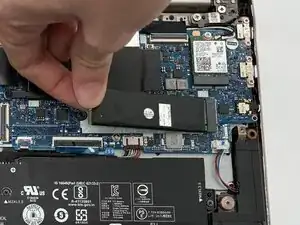
The Lenovo Yoga C740-14IML is equipped with an internal SSD, which connects to the motherboard. Newer forms of solid-state drives, such as the Lenovo Yoga C740-14IML's M.2 SSD, utilise a protocol called Nonvolatile Memory Express (NVMe). The NVMe's optimal flash storage and low latency makes for a sought-after and competitive interface. However, like any device, SSDs are prone to issues caused by frequent usage: in other words, regular wear-and-tear. Some common causes of SSD failure include:
- Overheating
- Firmware Corruption
- Physical Damage
- Electrical Issues (such as power surges/outages)
In these cases, the best course of action is to replace your device's solid-state drive. We hope our guide proves valuable in this endeavour.
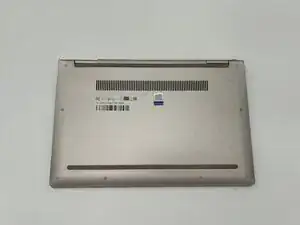
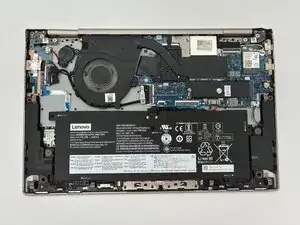
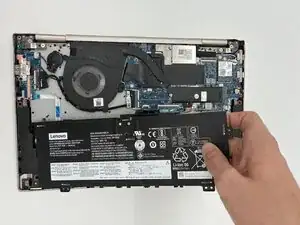
Before you begin, power off your laptop and disconnect the charger.
-
-
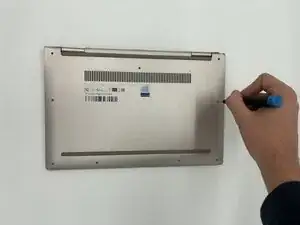
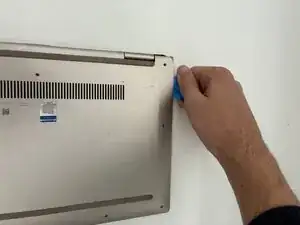
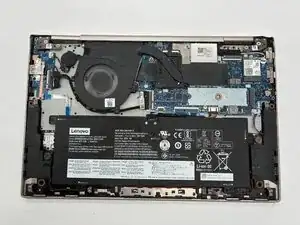
Insert an opening pick or opening tool between the top and bottom covers, then slide it around the perimeter to release the clips.
-
-
-
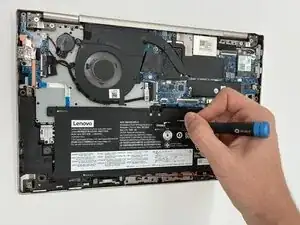
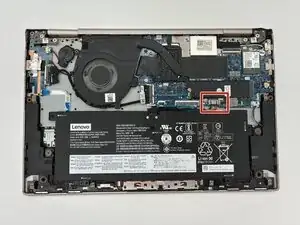
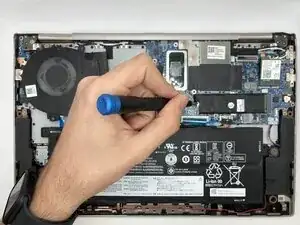
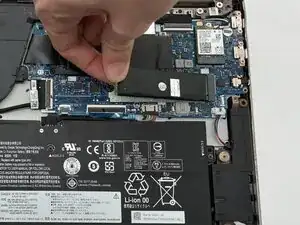
Use the point of a spudger to push on alternating sides of the connector to "walk" it out of its socket.
-
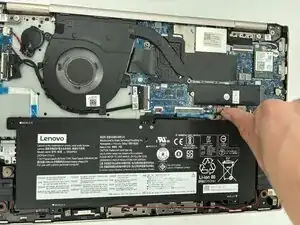
To reassemble your device, follow these instructions in reverse order. Take your e-waste to an R2 or e-Stewards certified recycler.