Introdução
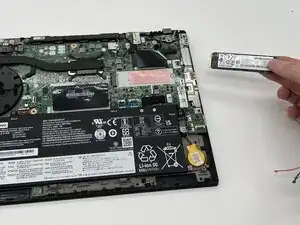
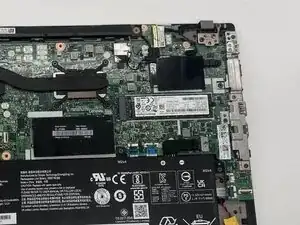
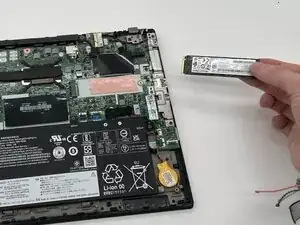
This guide shows how to replace the SSD in a Lenovo ThinkPad T14 Gen 1. The solid-state drive (SSD) stores your operating system, applications, and personal files. You may need to replace it if the drive fails or if you want more storage.
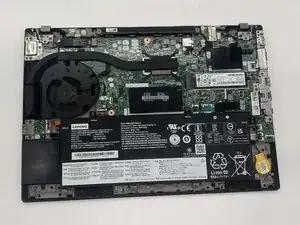
Note that the Lenovo ThinkPad T14 Gen 1 has a single M.2 2280 NVMe SSD slot, so it does not support installing multiple SSDs.
Before you begin, completely power off the computer and work on a clean, uncluttered surface. Keeping your workspace clear helps prevent accidental damage to internal components and reduces safety risks.
-
-
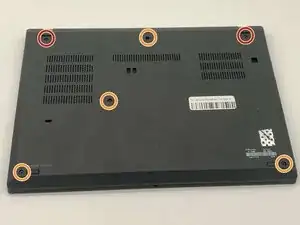
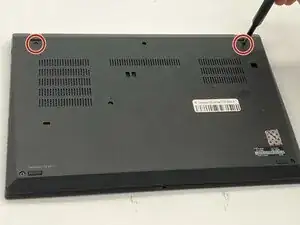
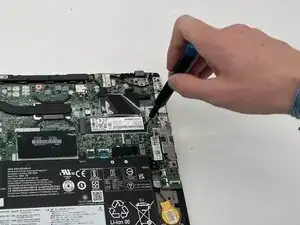
Use a Phillips #1 screwdriver to loosen the following captive screws:
-
The top two 6.8 mm corner screws
-
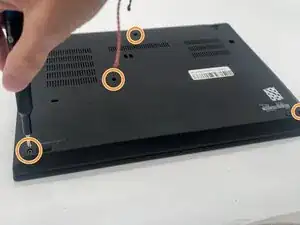
Four 5.8 mm-long screws
-
-
-
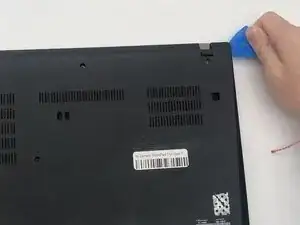
Use a plastic opening tool to pry the bottom panel.
-
Insert the end of the opening tool into the seam between the bottom and top cover.
-
Slide the opening tool around the edge of the bottom panel to release the clips holding them together.
-
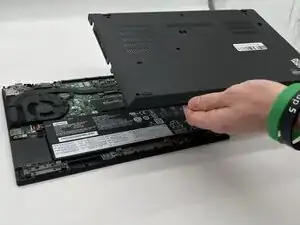
Gently remove the bottom panel.
-

To reassemble your device, follow these instructions in reverse order. Take your e-waste to an R2 or e-Stewards certified recycler.

You might not need to remove the screws. My laptops back cover had all screws held in place with washers. You just need to untighten them.
Sverrir -
...also worth mentioning: Three of the screws are philips size 0, the ones near the hinges and the one closest to the center.
Sverrir -