
Introdução
This guide will walk you through replacing the RAM in a Lenovo ThinkPad T14 Gen 1. Upgrading or replacing RAM can improve performance and multitasking, or fix a faulty module.
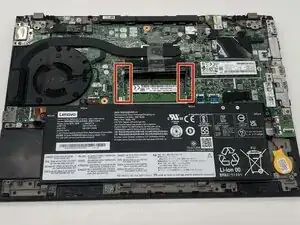
The T14 Gen 1 supports DDR4 RAM at 3200 MHz or 2666 MHz, up to 32 GB.
Before you start:
- Shut down the laptop completely.
- Clear your workspace of clutter and liquids—this will keep both you and your laptop safe.
- Take care around the battery. Puncturing it or using tools carelessly could create a fire hazard.
- Organize your screws and small parts so nothing gets lost.
-
-
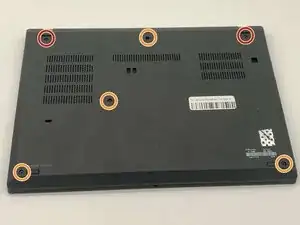
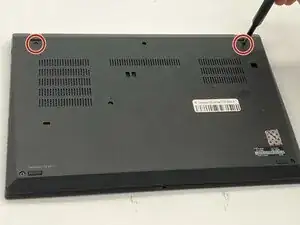
Use a Phillips #1 screwdriver to loosen the following captive screws:
-
The top two 6.8 mm corner screws
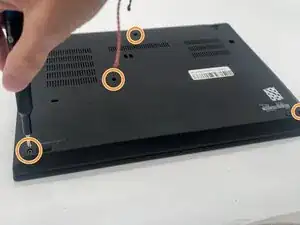
-
Four 5.8 mm-long screws
-
-
-
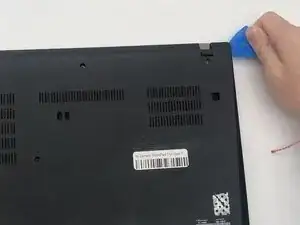
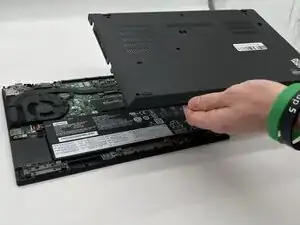
Use a plastic opening tool to pry the bottom panel.
-
Insert the end of the opening tool into the seam between the bottom and top cover.
-
Slide the opening tool around the edge of the bottom panel to release the clips holding them together.
-
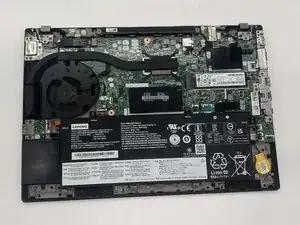
Gently remove the bottom panel.
-
-
-
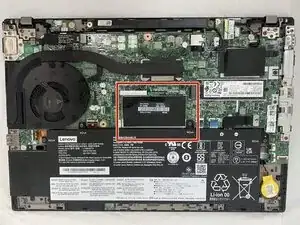
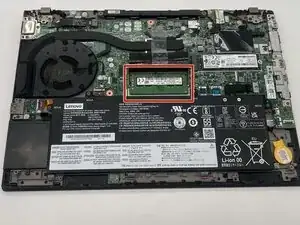
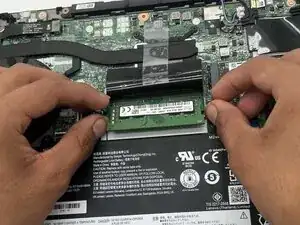
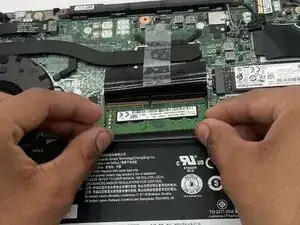
Using both thumbs gently push the two latches on either side of the slot apart to free the RAM.
-
Slide the RAM stick out from the slot on the motherboard.
-
To reassemble your device, follow these instructions in reverse order. Take your e-waste to an R2 or e-Stewards certified recycler.

You might not need to remove the screws. My laptops back cover had all screws held in place with washers. You just need to untighten them.
Sverrir -
...also worth mentioning: Three of the screws are philips size 0, the ones near the hinges and the one closest to the center.
Sverrir -