Introdução
The Lenovo ThinkPad P51s uses a pair of internal stereo speakers mounted along the front edge of the chassis. Over time, the speakers may fail due to dust buildup, membrane wear, liquid exposure, or cable damage. Common symptoms include crackling or distorted audio, one speaker not working, intermittent sound, or complete audio failure even after software troubleshooting.
Before starting this repair, power off the laptop, disconnect the AC adapter, and remove the external battery to prevent accidental short circuits. The speakers are connected with small wires and routed clips, so handle the cables gently and avoid pulling on them directly. This repair requires removing the bottom cover to access the speakers and their connectors.
This guide will walk you through safely removing and replacing the internal speakers. If audio problems continue after replacement, check the audio driver, headphone jack detection circuit, or internal audio cable routing as possible causes.
-
-
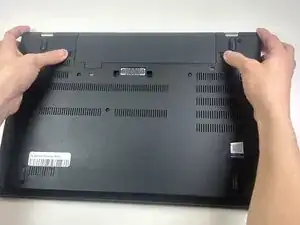
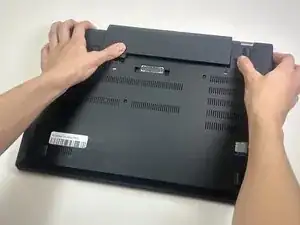
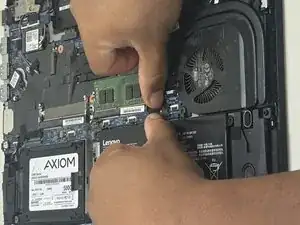
Slide both locking latches outward using your thumbs.
-
Keep the right latch held in the unlocked position with your right thumb.
-
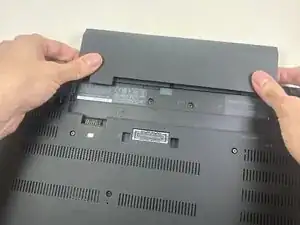
With your left hand, push the battery out from its slot.
-
Once it detaches, use both hands to slide the battery out.
-
-
-
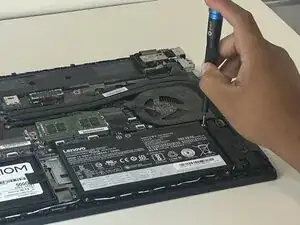
Use a Phillips #00 screwdriver to loosen all seven captive screws that secure the lower case.
-
-
-
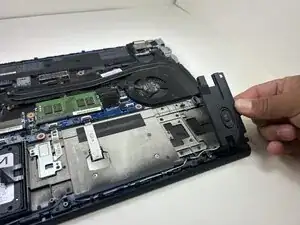
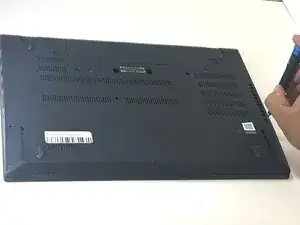
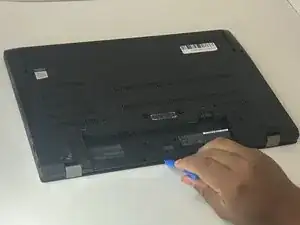
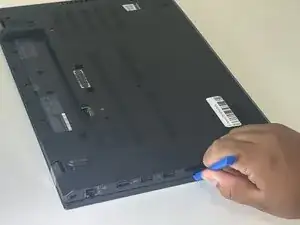
Insert an opening tool into the gap along one edge of the laptop.
-
Slide the tool along the perimeter to release the retaining clips.
-
Work slowly and apply even pressure
-
Lift the back cover off the laptop.
-
-
-
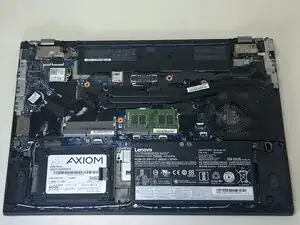
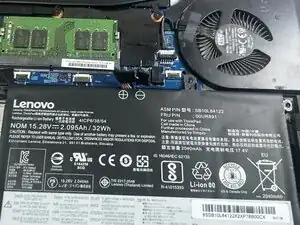
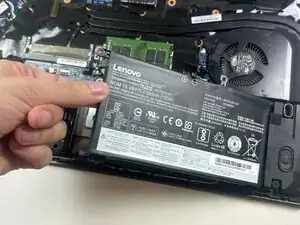
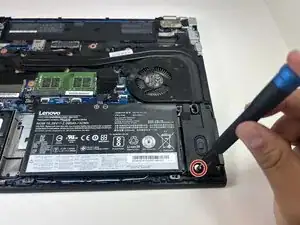
Find the internal battery pack. It’s the large, flat rectangle labeled with voltage/capacity.
-
-
-
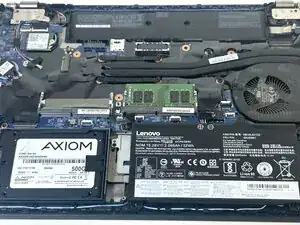
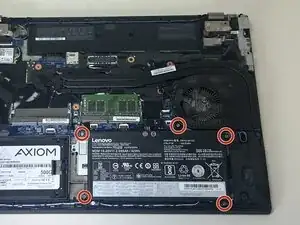
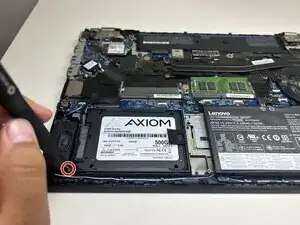
Use a Phillips #0 screwdriver to remove the five 3 mm screws securing the internal battery to the motherboard.
-
-
-
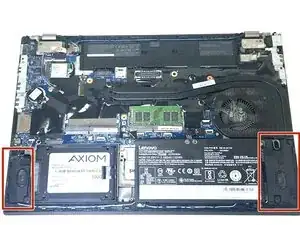
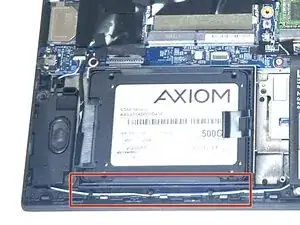
Identify the two internal speakers at the front edge of the laptop, one on each side of the chassis.
-
-
-
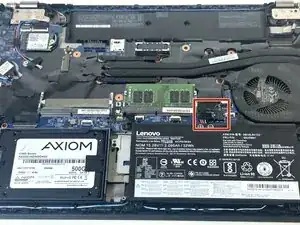
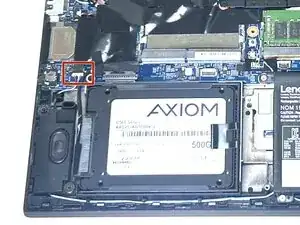
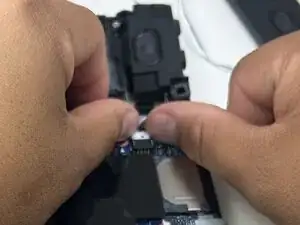
Use a Phillips #00 screwdriver to remove the single 3 mm screw from each speaker.
-
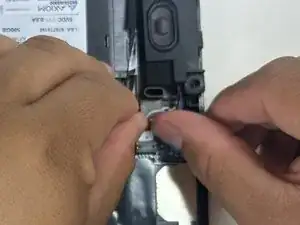
Lift each speaker straight up and out of its slot.
-
Pull the speaker cable out of the wire guide along the edge of the laptop.
-


To reassemble your device, follow these instructions in reverse order. Take your e-waste to an R2 or e-Stewards certified recycler.