Introdução
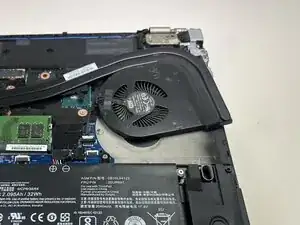
The ThinkPad P51s uses a compact cooling assembly consisting of a single blower-style fan connected to a heat pipe radiator. Over time, dust buildup, worn bearings, or prolonged thermal stress can cause the fan to become noisy, run at full speed constantly, or fail to spin altogether. When the fan can no longer cool the CPU and GPU effectively, the laptop may throttle performance, overheat, or shut down unexpectedly to prevent hardware damage.
Before beginning this repair, shut down the laptop completely, disconnect the AC adapter, and remove the external battery to cut power to the system. The internal fan is located beneath the bottom cover and partially under the heat sink assembly, so some ribbon cables and nearby components must be handled carefully during disassembly. If your fan has seized or is scraping internally, avoid forcing the blades — they can break easily.
This guide will walk you through safely accessing, removing, and replacing the internal cooling fan. For best results, consider cleaning the heatsink fins and reapplying thermal paste if the laptop has severe thermal issues or has not been serviced in several years.
Ferramentas
-
-
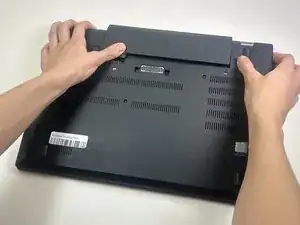
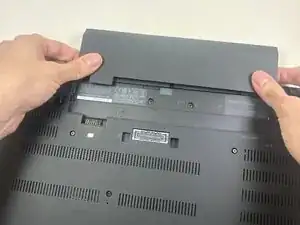
Slide both locking latches outward using your thumbs.
-
Keep the right latch held in the unlocked position with your right thumb. With your left hand, pushed the battery out of its placement from the slot.
-
Once it detaches, use both hands to slide the battery fully out.
-
-
-
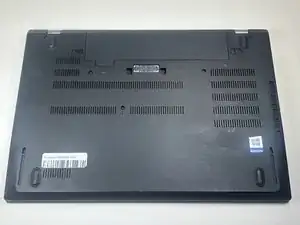
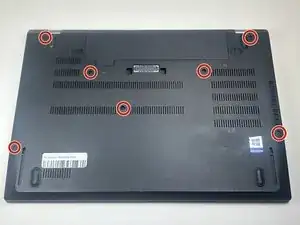
Use a Phillips #00 screwdriver to loosen all seven captive screws that secure the lower case.
-
-
-
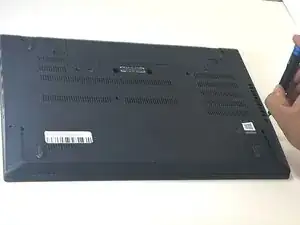
Insert an iFixit opening tool into the gap along one edge of the laptop.
-
Gently slide it around the perimeter to release the clips.
-
Lift the cover off once all clips are released.
-
-
-
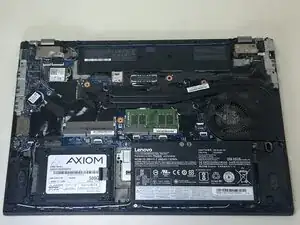
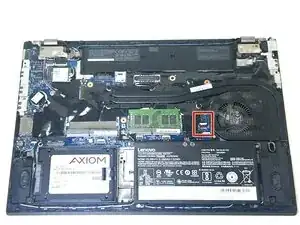
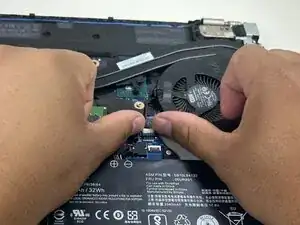
Pull the fan connector straight out of the socket on the motherboard.
-
If the connector is difficult to slide out of the socket, use the tip of a spudger to gently push on alternating sides of the connector to “walk” it out of the socket.
-
-
-
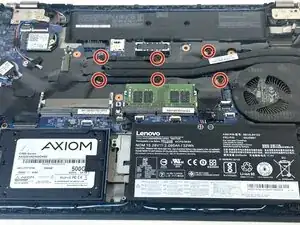
Use a Phillips screwdriver #00 to loosen the fan’s six mounting screws until they spin freely.
-
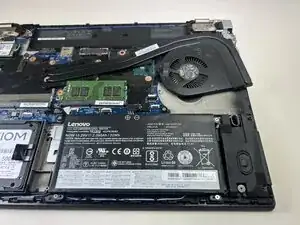
Tilt the fan slightly toward the heatsink fins and lift it out of the laptop.
-


To reassemble your device, follow these instructions in reverse order. Take your e-waste to an R2 or e-Stewards certified recycler.