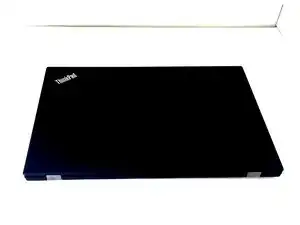
Introdução
The ThinkPad P51s uses Lenovo’s dual “PowerBridge” battery system, which includes a removable external battery and an internal backup battery mounted inside the chassis. Over time, the internal battery can degrade, leading to symptoms such as rapid power drain, sudden shutdowns when unplugged, failure to charge past a certain percentage, or the laptop not powering on unless the charger is plugged in. Replacing the internal battery restores normal power delivery and increases overall runtime.
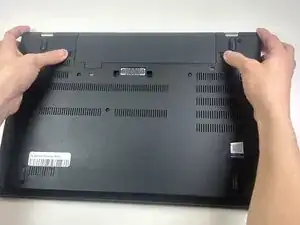
Before beginning this repair, shut down the laptop completely and disconnect the AC adapter. Lenovo recommends removing the external battery first to isolate power from the board. Because lithium-ion cells can hold charge even when disconnected, avoid puncturing, bending, or applying pressure to the battery during removal. If the battery is swollen or leaking, stop immediately and follow safe disposal procedures instead of continuing the repair.
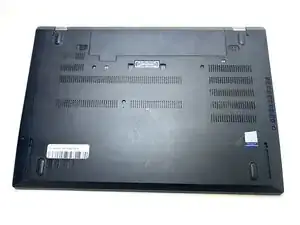
This guide will walk you step-by-step through safely accessing and replacing the internal battery using standard tools. Take your time when opening the bottom cover, as some clips and ribbon cables are located near the edges.
-
-
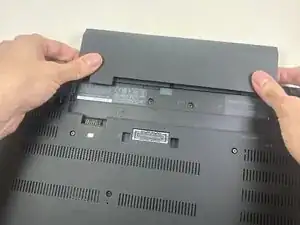
Slide both locking latches outward using your thumbs.
-
Keep the right latch held in the unlocked position with your right thumb.
-
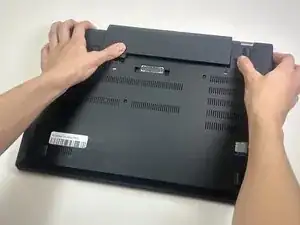
With your left hand, push the battery out from its slot.
-
Once it detaches, use both hands to slide the battery out.
-
-
-
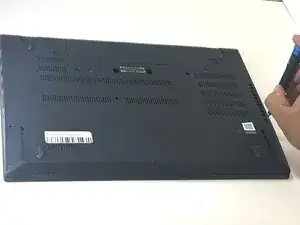
Use a Phillips #00 screwdriver to loosen all seven captive screws that secure the lower case.
-
-
-
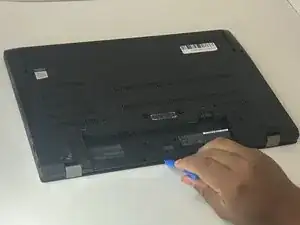
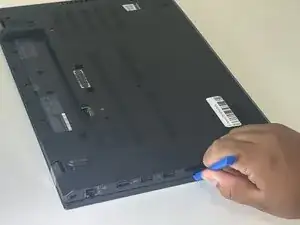
Insert an opening tool into the gap along one edge of the laptop.
-
Slide the tool along the perimeter to release the retaining clips.
-
Work slowly and apply even pressure
-
Lift the back cover off the laptop.
-
-
-
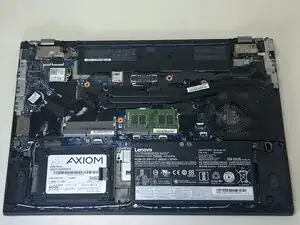
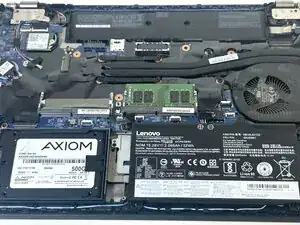
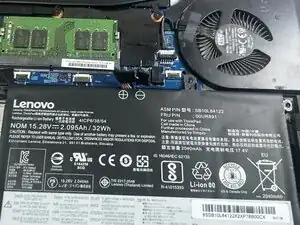
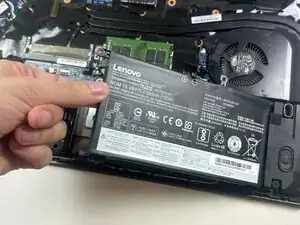
Find the internal battery pack. It’s the large, flat rectangle labeled with voltage/capacity.
-
-
-
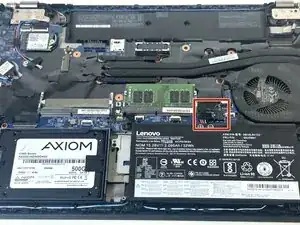
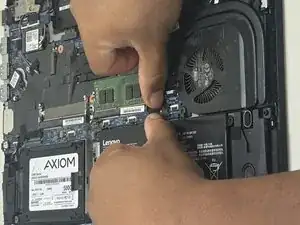
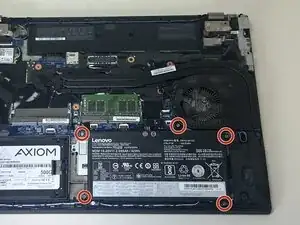
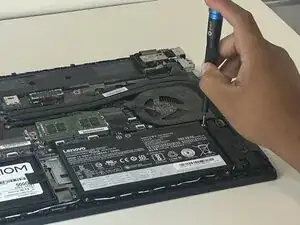
Use a Phillips #0 screwdriver to remove the five 3 mm screws securing the internal battery to the motherboard.
-

To reassemble your device, follow these instructions in reverse order.
For optimal performance, calibrate your newly installed battery after completing this guide.
Take your e-waste to an R2 or e-Stewards certified recycler.