Introdução

If you are experiencing malfunctions, need to upgrade or clean your hardware, or need to troubleshoot internal connections, use this guide to disassemble the trackpad on your Lenovo ThinkPad T14 Gen 3 laptop. This guide provides instructions for successful disassembly. Follow these steps carefully to avoid damage to internal components.

  1. ZcRW2TvMDQKfcXAe
    ZcRW2TvMDQKfcXAe
    4paQTZGpw1y2TLVB
    UyCe2n6QkhbaUx16
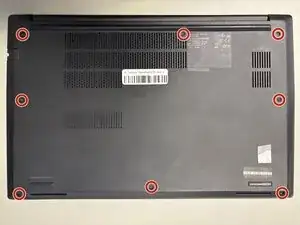
    • Loosen the eight Phillips #1 captive screws using a Phillips #1 screwdriver.

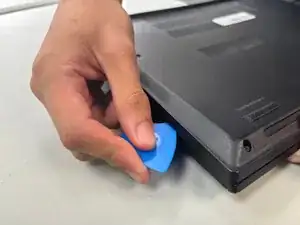
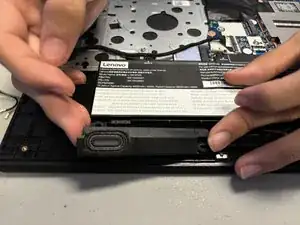
    • Slide the opening pick between the upper case and the bottom cover.

    • Slide the pick around the perimeter of the case to disconnect the clips while gently pulling upwards with your free hand.

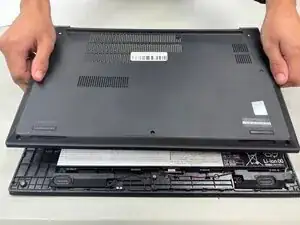
    • Lift the case upwards.

  2. 1yChPcCwn6DBaV1Y
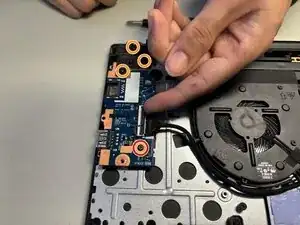
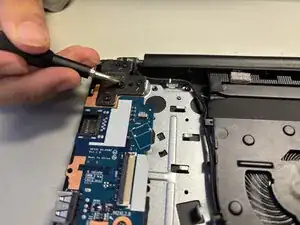
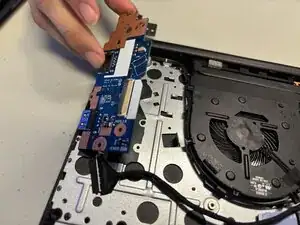
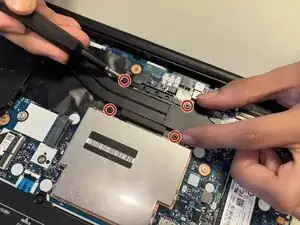
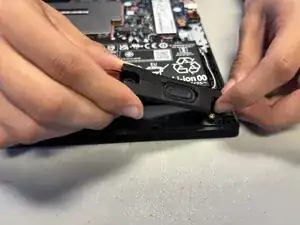
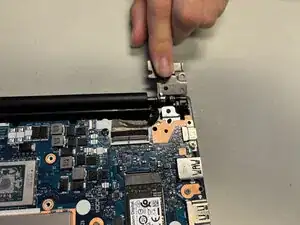
    • Loosen the 1 5.6mm Phillips #1 screw on the I/O board with a Phillips #1 screwdriver.

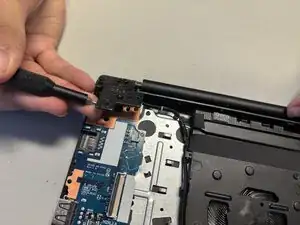
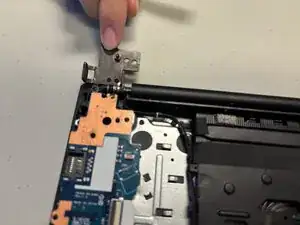
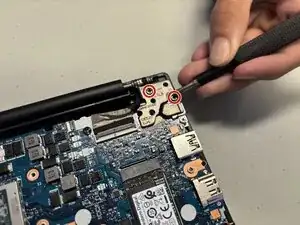
    • Loosen the three 6.5mm Phillips #1 screws on the hinge with a Phillips #1 screwdriver.

  3. xSuVKska3HkQ1lJt
    xSuVKska3HkQ1lJt
    TkR1VJO6URMybZMs
    • Lift the cable clasp using your fingertip or a spudger.

    • Pull the cable out from the socket.

  4. OrAoHhMBaMCiuJLU
    OrAoHhMBaMCiuJLU
    oRLq5XHeo11Rae5W
    kfwEHaZWpc6hMSDE
    • Use a screwdriver to lift up the hinge.

    • Rotate the hinge by 180°.

  5. PacDaq1GwVCLrGOG
    • Lift the I/O board out.

  6. Fyc2fpoUbNCyHv3Q
    Fyc2fpoUbNCyHv3Q
    GjQQUBOcLTAGxD41
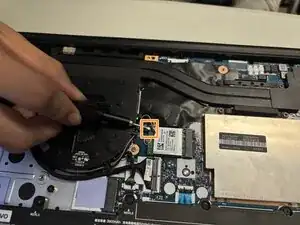
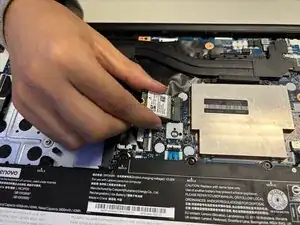
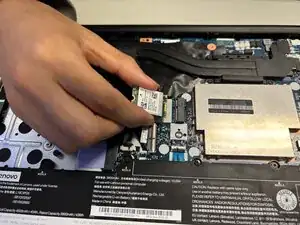
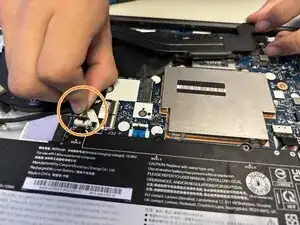
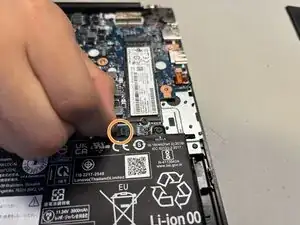
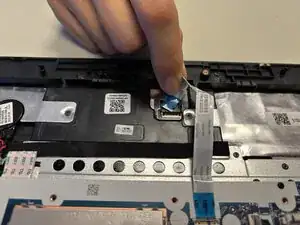
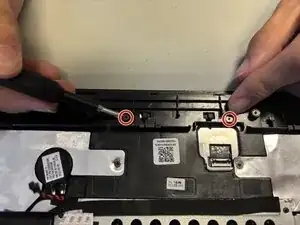
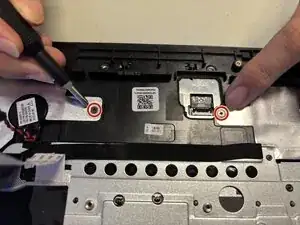
    • Remove the one 3.5mm screw using a Phillips #1 screwdriver.

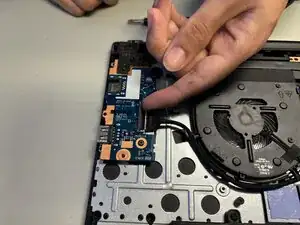
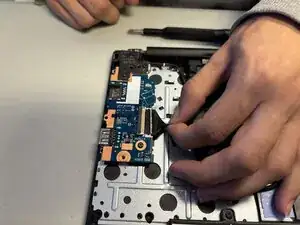
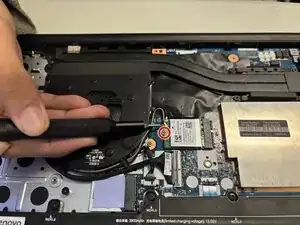
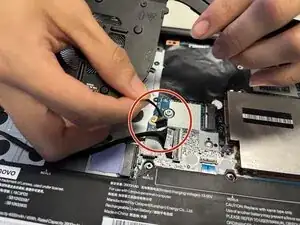
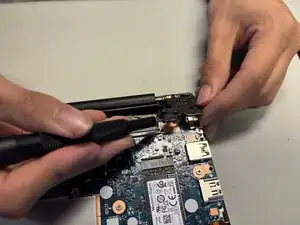
    • Pry off the two wires that connect to the WiFi card.

  7. k5CJjXdrrsfJWCYX
    k5CJjXdrrsfJWCYX
    sfJlsnNmWdJlMldt
    • Lift and pull out the WiFi card.

  8. X2l3SyLckUKC4UDw
    • Lift the WiFi wires directly upwards using both hands.

  9. eJmNElTFYTbDIku1
    • Remove the black cable.

  10. lInhPoY1tctSc3GR
    lInhPoY1tctSc3GR
    Qw2kLy6qgVU3eQQG
    rpexDFQdqeKLCDZd
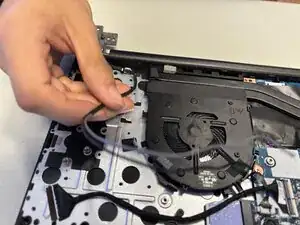
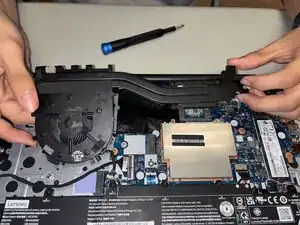
    • Loosen and remove all screws securing the fan and heatsinks assembly using a Phillips #1 screwdriver.

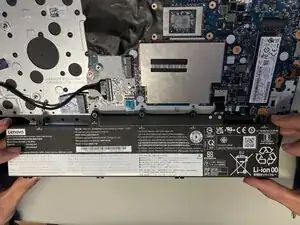
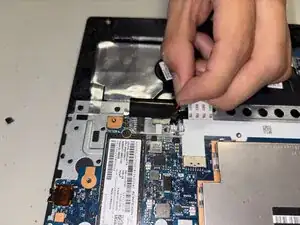
    • Lift the heatsink and fan assembly directly upwards using both hands.

    • Place the fan assembly aside with the thermal paste facing upwards to avoid catching debris.

  11. ORvnP2ISEQ4LkrBX
    ORvnP2ISEQ4LkrBX
    leVAK2NhHLVZLwjo
    Ghn3igUuHHNOAWjR
    • Extract and remove the left and right speakers.

    • Pull back the cord.

  12. genAYOQjq5Agi1jJ
    genAYOQjq5Agi1jJ
    VTncUnn1m1YBUfjD
    hUrm2IHxGSESNwBV
    • Remove the two black 6.5mm screws using a Phillips #1 screwdriver.

    • Lift the hinge.

  13. IYAWSL22rBkYFAhV
    IYAWSL22rBkYFAhV
    Ho4bAh1wTH46c1Gh
    • Lift the cable clasp using your fingertip or a spudger.

    • Remove the cable.

  14. SgHBZdoW6bYPMAO3
    SgHBZdoW6bYPMAO3
    IgUHUyJ6DACAG2jo
    • Remove the five black 5.5mm screws using a Phillips #1 screwdriver.

  15. SBvEYaPeZ4A1ZmTi
    SBvEYaPeZ4A1ZmTi
    wmPCk5OajMEpgeqr
    • Remove the blue ribbon cord.

    • Remove the red and black twisted cable to prevent damage.

  16. qKcIMCEy6Ex3pbJS
    qKcIMCEy6Ex3pbJS
    BdMSJNRLfKFjcQaP
    ePikU3k6y1UJ4R3f
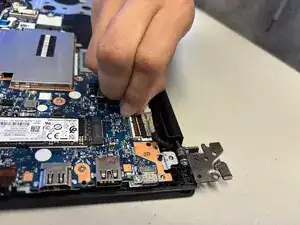
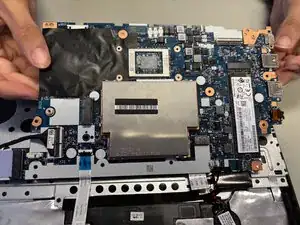
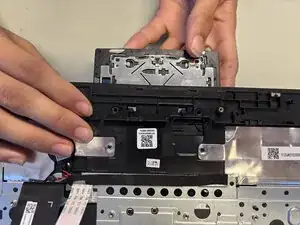
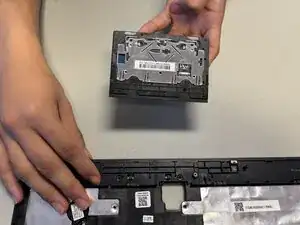
    • Lift the motherboard.

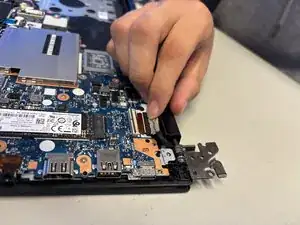
    • Flip the motherboard so that it is now upside down.

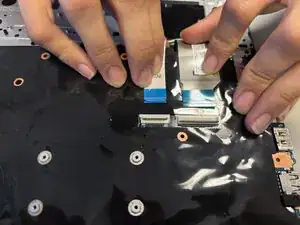
    • Remove the two ribbon cords by gently sliding them backwards.

  17. i3WppydARWoaBF5g
    i3WppydARWoaBF5g
    qUBcWcPPLSdAN4ve
    • Remove the four black 2.3mm screws using a Phillips #1 screwdriver.

  18. vJEUDBto5LnMYUfM
    vJEUDBto5LnMYUfM
    N4VIV3yDfLeBMrSV
    • Remove the trackpad by gently sliding it towards yourself.

Conclusão

To reassemble your device, follow these instructions in reverse order.

Maria Katrina Manalo

Membro desde: 28/08/24

277 Reputação

0 comentários