
Introdução
If your Lenovo IdeaPad Flex 5 Chromebook is experiencing persistent boot failures, overheating, charging issues, or complete power loss, use this guide to replace the motherboard.
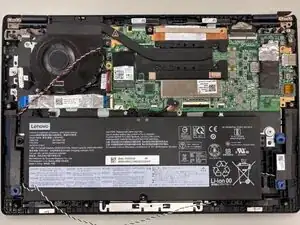
The motherboard is the central circuit board that connects and powers all major components of your Chromebook, including the CPU, memory, storage, and display. A faulty motherboard can cause symptoms such as failure to power on, random shutdowns, or inability to charge even after replacing the battery or charger. Before beginning this replacement, power off your Chromebook completely and disconnect it from any external power source. If your device has a swollen battery, cracked display, or signs of liquid damage, review appropriate safety precautions before proceeding.
This guide requires disconnecting and reconnecting multiple ribbon cables and internal components. Take care when handling the battery and display cables and avoid using metal tools near the motherboard. If your replacement motherboard does not include a pre-installed processor or memory, you may need to transfer these components from the original board.
Be sure to back up your data before starting this repair, as replacing the motherboard may result in loss of locally stored files. For additional guidance on Chromebook data backup and recovery, see Google’s Chromebook Help Center.
Ferramentas
-
-
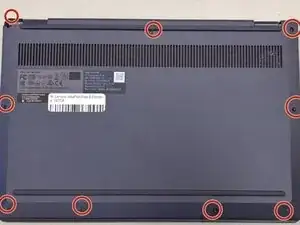
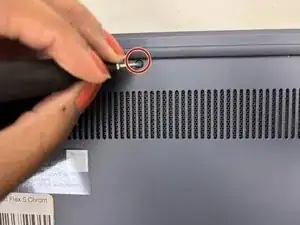
Remove the nine 6.2 mm-long screws securing the lower case with a Phillips #0 screwdriver.
-
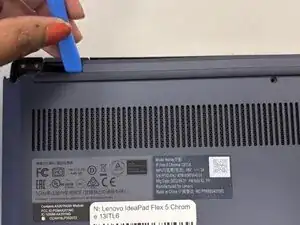
Insert an opening pick or opening tool into the seam between the lower case and chassis.
-
Pry around the entire perimeter until the lower case fully releases.
-
-
-
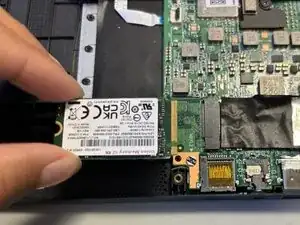
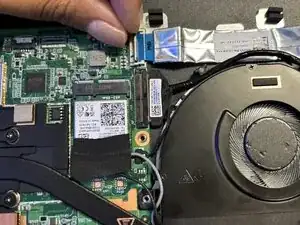
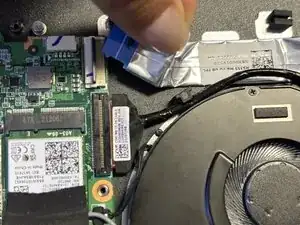
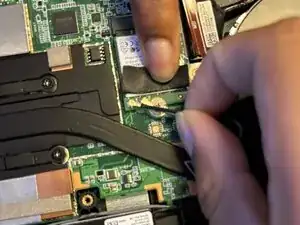
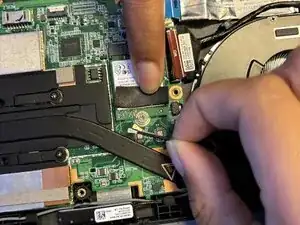
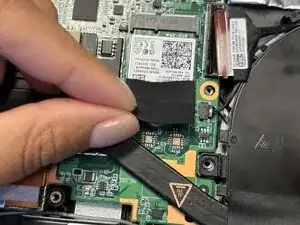
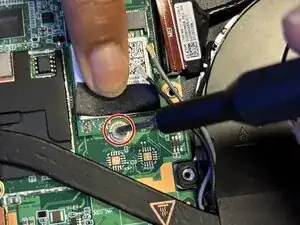
Next to the fan, lift the flap covering the Wi-Fi card connectors.
-
Lift the two coaxial cable connectors to remove them.
-
-
-
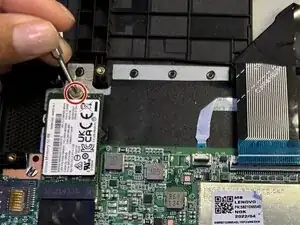
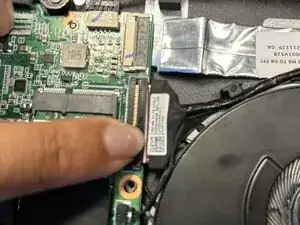
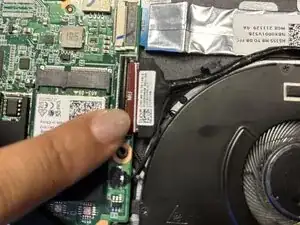
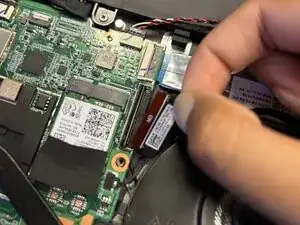
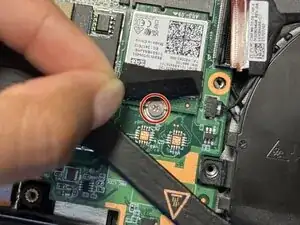
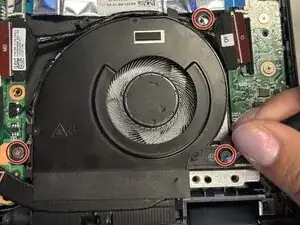
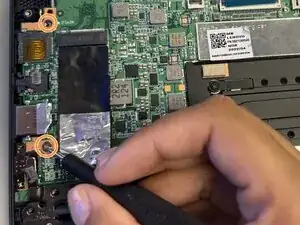
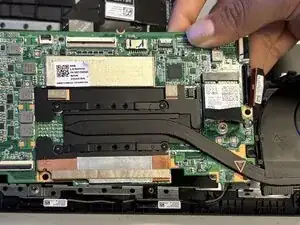
Remove the following screws with a Phillips #0 screwdriver:
-
Three 2.4 mm-long screws
-
Two 2.4 mm-long screws
-
Two 6.2 mm-long screws
-


To reassemble your device, follow the above steps in reverse order.
Take your e-waste to an R2 or e-Stewards certified recycler.
Repair didn’t go as planned? Try some basic troubleshooting or ask our Answers community for help.