Introdução
A motherboard is the most important part of the Lenovo IdeaPad 1-15IJL7. This part is the central hub of the device, consisting of the random-access memory (RAM), central processing unit (CPU), and storage devices. Without a proper working motherboard, a laptop is prone to have random crashes, startup and shutdown failures. The overall quality of the laptop will diminish.
Before starting any replacements, close out any unnecessary tabs. Leaving open tabs can waste RAM storage. Check for any malware and viruses on your laptop. Overtime, your laptop will eventually begin to slow in performance. If this occurs, it is time to replace your motherboard.
Replacing the motherboard can require diagnostic skills; however, this tutorial will be able to guide you through a safe and effective replacement.
-
-
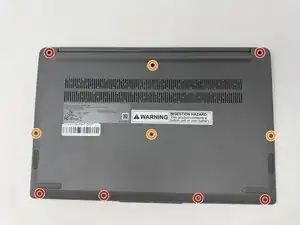
Using a T4 Torx screwdriver, remove the screws that secure the lower case:
-
Six 2.5 mm screws
-
Four 5 mm screws
-
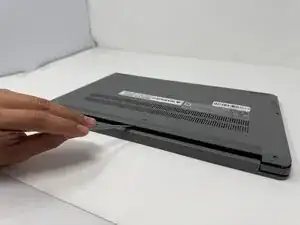
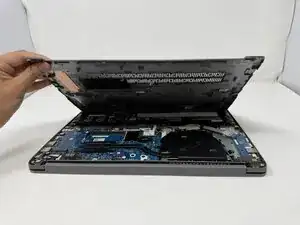
Insert a spudger into the seam between the lower case and chassis.
-
Pry around the entire perimeter until the lower case fully releases.
-
-
-
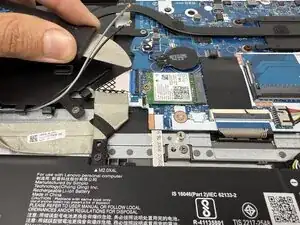
Unplug and remove the black and grey wires, and the I/O board ribbon cable from the Wi-Fi chip.
-
-
-
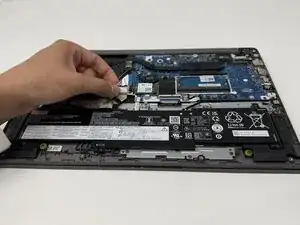
Using Jimmy, remove the other ribbon cable from the I/O board
-
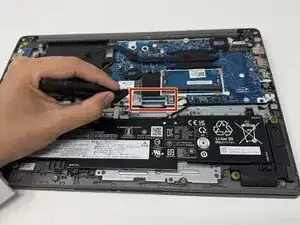
Disconnect the battery and speaker connector from the motherboard.
-
-
-
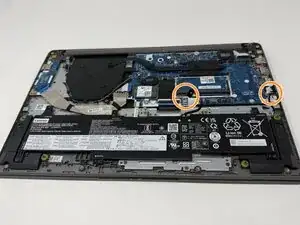
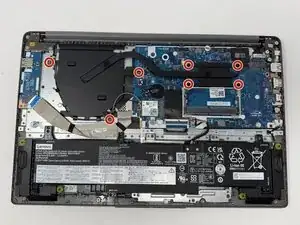
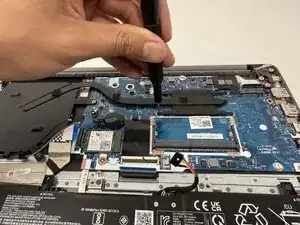
Using a Phillips #00 screwdriver, remove seven 4 mm screws from the cooling assembly.
-
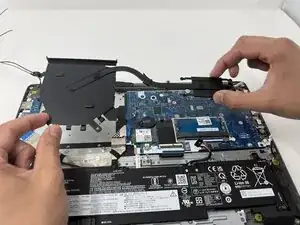
Carefully lift the cooling assembly off of the motherboard.
-
-
-
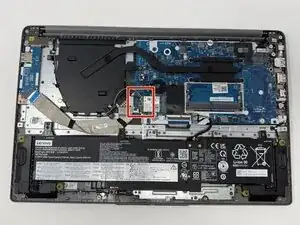
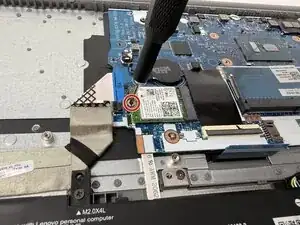
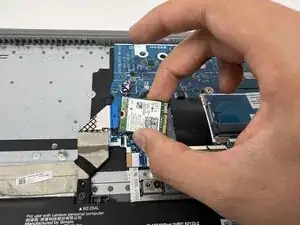
Using a Phillips #00 screwdriver, remove the 2mm screw that secures the Wi-Fi module.
-
Lift the Wi-Fi module from its position.
-
-
-
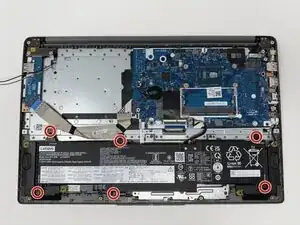
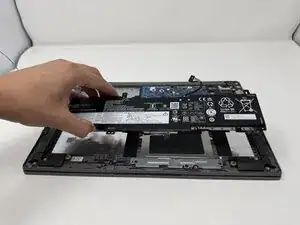
Using a Phillips #00 screwdriver, remove the six 4mm screws that secure the battery.
-
Lift the battery from its position.
-
-
-
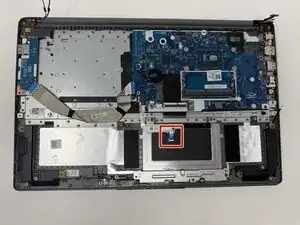
Using your fingers, gently disconnect the touchpad ribbon cable connector
-
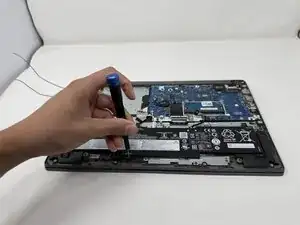
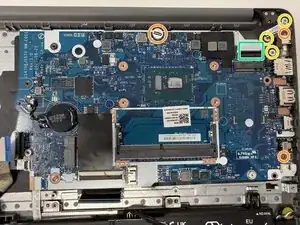
Using the Phillips #00 screwdriver, remove the three 2mm screws that secure the motherboard.
-
Using the Phillips #00 screwdriver, remove the three 4mm screws from the hinge.
-
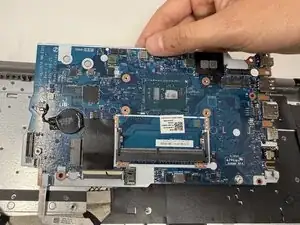
Using your fingers, gently disconnect the display cable.
-
Lift the motherboard out of the laptop.
-

To reassemble your device, follow these instructions in reverse order.