Introdução
If your LG V40 ThinQ’s battery cannot hold a charge, drains quickly, will not power on, or is degraded, use this guide to replace it. This can help restore device performance.
Follow each step closely and make sure to power off your device before starting and disconnecting from any external power source.
Peças
-
-
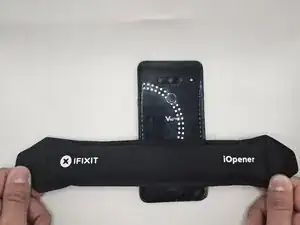
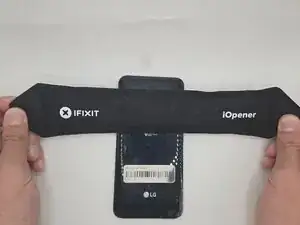
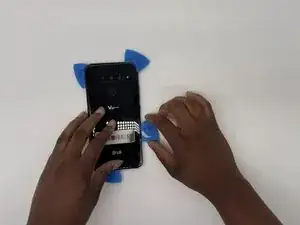
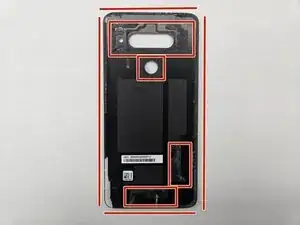
Use an iOpener or hairdryer to heat the adhesive on the back cover by rolling it up and down the back of the phone.
-
-
-
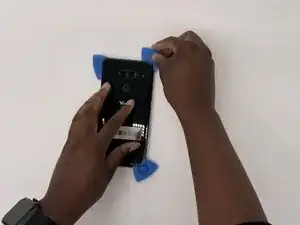
Use opening to pry the back cover away from the adhesive.
-
This can take some time. Be patient and go slowly.
-
-
-
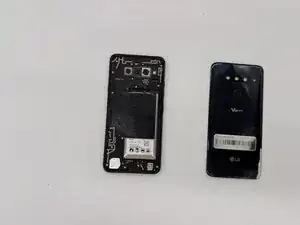
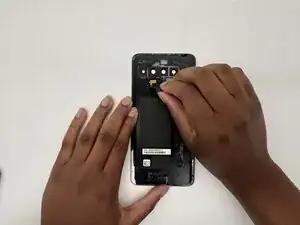
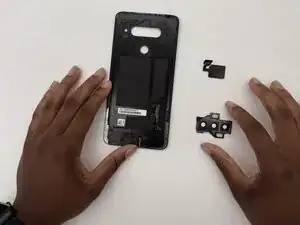
Use the opening picks again to gently remove the back camera lens cover and fingerprint sensor off from the back cover.
-
-
-
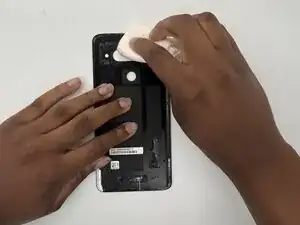
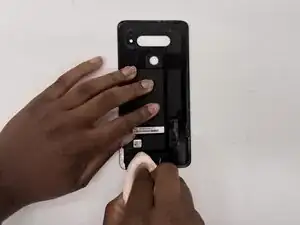
Clean the back cover of any old adhesive by gently heating the area with the iOpener to soften the adhesive.
-
Use a cloth or cotton swab soaked in isopropyl alcohol to gently rub and dissolve the glue.
-
-
-
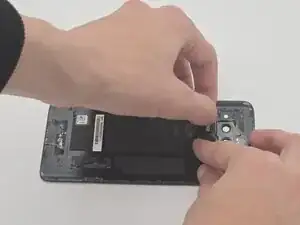
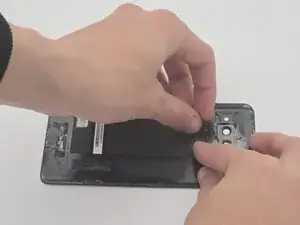
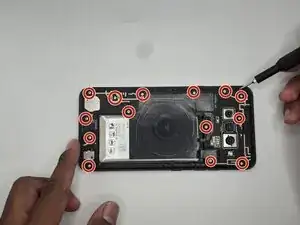
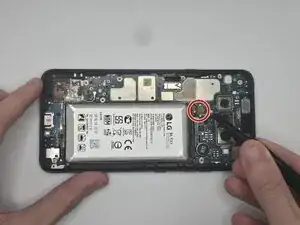
Remove the fourteen 15 mm-long Phillips #000 screws holding down the wireless charging coil and loudspeaker module.
-
-
-
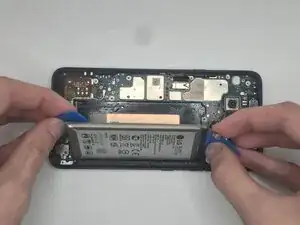
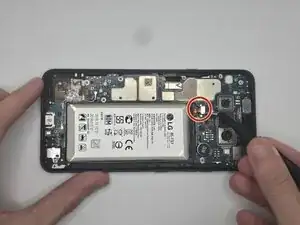
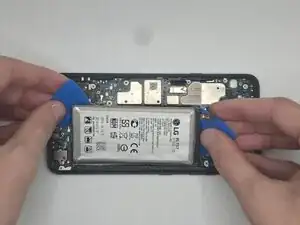
With the opening picks, very gently insert and pry the battery slowly until it comes free from the adhesive and remove it.
-


To reassemble your device, follow the above steps in reverse order.
For optimal performance, after completing this guide, calibrate your newly installed battery.
Take your e-waste to an R2 or e-Stewards certified recycler.
Repair didn’t go as planned? Try some basic troubleshooting or ask our Answers community for help.