Introdução

In this guide, we will go over how to replace the Vacuum Pump on the Kenmore Spotlite KW2001. Reasons for replacing the Vacuum Pump are because of water pressure issues, issues with the hose not spraying, or a broken pump.

  1. HIDAOeo5fMWUPPs5
    HIDAOeo5fMWUPPs5
    LpIBQxVO4OgHBOm5
    KLT1ah5MMPVZDhS3
    • Remove the clean water tank by lifting upwards and set it aside.

  2. Q6BbejBTlJeRWc6E
    Q6BbejBTlJeRWc6E
    uAxGGvJLJbFXUg2K
    kRsNp6DFMegFlMot
    • Remove the dirty water tank by lifting upwards to access the inside of the vacuum.

  3. XNbsqGOjF42fwAUf
    XNbsqGOjF42fwAUf
    H61jnZs2hely2JjS
    OOTetOS5D5rKqkNN
    • Remove the four 16 mm Phillips #2 screws that secure the lower case.

    • Use a long Phillips #2 screwdriver for easy removal of the screw in the upper right.

  4. BOc2chpDQFZIfGLc
    BOc2chpDQFZIfGLc
    IsexHDonsyEalLVS
    FIvlXqKwVMkoAkWq
    • Lift the handle upwards, and the bottom piece should come up with it.

  5. nvXciMEXfTMFSaJY
    nvXciMEXfTMFSaJY
    dMCtiYM1mGpFF2hJ
    6NVxgWMu66e351Iw
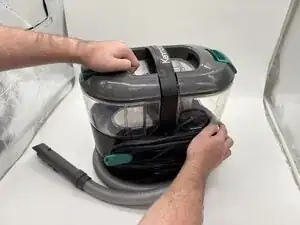
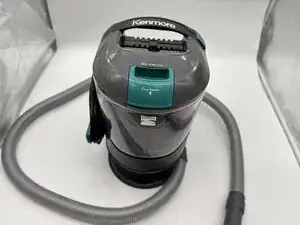
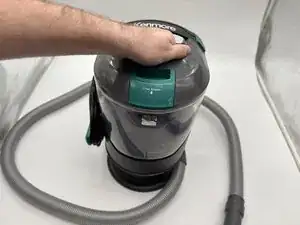
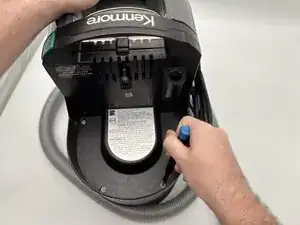
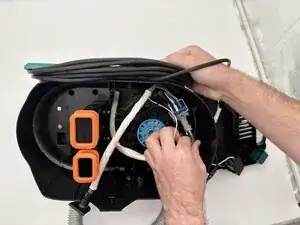
    • Remove the part of the vacuum with the handle and power button by pulling upwards.

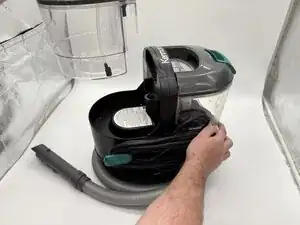
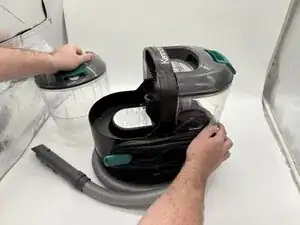
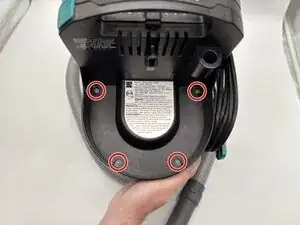
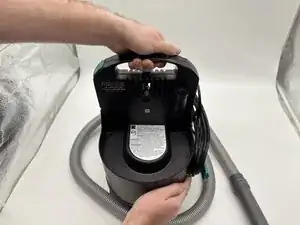
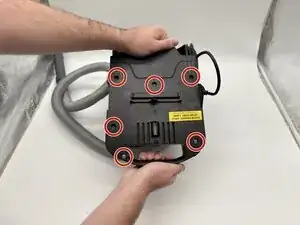
    • Carefully turn the part on its side, and remove the five 16 mm screws with a Phillips #2 screwdriver.

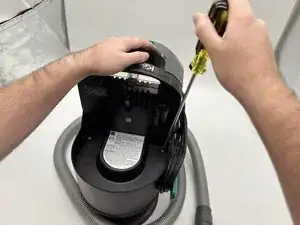
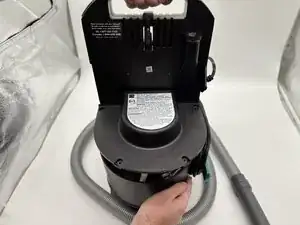
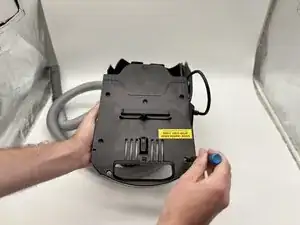
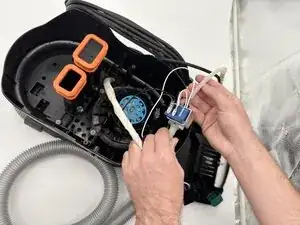
    • Remove the white hose by lifting upwards.

  6. hGpDL4ecyD6Mkulk
    hGpDL4ecyD6Mkulk
    VR2buqvqm1NbKIxI
    UlBlxa1XgESYjXOE
    • Remove the pump from the vacuum motor.

  7. dHm2KWhj3oYgxf5A
    dHm2KWhj3oYgxf5A
    PDvWUrREc1TIQjHE
    ZtTvm1WGhAFeDCJk
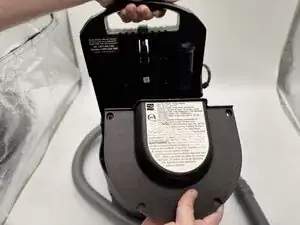
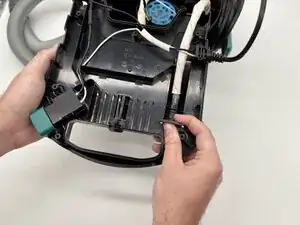
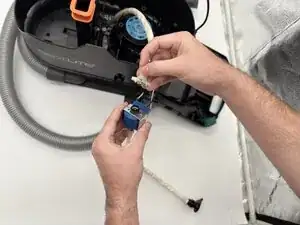
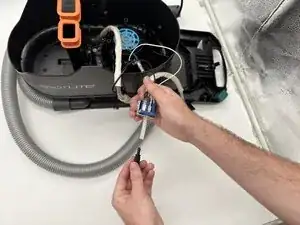
    • Unscrew the two 7.5 mm #1 Phillips screws on the pump.

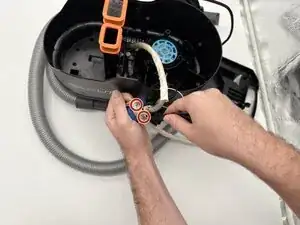
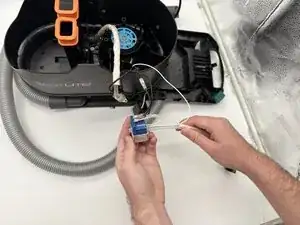
    • Push down and twist to remove the white plastic piece from the black plastic piece.

  8. OUFNGsOjcRgHBFAr
    OUFNGsOjcRgHBFAr
    f1aegRVH2U3iqPWT
    24Krlix2SeCQ1ekB
    • Keep track of the metal pieces, the springs, and the black and white plastic rings.

    • Disconnect the hose from the black plastic piece by pulling or using a metal spudger.

  9. f4nKdQeI66MXXuOT
    f4nKdQeI66MXXuOT
    aMcAJHMaIyBcRVta
    imTpKqNJrTNtCIOe
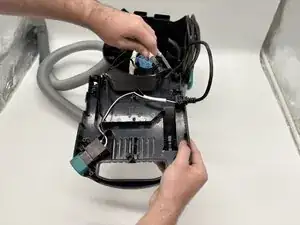
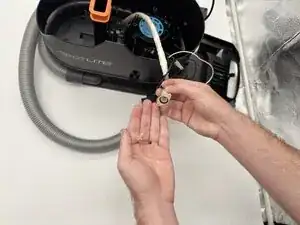
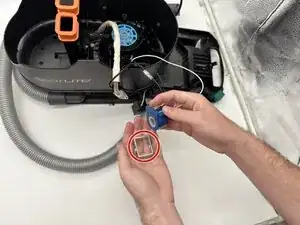
    • Pull on the hose to remove it from the pump.

    • The metal piece surrounding the pump should come undone in the process. Place to the side.

  10. EsDBrPwhbBHHPlMM
    EsDBrPwhbBHHPlMM
    Aj4IZQRQZFNTeC3e
    woVYwvtkkXTELCdf
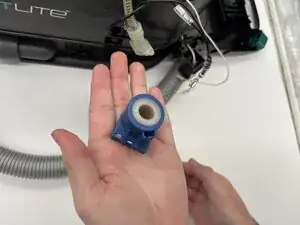
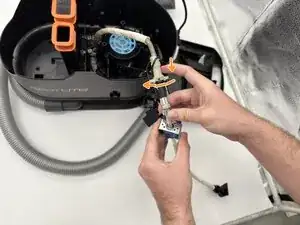
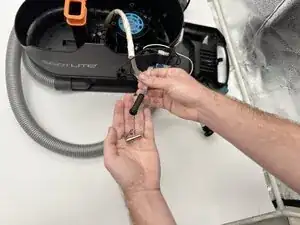
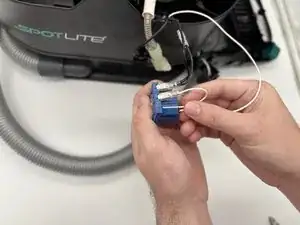
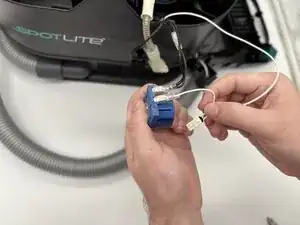
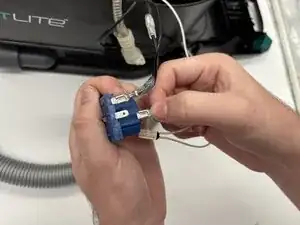
    • Remove the wire with a beige piece attached from its place

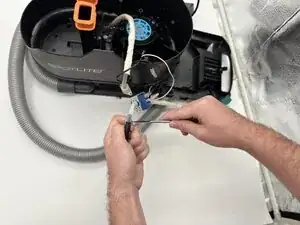
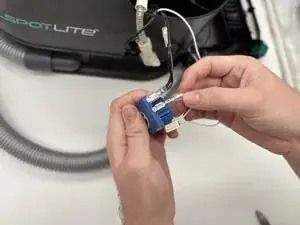
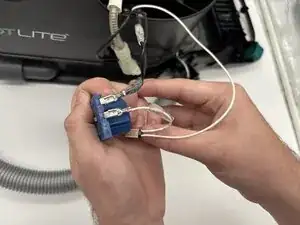
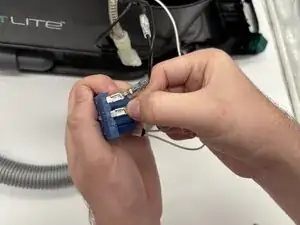
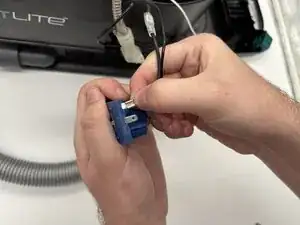
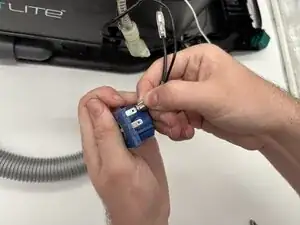
    • Remove the plastic covering on both white and black wires connected to the pump.

  11. 1KiUodGiSCCJ6J2E
    1KiUodGiSCCJ6J2E
    gSWqDEyBjHQQEctR
    Ix1oLXrPeou4niQP
    • Push down on the protruding metal on the white wire, and pull to remove.

  12. RYgxmAYlnbCJGK16
    RYgxmAYlnbCJGK16
    5JYvLDT3gAeASc6f
    Fy2uYtls1Y1xivLD
    • Repeat Step 7 for the black wire.

    • You should be left with just the pump.

Conclusão

To reassemble your device, follow these instructions in reverse order.

Leslie Garcia

Membro desde: 10/09/25

333 Reputação

0 comentários