Introdução

Replacement of the USB daughterboard on any Kaffelogic Nano or Nucleus Link coffee roaster with a C or N prefix serial number.

  1. nfvSoTpnU4ksHcg6
    nfvSoTpnU4ksHcg6
    6MBXn1MgnMby6MAZ
    • Remove the 6x 2.5mm Hex screws on the left and right side of the roaster.

  2. qHiOtnAKcXjbaGoV
    qHiOtnAKcXjbaGoV
    OTbSwheRLDR1RpCH
    • Hold the roaster steady while removing the plastic top/closure.

    • Panels may spring apart slightly once removed.

  3. 5HgQGHsOcGRtWytG
    5HgQGHsOcGRtWytG
    YsnjyWOviUPEAgsT
    eljWHIrc23oQeaUH
    • Remove the 4x 2.5mm Hex screws on the bottom of the roaster.

  4. bokl2m3pNTLZsgaj
    bokl2m3pNTLZsgaj
    vu3RZpeDAwj1xhOk
    bUSiSNcKCwSERKhY
    • Pull away the front panel carefully.

    • Take care not to damage the buttons while maneuvering the front panel.

  5. CjFpLJRcjntXBWtF
    CjFpLJRcjntXBWtF
    U6CP2AwbVHaHnrnW
    Qasmpv1ohW2EYEcf
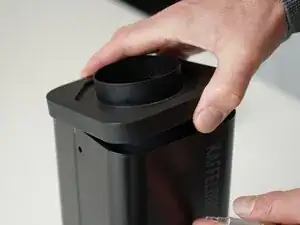
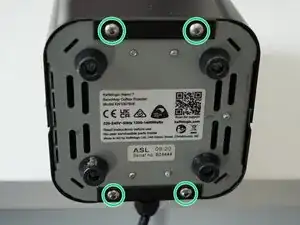
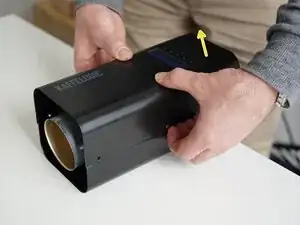
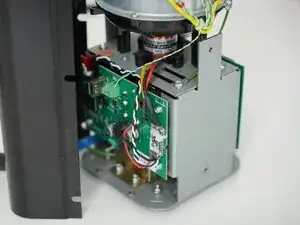
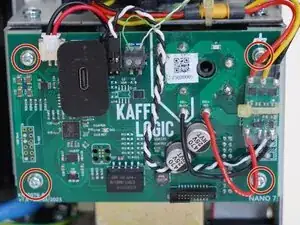
    • Stand the roaster up again and pull away the rear panel from the chassis to expose the remaining components.

    • The mains cable is routed through the panel and it will remain attached, place the panel in a soft bag if you wish to protect the paint throughout the rest of your repairs.

  6. gd3bkXUNAblll4sH
    gd3bkXUNAblll4sH
    QAvOTXOIwQJZK43A
    • Pull upwards on the SSR signal connector to remove it.

  7. gWe2JNsZOOFgFlET
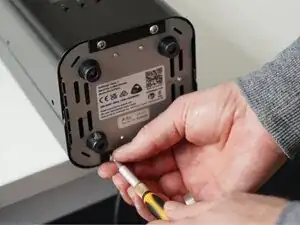
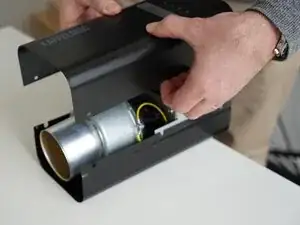
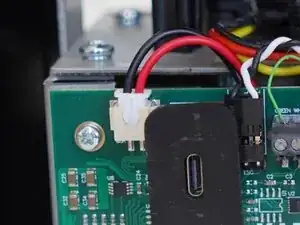
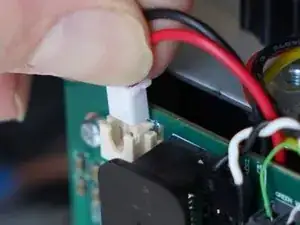
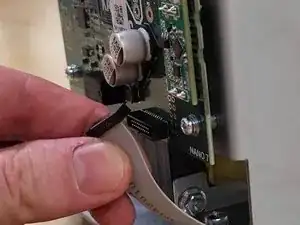
    • Unplug your motor if your roaster is fitted with a connector, otherwise leave the connections in place.

  8. T224bDpJoingMJVf
    • Carefully pull on the ribbon cable to remove it.

  9. tXE3TGNWPdp165YL
    • Remove the 4x PH2 PCB screws.

  10. lwrPqMgZfoFpUMXX
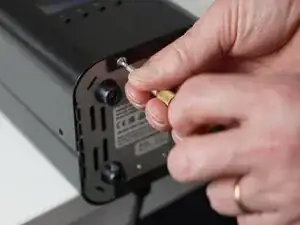
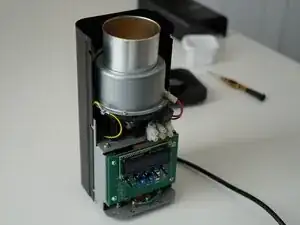
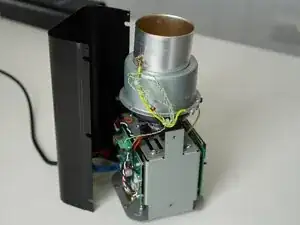
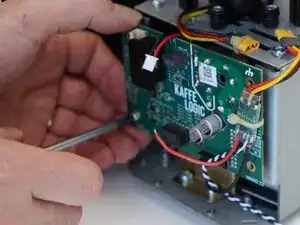
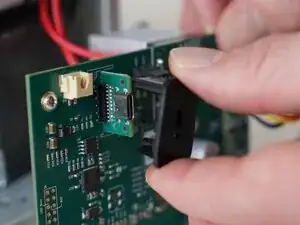
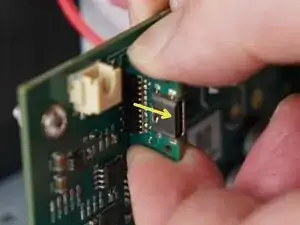
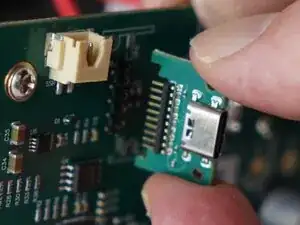
    • Pull the board away from the chassis carefully, taking care with any wires still attached. We need to get to the back of the board.

  11. 2jHT6YJdLWCNCqYo
    2jHT6YJdLWCNCqYo
    OeMgitXrCpgCJFWK
    • Remove the 2x 1.5mm hex screws securing the plastic USB shroud.

  12. dWEJ6mPPPuF2ij5E
    • Slide the plastic shroud away from the PCB

  13. OiKVRCuVtbUPCfTm
    OiKVRCuVtbUPCfTm
    tAshPGV3C5j4beQQ
    • Pull away on the daughterboard to remove it from the main PCB.

Conclusão

To reassemble your device, follow these instructions in reverse order.

Kaffelogic

Membro desde: 23/07/25

2356 Reputação

0 comentários