Introdução
The JBL Live 660NC headphones (also known as JBL Live 660 NC or JBL Live 660NCBT) may need a driver replacement if the sound is distorted, one side is quiet or silent, or rattling noises occur. This guide provides step by step instructions to safely replace the faulty driver and restore full audio performance.
Over time, drivers can fail due to impact, moisture, or normal wear from extended use. Before starting the repair, power off your headphones, disconnect all cables, and handle components carefully to avoid further damage.
Check out this guide to safely desolder components before proceeding.
-
-
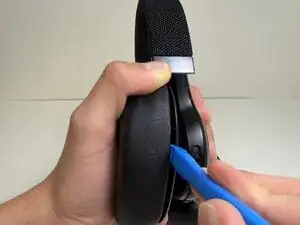
Slide the opening tool into the seam between the earpad and earcup.
-
Pry it slightly toward the headphone, then angle the tool upward to release the clip.
-
-
-
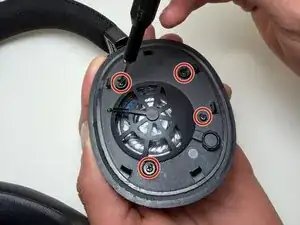
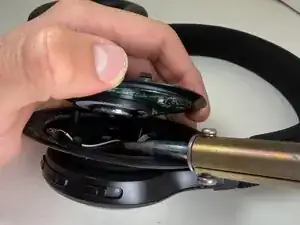
Use a Jimmy to pry open the inner cover of the ear cup.
-
Gently slide the tool around the edges to loosen the glue holding the cover.
-
-
-
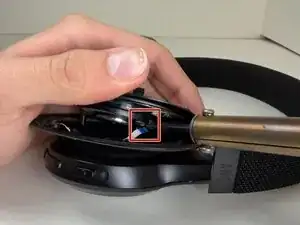
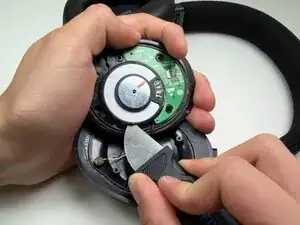
Use a soldering iron to disconnect the two wires attached to the speaker.
-
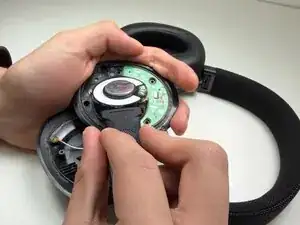
Lift the inner cover off.
-
-
-
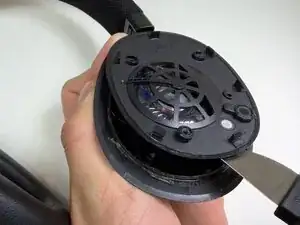
Insert the tip of a Jimmy under the speaker to gently pry it from the ear cup.
-
Slide the tool around the edges to loosen the glue holding the speaker in place.
-
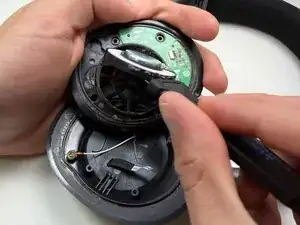
Lift and remove the speaker completely.
-

To reassemble your device, follow these instructions in reverse order. Take your e-waste to an R2 or e-Stewards certified recycler.