Introdução
The JBL Live 660NC headphones (also known as JBL Live 660 NC or JBL Live 660NCBT) may require a battery replacement if they no longer hold a charge, die quickly, or show signs of swelling. This guide walks you through safely replacing the internal lithium-ion battery.
Over time, batteries lose capacity or fail, causing performance issues. When performing this repair, always disconnect the battery first, use the proper tools, and be careful not to damage other components. Swollen batteries are dangerous handle them correctly and dispose old batteries according to local regulations.
Before attempting a battery replacement, visit this troubleshooting page it might be a simpler issue than it seems.
Before you begin the repair, turn off your headphones and unplug the charging cable.
Ferramentas
-
-
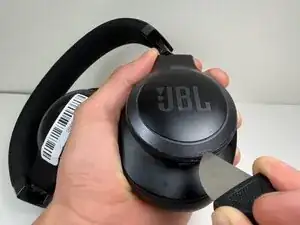
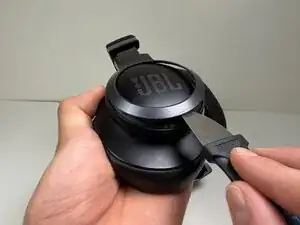
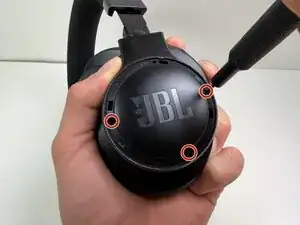
Use a Jimmy or spudger to pry the bezel around the JBL plate.
-
Gently slide the tool around the edges to loosen the clips.
-
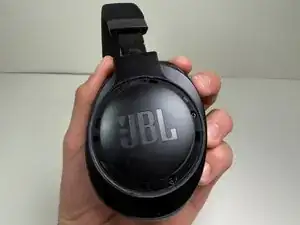
Lift the bezel off.
-
-
-
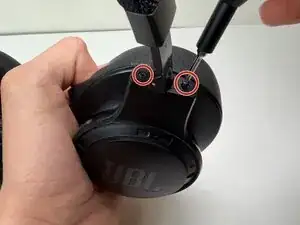
Use a Tri-point Y0 screwdriver to remove the two 5 mm screws at the base of the headband where it connects to the earcup.
-
-
-
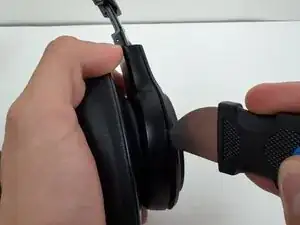
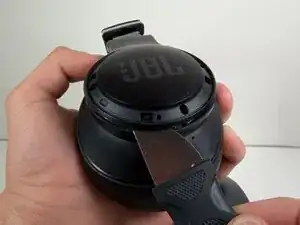
Use a nylon spudger or Jimmy to pry the earcup cover.
-
Gently slide the tool around the edges to loosen the clips holding the cover in place.
-
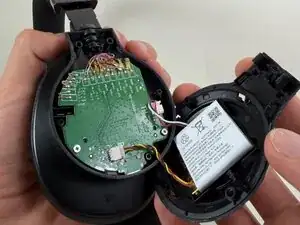
Lift the cover off.
-
-
-
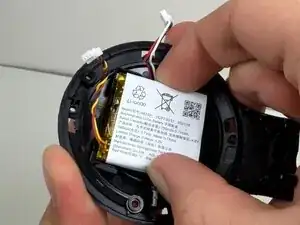
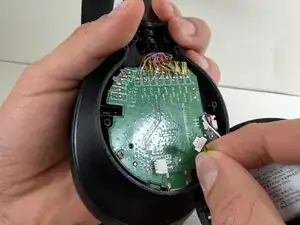
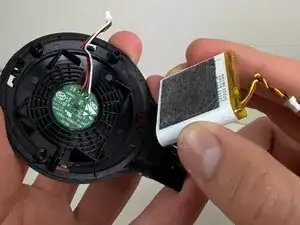
Use a spudger to push the connector labeled BAT from the socket on the motherboard to disconnect the battery cable
-
-
-
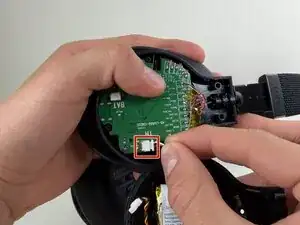
Use the tip of the spudger to push the plastic locking tab away from the socket labeled TH—it should only move about 1–2 mm.
-
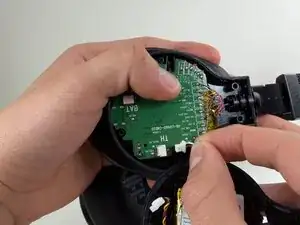
Carefully remove the cable connector from the socket on the board.
-


To reassemble your device, follow these instructions in reverse order. Take your e-waste to an R2 or e-Stewards certified recycler.