Introdução

People buy this product for their pets to encourage them to drink more water. The problem is that after about two weeks the water fountain becomes clogged. This significantly reduces the amount of water able to flow out of the bubbler. Learn how to unclog the fountain and change the filter. You will need access to a nearby sink as well as the tools listed in the details section.

  1. 4SJsB2u1wXvNBoqD
    4SJsB2u1wXvNBoqD
    2INE1oRdAXLsOabD
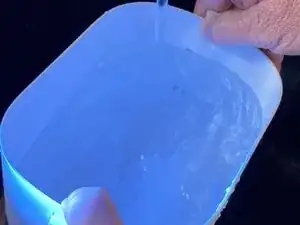
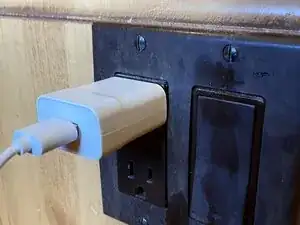
    • Unplug the fountain and pour out all the water.

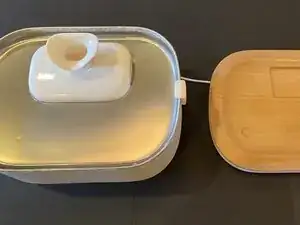
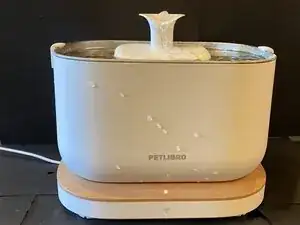
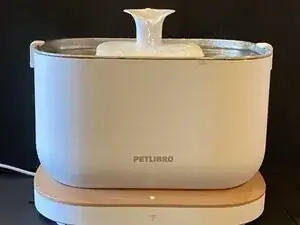
    • Remove the fountain from the wooden charging base. Set the fountain next to the base.

  2. 2hCVbPmBb21XYICK
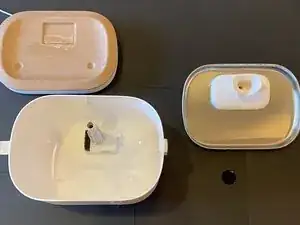
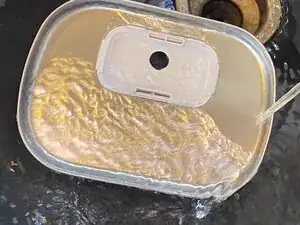
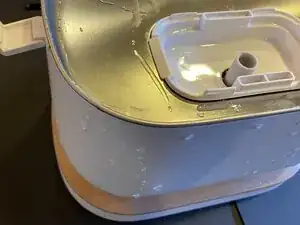
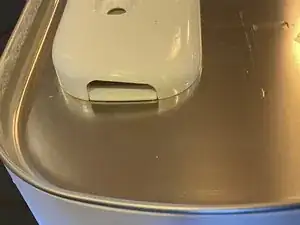
    • With your finger on the white latches press up and away to unlatch the stainless steel basin from the fountain.

    • You should see the motor at the bottom center of the water tank.

  3. 21o1JPwHZ5BYJXhI
    • Take the motor out of the water tank.

    • Remove the grey tower from the main water pump unit.

  4. hBpUprDEkRFXNXVA
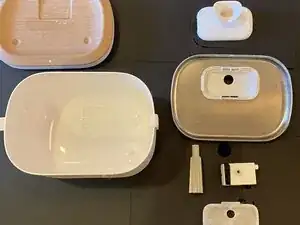
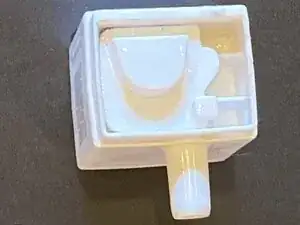
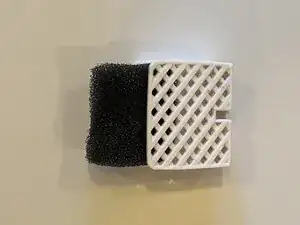
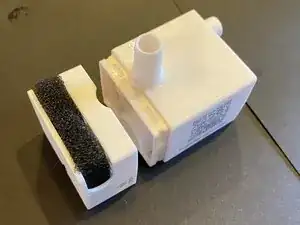
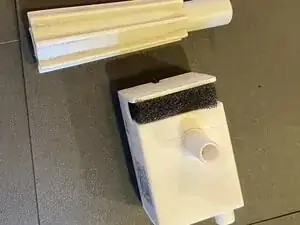
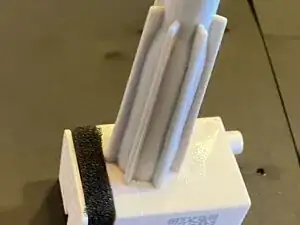
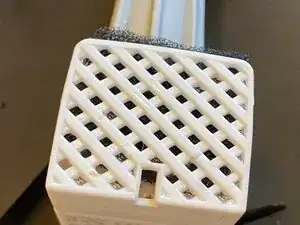
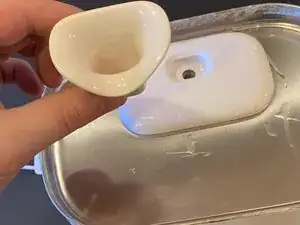
    • Take the main water pump unit apart by separating the sponge holder (the smaller piece with holes) from the motor housing unit (the larger piece).

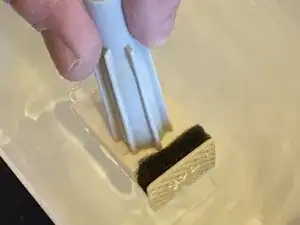
    • Remove the black sponge.

  5. 2kPPZZRYtrSZ5EVA
    2kPPZZRYtrSZ5EVA
    IGgS4ChtHsxGqTTG
    OEwLJaZxw1sNYgCR
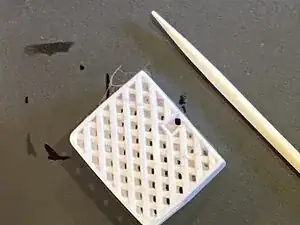
    • You may need to clean out the hairs stuck to the sponge holder, water tank, or other parts.

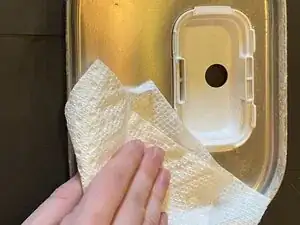
    • To do this, get a wooden kabob skewer and gently pick the dirt and hair out. Use a paper towel for removing larger pieces of dirt and hair that you have picked out with the skewer.

    • The first picture shows the motor housing; the second picture shows the sponge holder.

  6. SFiyvTD1VZAixLPS
    • With a damp paper towel, clean the inside of the water tank.

  7. Zdg3TOwJosf1IPWS
    • With a different damp paper towel, clean the stainless steel basin.

  8. p2oQQNiLOAFLV1Ee
    • Rinse the stainless steel basin with water.

  9. EVIHEMsJ52Qx3WjL
    • Wash the steel basin with a sponge and soap. Then rinse again.

  10. xV3c34tsOYrwOx4P
    xV3c34tsOYrwOx4P
    itSJvOnVQVXmZ2aK
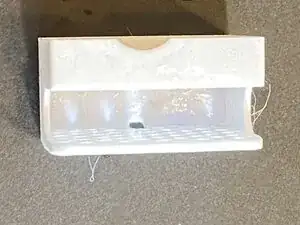
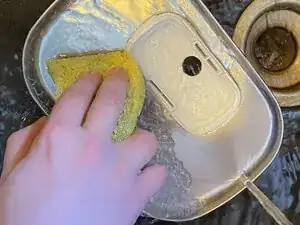
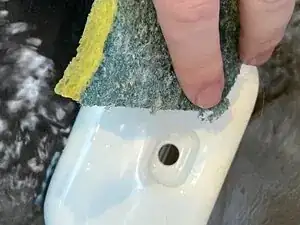
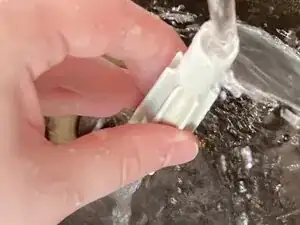
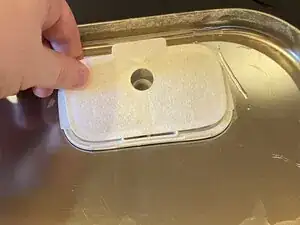
    • Rinse the lid of the filter housing unit.

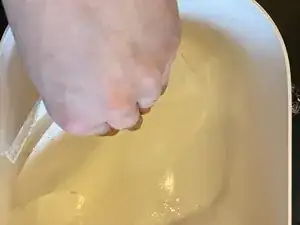
    • Wash the lid off the filter housing unit with a sponge and soap.

  11. wSQW1HXU5ELgmINL
    • Rinse the spout with hot water.

  12. i5YAAKlT5RCn1jPY
    • Rinse the grey tower.

  13. OfQsiA42iKNXtVTQ
    • Bring the water tower to the sink.

  14. FDekqEELvVXrvIKE
    FDekqEELvVXrvIKE
    AHjN1GFPRFRAxpx1
    • Fill with cold water to the black fill line.

  15. mdTYYvQrsPPOQjIU
    mdTYYvQrsPPOQjIU
    jigGf5LiPd5D11Wa
    • Now that the sponge holder is clean insert the black sponge.

    • Make sure the black sponge is level with the surface of the sponge holder.

  16. WXfZQFBLR5RlC5Kf
    • Push the sponge holder into place on the motor housing unit.

    • You should hear a click sound when they are properly connected.

  17. T5oM5ObqDgf2jSsF
    • Set the grey tower next to the water pump.

  18. QTiKEcRjNjcmJGGj
    • Connect the base of the tower to the tube closest to the black sponge.

  19. BqeNK5HPLyok5wUC
    • Locate the lock (rectangle shaped gap) at the base of the sponge holder.

  20. KMKOKfO2h6qgh4cQ
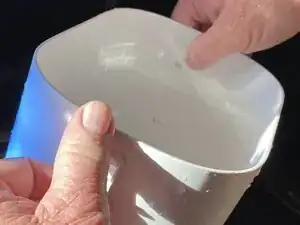
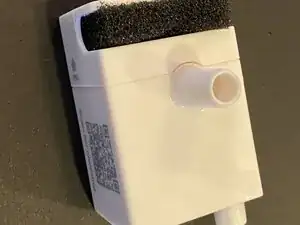
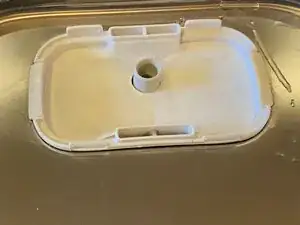
    • Place the water pump into the water tank. Look for the rectangle shaped nub at the bottom of the water tank.

  21. KoNFFWWkBxCQ2QZG
    • Snap the lock onto the nub at the bottom of the water tank.

  22. ar1KycAitQaId1PF
    • Place the stainless steel basin on top of the water tank.

  23. TaHnl46dPaUewqKb
    TaHnl46dPaUewqKb
    iBaCDJnWgoNo2SLV
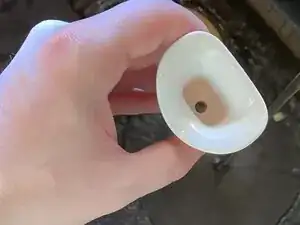
    • Get a fresh filter and place the hole of the filter over the tube at the base of the filter housing unit.

    • Make sure the filter is pressed down into the filter housing base.

  24. eosGei6LFG53qLHA
    eosGei6LFG53qLHA
    YmAMFB32m5kOkGPX
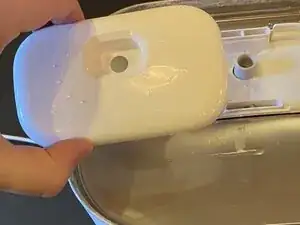
    • Take the cleaned lid off the filter housing unit and place it over the base of the filter housing unit so that the tube in the base is right below the hole in the lid.

    • You should hear a click sound when the lid is securely in place.

  25. Mlf2M4wWdS2TEuoG
    Mlf2M4wWdS2TEuoG
    tDgMPLi2ffJTCZyL
    • Take the cleaned spout and place the base of the spout into the hole of the lid.

  26. Qd5xWy1HKiVVA6AC
    • Always remember to latch the stainless steel basin to the top of the water tank when done.

  27. xsJKsRuNYUZOTfDO
    • You can now plug in the fountain to an outlet.

  28. slUNDWjIK46sXhVd
    • The cleaned fountain is now ready for use.

Joshua Bohumil

Membro desde: 06/03/25

397 Reputação

0 comentários