Introdução
This guide will show you how to restore an old door giving it a smooth finish while also adding a Kitty Korner for your cat. We'll walk through each step of sanding, staining, and sealing the door, along with cutting the corner for the Kitty Korner attachment.
Ferramentas
-
-
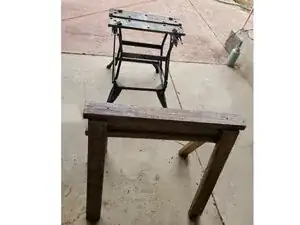
Before starting, set up your workspace and gather all the materials and tools you'll need for the project. Ensure your workspace is clean and spacious, with enough room to move around the door comfortably. If possible, prop the door up to make sanding easier.
-
-
-
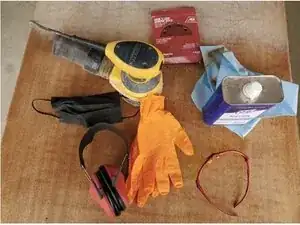
Ensuring you're wearing proper safety gear.
-
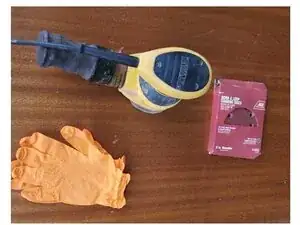
Use 60-grit sandpaper on both sides to remove the rough surfaces and deep scratches.
-
Periodically run your hand over the surface to check for smoothness and to ensure that all uneven areas are properly sanded before moving on.
-
-
-
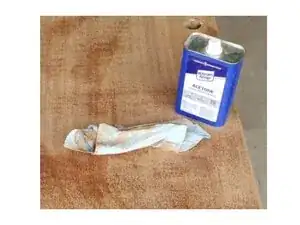
After sanding, use an acetone wash to remove any sanding dust. It's important to wear eye-protection during this step!
-
Cleaning the door with acetone will help you see any imperfections or areas that need more attention. Wipe down the entire surface with a clean rag soaked in acetone to clear away the dust. This also prepares the surfaces for the next sanding stage.
-
Ensure that when using the acetone you're using a light coating and do not directly apply it to the door.
-
-
-
Switch to 80-grit sandpaper and sand the door again, focusing on any areas that still feel rough. If needed, repeat the acetone wash to ensure the surface is clear of dust and to highlight the main imperfections.
-
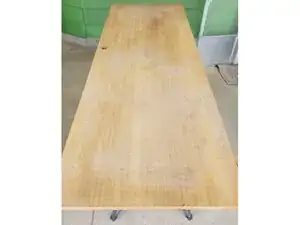
Finally, sand the door with 120-grit sandpaper for a smooth finish. This should be your last time sanding the door. Go over as many times as needed until the door is smooth and even before proceeding.
-
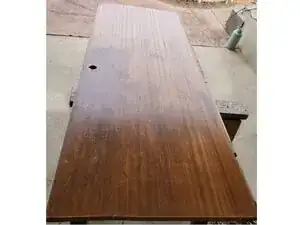
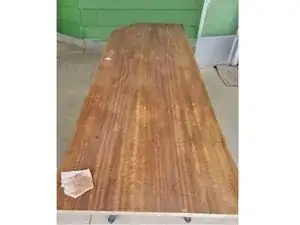
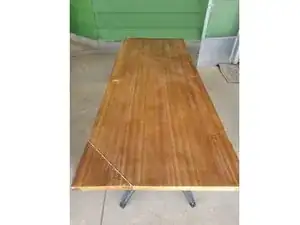
You door should resemble the one in the picture: removed of past stain, smooth, and with most scratches removed.
-
-
-
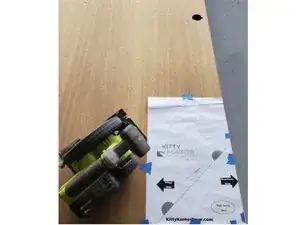
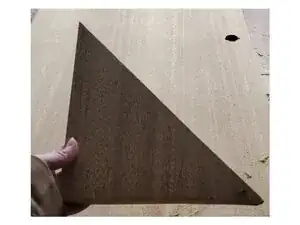
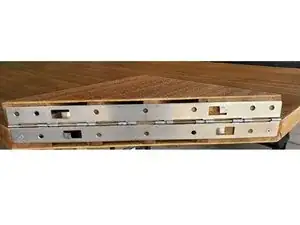
Before applying stain and polyurethane, you'll need to cut a corner off the door for the Kitty Korner.
-
After taping down the provided guide and setting up your saw, you'll carefully cut the corner off. It's important to have a buddy holding the door still to make a clean cut, but make sure they're out of the way of the saw.
-
Hold the saw firmly and apply even pressure while cutting off the corner. Make sure that once the corner is cut off it doesn't fall to the floor and become damaged—this can be accomplished by putting a towel beneath the door to catch the corner, or by skillfully grabbing it.
-
After cutting your corner, your door should look straight and clean with no jagged edges. The cut should be smooth, but if it isn't, go over it with sandpaper as needed.
-
-
-
Before applying your wood stain, ensure that you wipe down the door with acetone to remove any remaining dust and debris. Let the acetone dry, and then brush off any remaining residue.
-
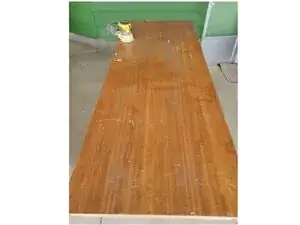
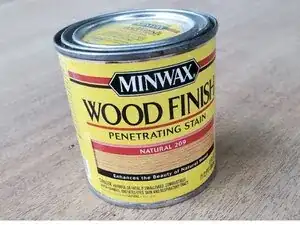
Next, apply a wood stain using a clean rag. Do not directly apply the stain to the door. Spread the stain evenly and ensure that you're following the wood grain.
-
Apply one coat on both sides of the door, allowing time between coats for the door to dry. If you'd like a darker finish, add more coats until achieving your desired look.
-
Ensure you don't leave any areas too heavy with stain to avoid blotching. If you notice this, go over it with a clean rag and firm pressure, attempting to remove the blotch. You can also add more stain to the lighter sides of the door during this stage to ensure the door matches in color.
-
After staining, your door should have a even finish. Allow the stain to dry for at least 8 hours before applying polyeurthane. If your door is being worked on outside, leave a little bit more time for the stain to dry, and store it away in a cool, dry place.
-
-
-
To protect the stain and add durability, apply at least two coats of polyurethane to both sides of your door.
-
Using a rag or a coarse brush, apply the polyurethane evenly across the entire surface. Do not directly apply the product to the door and ensure that you're using a light amount on the rag.
-
Allow each coat to dry for about 4 hours before applying the next one or handling the door.
-
-
-
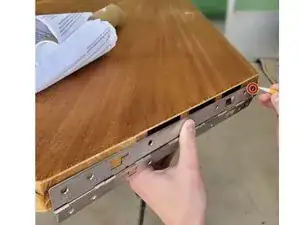
Now that the door is properly stained and sealed, it's time to add the Kitty Korner! You'll need the Kitty Korner kit, which includes the hinge, screws, and instructions. Please note that the kit does not come with a drill or a 3/32nd bit, so be sure to have those ready.
-
With the help of a friend, align the hinge to the door, and ensure you're following the Kitty Korner instructions in terms of which way it goes. Your kit may be different, so read their instructions thoroughly! Mark where the holes should go, then drill them using the 3/32nd drill bit. Secure the hinge in place with the provided screws.
-
Repeat these steps with the corner attachment, ensuring the holes align properly and that the corner fits correctly.
-
Once the hinge is securely attached, place the Kitty Korner Piece on top of the door. Mark and drill the necessary holes to attach it, and then secure the corner piece to the hinge with the provided screws, making sure it's aligned and stable.
-
You may need more screws as they only provide four. If you don't have more screws on-hand, ensure the provided ones are evenly spaced for the weight of the corner.
-
Check to make sure everything is working properly and that the hinge works as expected before proceeding.
-
-
-
Congratulations! Your Kitty Korner is attached, and the door is sanded and finished to perfection. Before attaching it to the door frame, make sure to wipe off any remaining dust or residue. Your door is now ready for installation, and you have a fun attachment for your pet!
-


Thank you for reading!