Introdução
The cooling fan on the iBuyPower i-Series R157LL001G is prone to being slowed by accumulated dust. If left unchecked, this can cause the computer to overheat, leading to decreased performance, crashes, or damaged internal parts. This guide provides a safe and efficient way to remove dust from the computer fan and interior.
Cooling fans (or case fans) are responsible for keeping your computer at a functional temperature at all times. While they aren't as fragile as other internal computer parts, it is important to take special care not to apply too much force to them. A malfunctioning fan often makes increased noise. The surface of your computer being hot to the touch is another common symptom.
This is especially noticeable if your computer has a glass panel or panels, as glass transmits more heat. A damaged fan often manifests an increased temperature in the computer's GPU (or graphics processing unit). Entering your Task Manager through the Start menu on your home screen will allow you to check that temperature at any time.
This guide can also be used if you need to replace the fan in your iBuyPower i-Series R157LL001G desktop computer.
Before you begin the repair, make sure that the computer is turned off and disconnected from the power outlet.
-
-
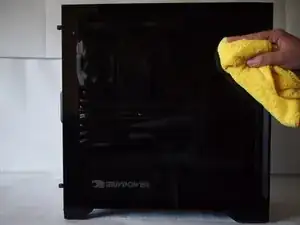
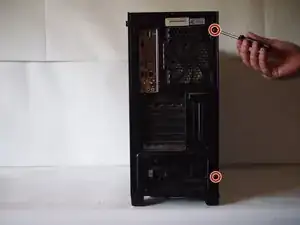
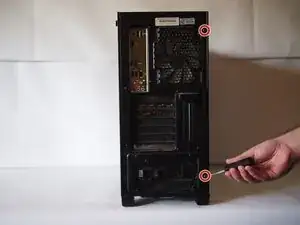
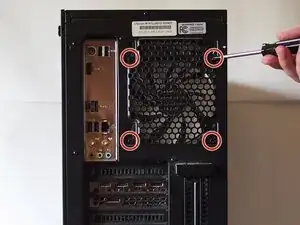
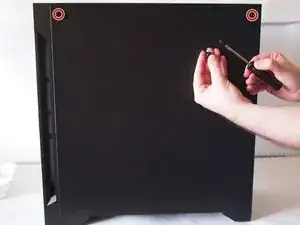
Use a Phillips #2 screwdriver to carefully remove the two 15.8 mm screws holding the see-through side plate to the computer.
-
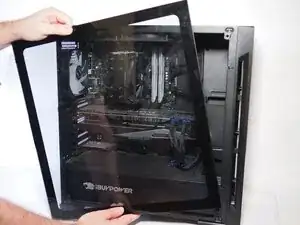
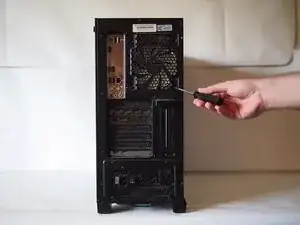
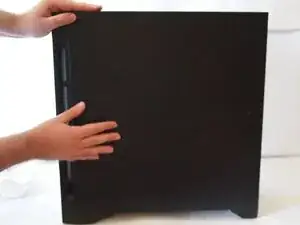
Grip the side plate firmly by the top and bottom and pull it away from the front of the computer to remove it.
-
Set it aside in the same orientation for reassembly.
-
-
-
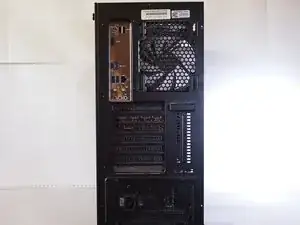
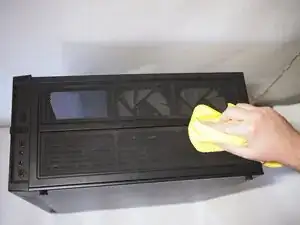
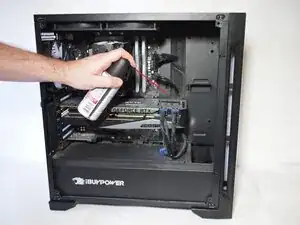
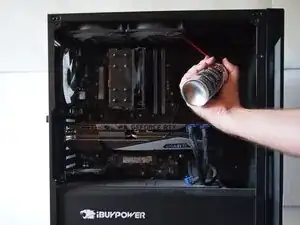
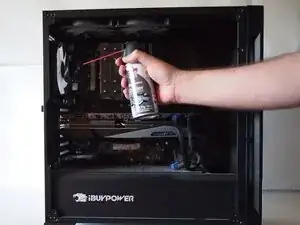
Using your compressed air, carefully remove the dust from the front, rear, and upper ventilations.
-
-
-
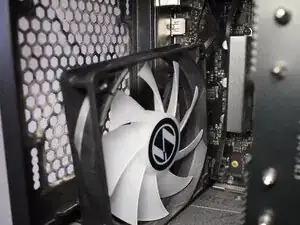
Use a Phillips #2 screwdriver to remove the four 9.53 mm screws securing the fan to the computer case.
-
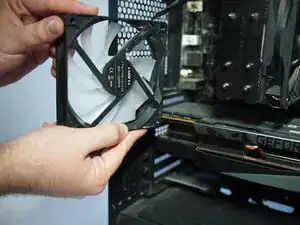
As you remove the final screw, gently hold the fan to ensure it does not fall. Lightly rest it against the component directly beneath it.
-
-
-
Use a Phillips #2 screwdriver to remove the two 15.8 mm screws securing the plate on the opposite side.
-
-
-
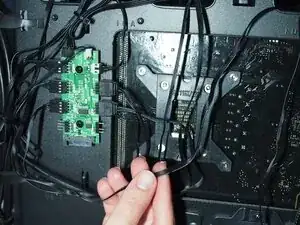
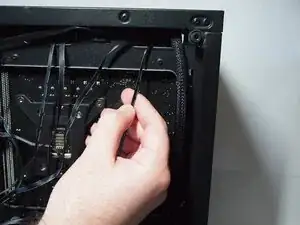
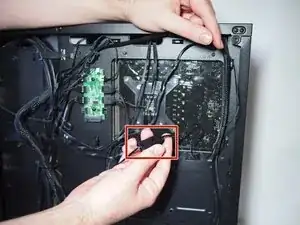
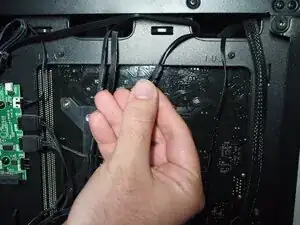
Lightly jiggle the 3-pin connector as you slowly pull it out of the socket.
-
Let the connector hang loose.
-
-
-
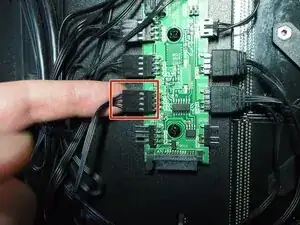
Take the thinner fan cord (as shown in Photo 1) and follow it down until you reach the indicated connector (as shown in Photo 2).
-
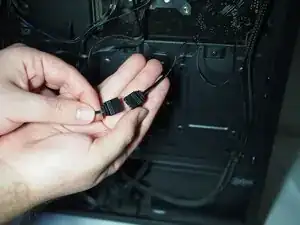
Disconnect the thin fan cable and let it hang loose.
-
-
-
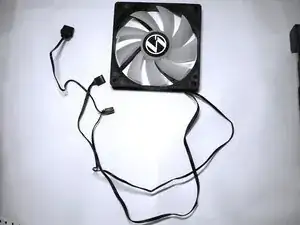
Remove the fan from the case and gently pull the cables out from the opening at the top
-
Lay the fan down on a flat surface, ensuring that the cords are not bunched up beneath it.
-
-
-
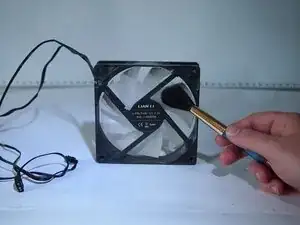
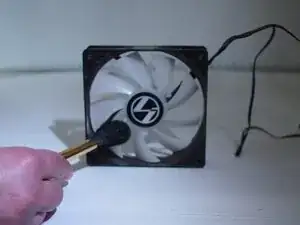
With your soft-bristled brush, remove the dust from each fan blade on both the front and back.
-


To reassemble your device, follow these instructions in reverse order. Take your e-waste to an R2 or e-Stewards certified recycler.