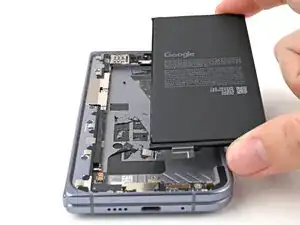
Introdução
-
-
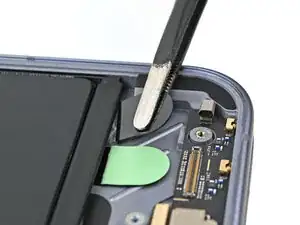
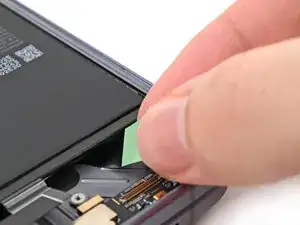
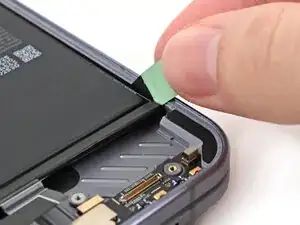
Use tweezers to grip the black pull tab on the stretch release adhesive and wrap it around the ends of your tweezers.
-
-
-
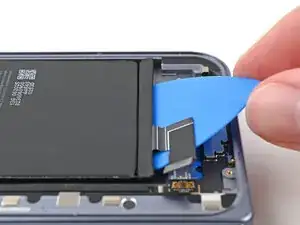
Hold the phone steady using the edges of the frame—don't press down on the battery.
-
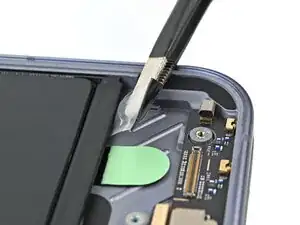
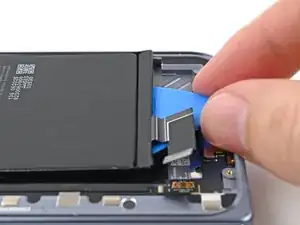
Pull the strip slowly, evenly, and at a low angle without dragging on other components. Give it plenty of time to stretch and un-stick from under the battery.
-
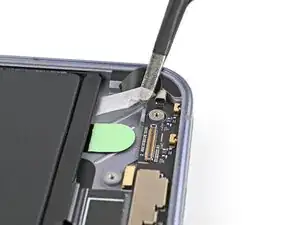
If the strip breaks off, try to retrieve it using your fingers or tweezers, and continue pulling—but don’t pry under the battery.
-
-
-
Unfold your phone and flip it so the inner screen is facing upward.
-
Use a hair dryer to heat the section of inner screen behind the flip battery (the side with the SIM card cutout) until it's barely too hot to touch.
-
-
-
Fold your phone and turn it so the flip battery is facing up.
-
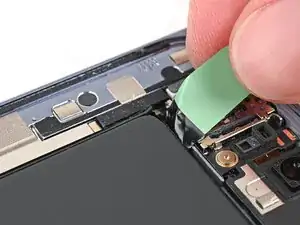
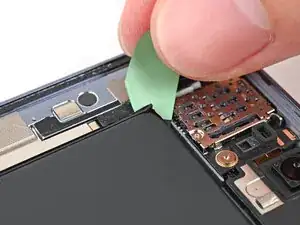
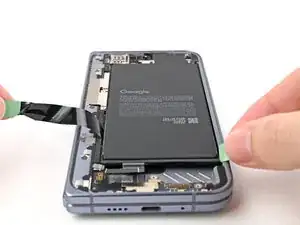
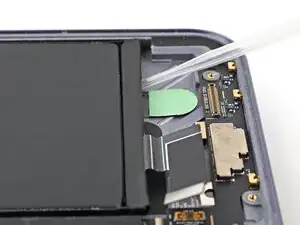
Grip the green pull tab at the top left corner of the flip battery and rotate it around the battery so it rests along the left edge.
-
-
-
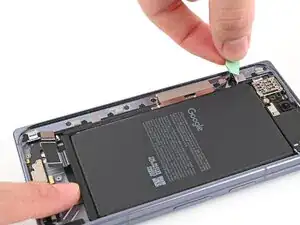
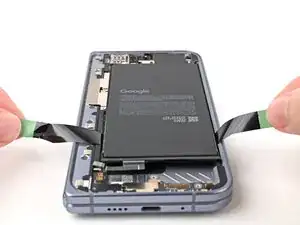
While holding the bottom right pull tab in place, slide the other tab down the left edge of the battery and separate its adhesive.
-
-
-
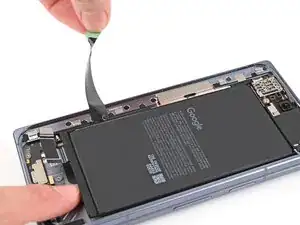
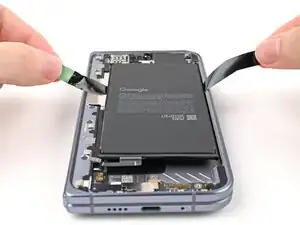
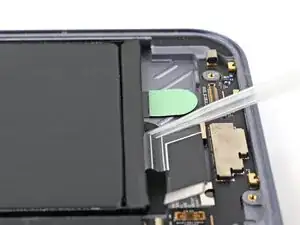
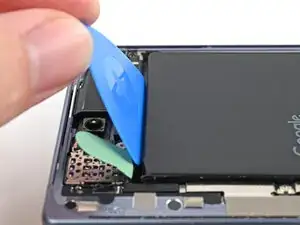
Grip the pull tab section at the bottom right corner of the flip battery and rotate it around the battery so it rests along the right edge.
-
-
-
Slide the jacket towards the top edge of the battery to separate the remaining adhesive.
-
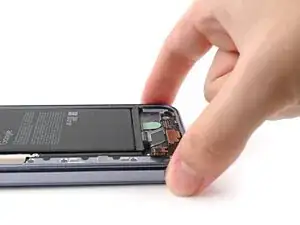
Remove the flip battery.
-
-
-
Lift the bottom edge of the phone to let the isopropyl alcohol flow under the battery.
-
Wait one minute for the alcohol to soften the adhesive.
-
-
-
Slide an opening pick—long edge first—under the bottom edge of the battery to separate the bottom section of adhesive.
-
-
-
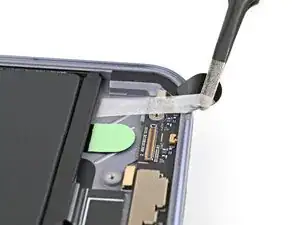
Insert an opening pick—long edge first—between the top edge of the battery and the upper board.
-
Rotate the pick so it lies flat under the battery and slide it downward to separate the top portion of adhesive.
-
-
-
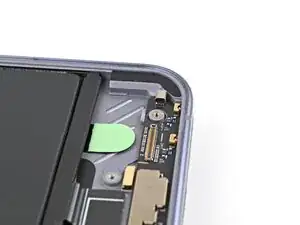
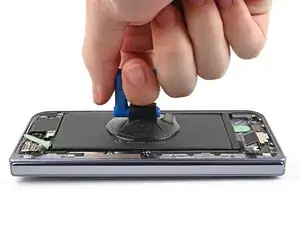
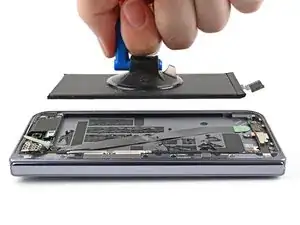
Apply a suction cup to the center of the flip battery.
-
While securing the phone with one hand, pull up on the suction cup with strong, steady force to separate the flip battery from the frame.
-
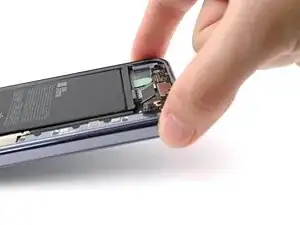
Remove the flip battery.
-


To reassemble your device, follow these instructions in reverse order.
