Introdução
This guide provides instructions for how to replace the microphone in your Garmin Nuvi 2599 GPS.
-
-
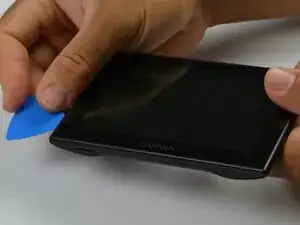
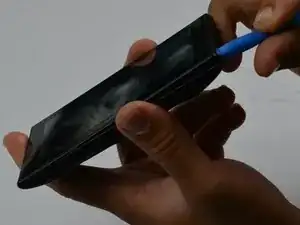
Insert an opening pick into the seam between the top and bottom case and slide it around the edge of the device to release the clips holding them together.
-
Insert an opening tool into the seam between the top and bottom casing, and gently pry them apart.
-
-
-
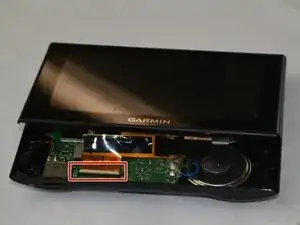
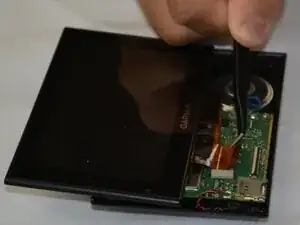
Use an opening tool or a clean fingernail to flip up the locking flap on the display cable—this is the unlocked position.
-
Use tweezers or your fingers to gently pull the ribbon cable out of its socket.
-
Remove the display assembly.
-
-
-
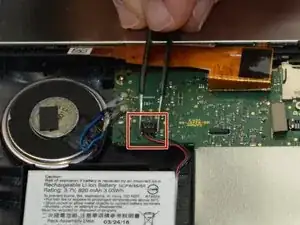
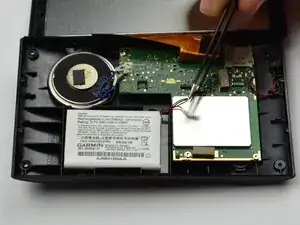
Use the angled tweezers to gently disconnect the battery connector from the socket on the motherboard.
-
-
-
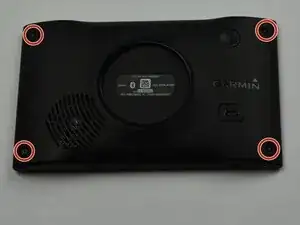
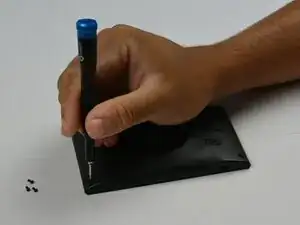
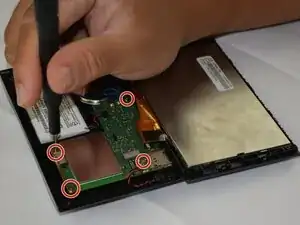
Use a T4 Torx bit screwdriver to remove the four 5.8 mm screws from the motherboard.
-
Remove the motherboard.
-
-
-
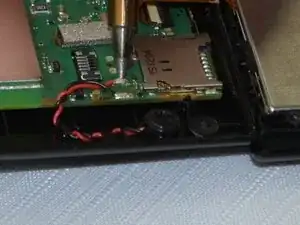
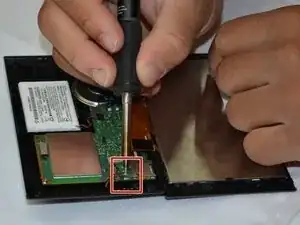
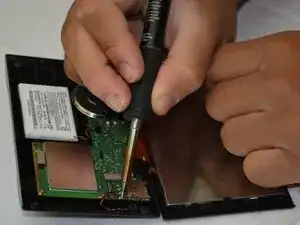
Once the solder is liquid, use tweezers to remove the microphone cables from the motherboard and detach the microphone.
-
To reassemble your device, follow these instructions in reverse order. Take your e-waste to an R2 or e-Stewards certified recycler.