Introdução

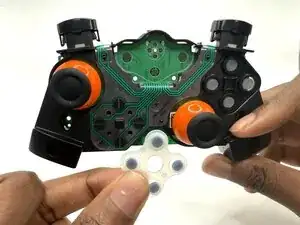
This guide does not help you replace the plastic Directional Pad (D-pad), only the rubber contact pad that is a component of the D-pad. The contact pad lies underneath the plastic part of the D-pad, and it is responsible for making the D-pad function. Any issues that you may have with your controller's D-pad will normally be a direct result of a faulty rubber contact pad.

  1. VLd1cmLSFwrnxUaG
    VLd1cmLSFwrnxUaG
    RdfRT5hkIbmgue4x
    OHmZbLeQHbmBxEVS
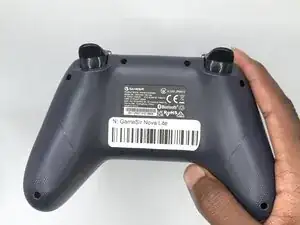
    • Turn your controller so that the back of the controller is facing you.

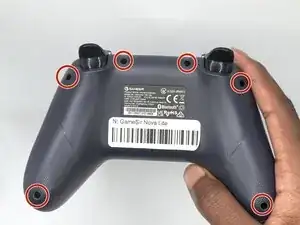
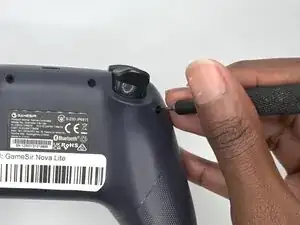
    • Remove all six 9 mm-long Phillips #1 screws securing the back plate.

  2. EiTDKQqIZUB5MrWo
    EiTDKQqIZUB5MrWo
    XxkhLYV4VXxucBW4
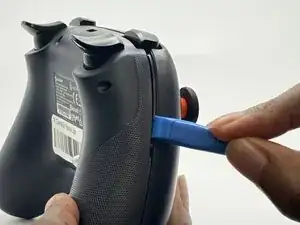
    • Insert an opening tool in the seam between the back and front case.

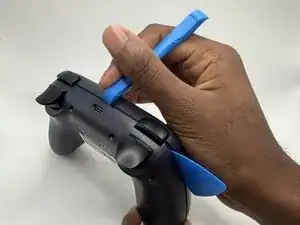
    • Insert iFixit Opening Picks around the controller to help keep the front and separated.

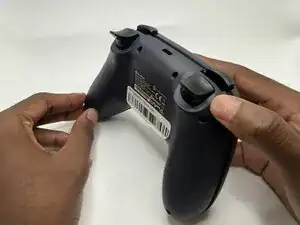
    • Slowly slide the tool around the controller until the two halves of the controller come apart.

  3. BXO3g2flUKZnsBSB
    BXO3g2flUKZnsBSB
    bQP4AbYFSr4xPvgC
    • Take the back shell off of the controller.

    • Hold the front part of the controller when taking the two halves apart.

  4. IoxOsxNEpVpHZakb
    IoxOsxNEpVpHZakb
    FdsPVCEeF3JqQZ5x
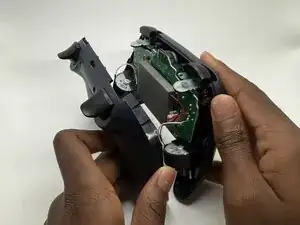
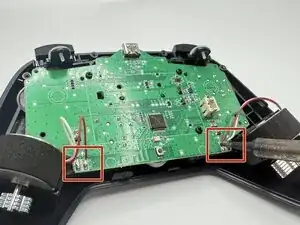
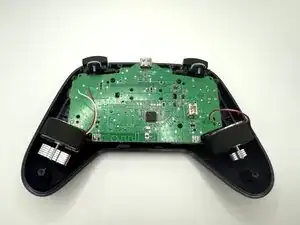
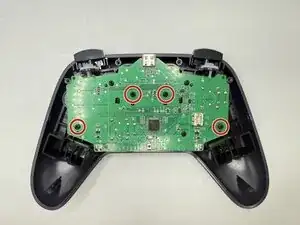
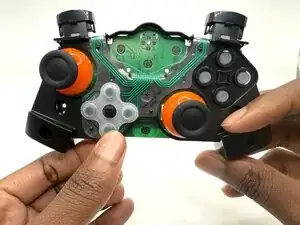
    • Lay the controller down so that the motherboard and battery are facing you.

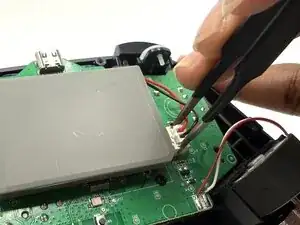
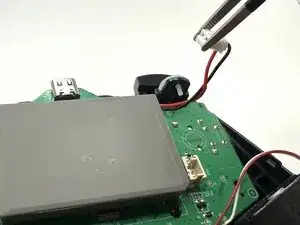
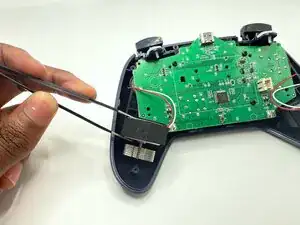
    • Grasp the white battery connector with blunt tweezers, and gently pull it out of its socket.

  5. 3CcsXHbBNPhcVxhW
    3CcsXHbBNPhcVxhW
    tUMjgnA1mCuXGCGC
    • Use tweezers to carefully take the battery off the motherboard.

    • It’s ok if the adhesive strip that is stuck to the battery comes/doesn’t come off.

  6. RJQrTTHAdBKJwQiO
    RJQrTTHAdBKJwQiO
    bYEXkIaB5BYTs2Wp
    • Heat the soldering iron and desolder the haptic motor joints from the motherboard.

  7. eysm2wnEyovXm1Hj
    eysm2wnEyovXm1Hj
    FbLccheU2v6vJMwc
    • Use tweezers to remove the haptic motors.

  8. nvogdTKDQJECZjWl
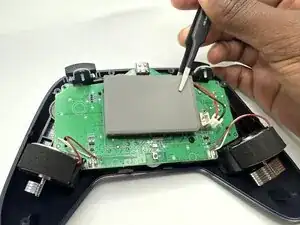
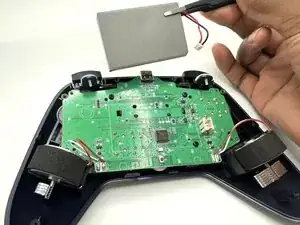
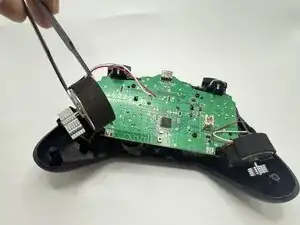
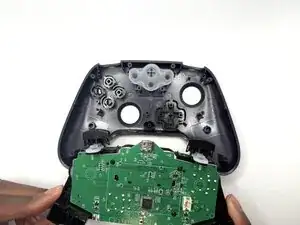
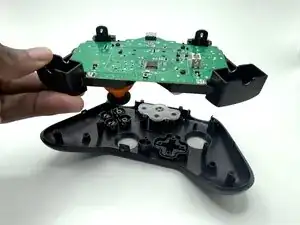
    • Remove the four 6 mm-long screws securing the motherboard to the front case with a Phillips #2 screwdriver.

  9. KTRE4dDUC1kMAKdh
    KTRE4dDUC1kMAKdh
    1JOjQuwPvqqIFEQM
    • Remove the motherboard and any components connected to it from the controller's front case.

  10. CkosOXEco5lloXoI
    • Flip the motherboard to the front side with the joysticks.

  11. nOLOXoiKZnQLIDvt
    nOLOXoiKZnQLIDvt
    DvLtDGleveUtLVTn
    • Remove the rubber contact pad from the motherboard.

Conclusão

To reassemble your device, follow these instructions in reverse order.

John Nelapati

Membro desde: 25/09/25

432 Reputação

0 comentários