Introdução
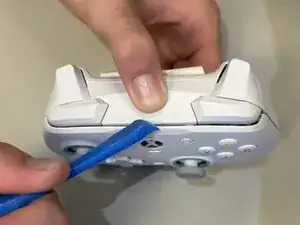
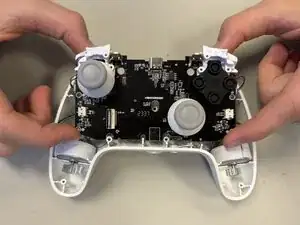
The GameSir G7 SE controller features analog triggers that utilize sensors to detect the depth of each trigger press. These triggers rely on small electronic components to deliver smooth and accurate input during gameplay. These instructions will show you how to remove the triggers.
-
-
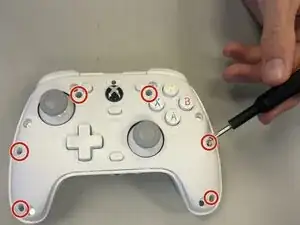
Use a Phillips #00 screwdriver to remove the six 9.2 mm screws around the face of the controller.
-
-
-
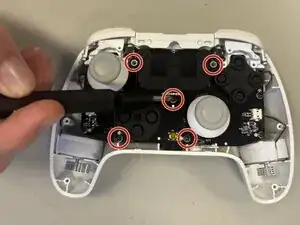
Remove each of the five 4 mm-long screws securing the daughterboard using a Phillips #0 screwdriver.
-
-
-
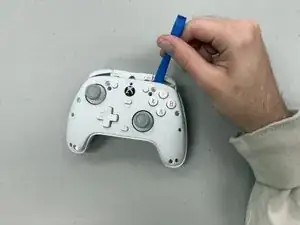
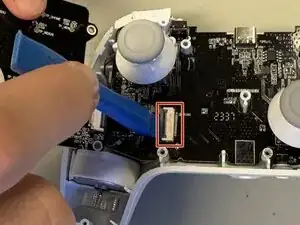
Use an opening tool to flip up the locking flap securing the daughterboard ribbon cable.
-
Disconnect the ribbon cable.
-
-
-
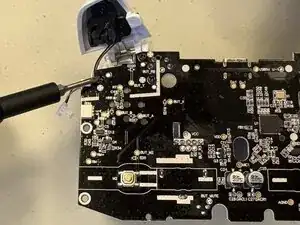
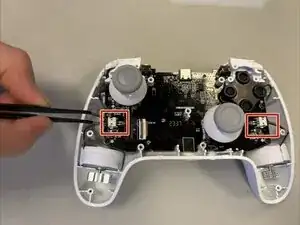
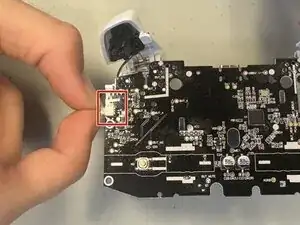
Disconnect both rumble motors from the motherboard on each side of the controller using tweezers.
-
-
-
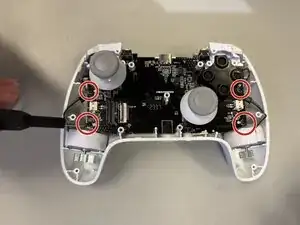
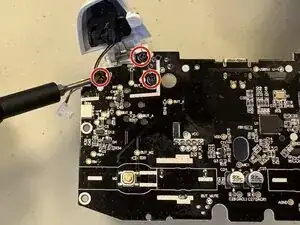
Remove the three 4 mm-long screws connecting the triggers to the motherboard using a Phillips #0 screwdriver.
-
Remove the trigger.
-
To reassemble your device, follow the above steps in reverse order.
Take your e-waste to an R2 or e-Stewards certified recycler.
Repair didn’t go as planned? Try some basic troubleshooting or ask our Answers community for help.