
Introdução
-
-
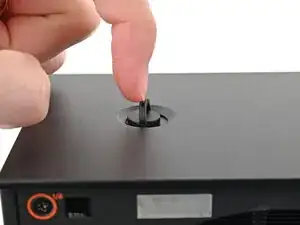
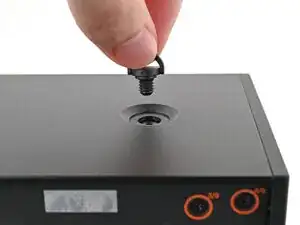
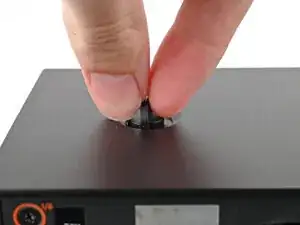
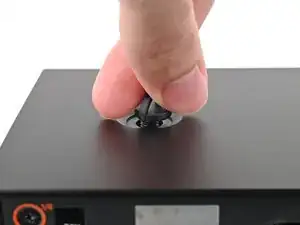
Use your fingers to twist the screw counter-clockwise and loosen it.
-
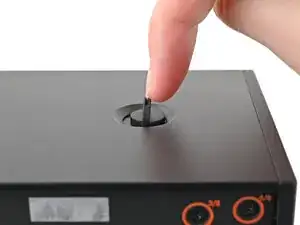
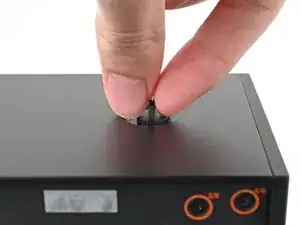
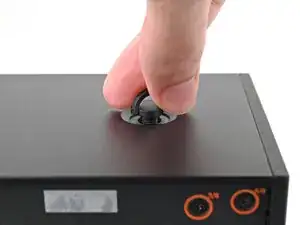
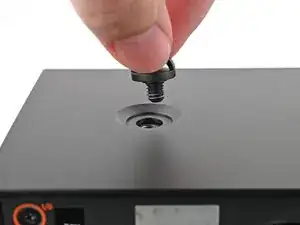
Remove the Top Panel screw.
-
-
-
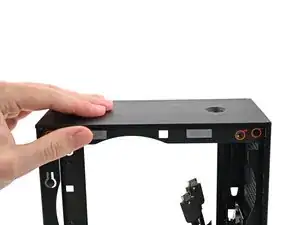
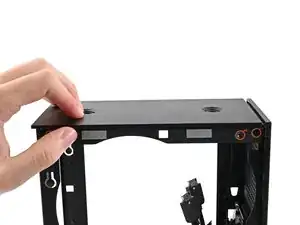
Slide the Top Panel towards the rear of the computer to release the clips securing it to the chassis.
-
Lift the Top Panel off the chassis and remove it.
-
-
-
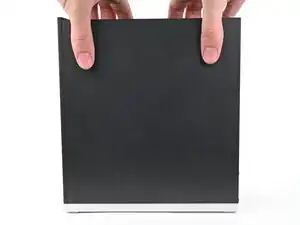
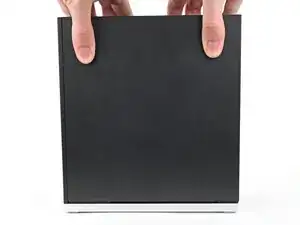
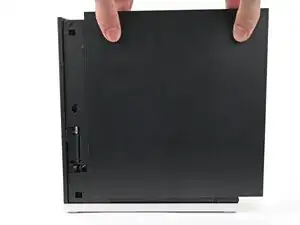
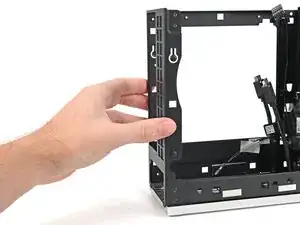
Use your fingers to grip the top of the Right Panel and slide it upward to release its clips.
-
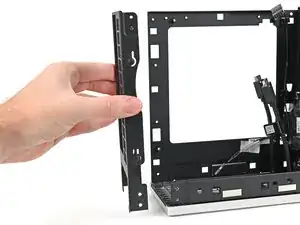
Remove the Right Panel.
-
-
-
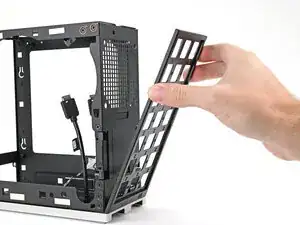
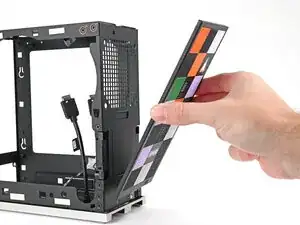
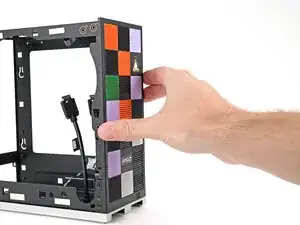
Use your fingers to pull the Front Panel off the magnets securing it to the chassis.
-
Follow this guide to transfer your Tiles to the new Front Panel or to install the old Front Panel.
-
-
-
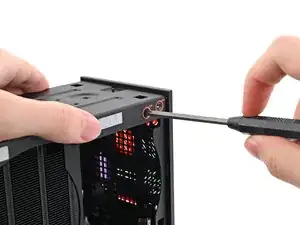
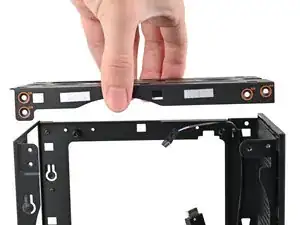
While holding the Desktop steady, use your Framework Desktop Screwdriver to remove the eight 4.0 mm‑long Phillips screws securing the top plate.
-
-
-
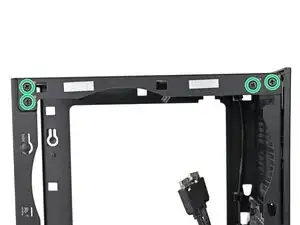
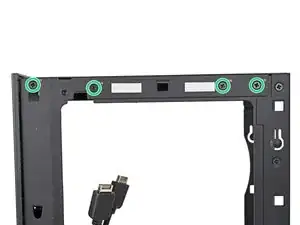
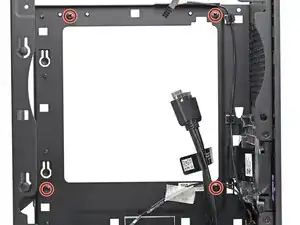
Use your Framework Desktop Screwdriver to remove the four 8.2 mm‑long Phillips screws in the Mainboard screw posts.
-
-
-
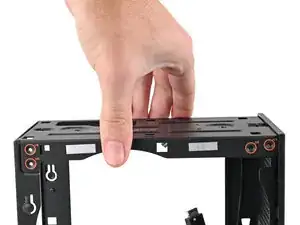
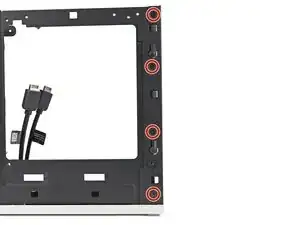
Optionally, you can remove the six 4.0 mm‑long screws securing the rear plate to make removing the power supply easier.
-


To reassemble your device, follow these instructions in reverse order.
