Introdução
In this guide we'll show you how to replace the optical drive in your Dell Latitude E5520. Follow these steps if your current drive is malfunctioning or you're wanting to replace it with a different drive. The replacement process is very simple with easy steps and should only take 8-10 minutes.
Before you begin, power off the laptop completely and backup any important data that you might need.
Ferramentas
-
-
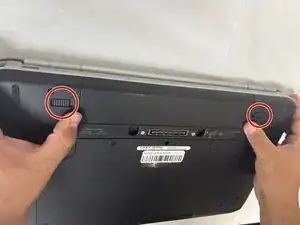
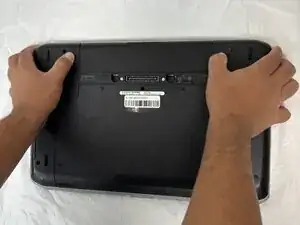
You will find two push clips near the top edge on the bottom side of the laptop.
-
Place fingers on each of these clips at the same time.
-
-
-
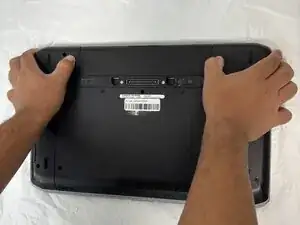
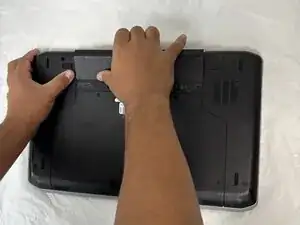
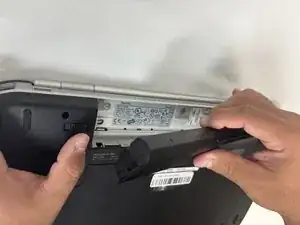
Push the two clips outward with pressure at the same time and pull up on the battery.
-
The battery will be released to safely remove the part.
-
-
-
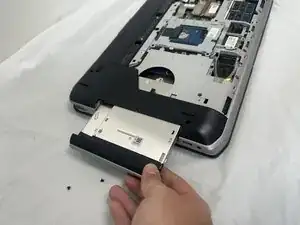
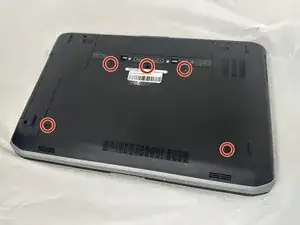
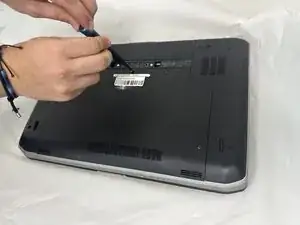
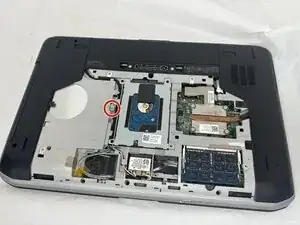
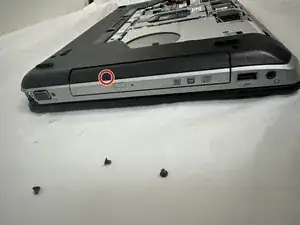
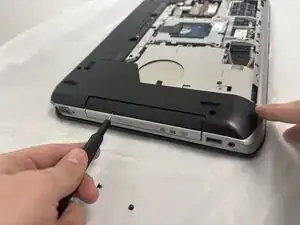
Use a sim key tool to poke the red circled hole which will release the disk drive.
-
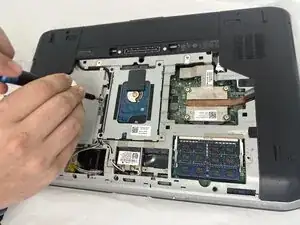
Pull the optical drive out of the laptop.
-


To reassemble your device, follow the above steps in reverse order.
Take your e-waste to an R2 or e-Stewards certified recycler.
Repair didn’t go as planned? Try some basic troubleshooting or ask our Answers community for help.