Introdução

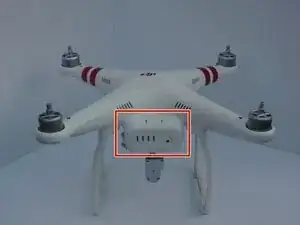
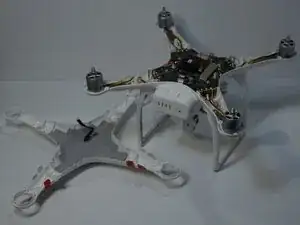
This guide will show you how to remove and replace the DJI Phantom 3 Standard propeller motors. The Phantom 3 Standard uses four brushless motors to spin the propellers and generate lift for flight. Each motor is mounted on the drone’s arms.

You may need to replace a motor if the drone cannot take off, if one propeller spins unevenly, or if you hear grinding or clicking noises during flight. For more details on these issues, see the DJI Phantom 3 Standard Propeller Spins Unevenly troubleshooting page.

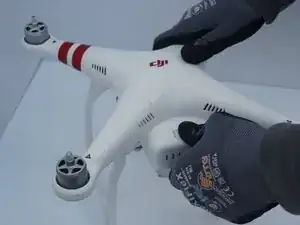
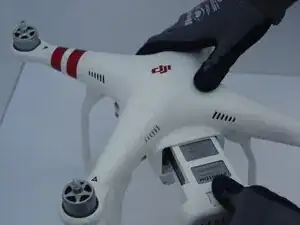
The motors are secured with screws and wiring connections. During removal, be careful not to strip the screws or damage the motor wires. Always disconnect and remove the battery before beginning this guide to prevent electrical hazards. Handle the motors gently, as forcing them out of the housing can damage the drone’s arms or ESC connections.

Replacing the motors restores proper propeller function and ensures stable flight performance.

  1. hSujloFUfS2grmal
    hSujloFUfS2grmal
    F2YBDQDnTr4KfkPv
    QjNTt5OTolwOHvxO
    • Pinch the battery's clamps on the top and bottom.

    • Pull out the battery.

  2. 4VEYLMSe1UW6Fdwd
    4VEYLMSe1UW6Fdwd
    FnRCPaPYcNhrlqDh
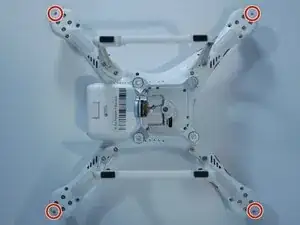
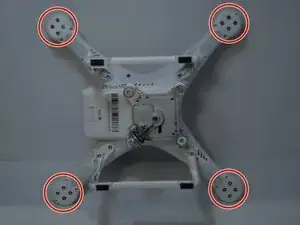
    • Flip the drone upside down.

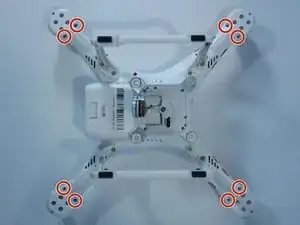
    • Remove the four 7mm screws from the drone's arms using a TR6 Torx screwdriver.

  3. tSoXmWrJQyUX3jJX
    tSoXmWrJQyUX3jJX
    SHikpauAjcgjUJaU
    • Remove the eight 5mm screws from the arms using a T8 Torx screwdriver.

  4. KSjSSvOIQhdDVJNO
    KSjSSvOIQhdDVJNO
    ILuCNeDiw1tR2vWi
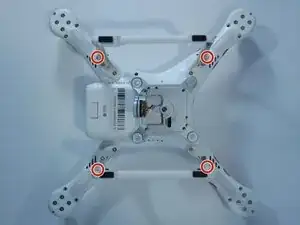
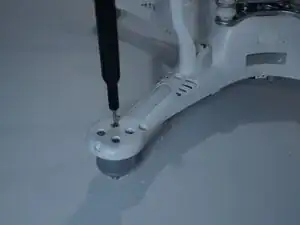
    • Remove the four 10 mm screws near the corners of the landing gear using a T8 Torx screwdriver.

    • This may require a small or bendable screwdriver.

  5. qjY1RB3NStrD5sLX
    qjY1RB3NStrD5sLX
    ELZetwXmVRPy5WlV
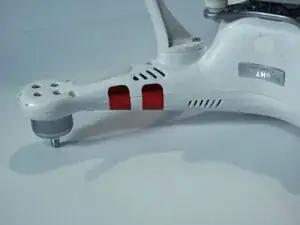
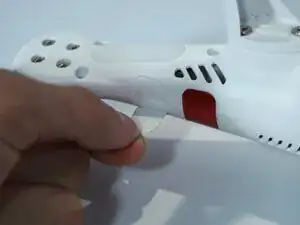
    • Carefully peel off all of the red stickers until the seam for the cover is no longer covered.

  6. lQk5pHpG6LqKnKF2
    lQk5pHpG6LqKnKF2
    6Yts2Ul4gBBSrLRX
    gYK1VxiUSjZY2dlB
    • Remove the plastic shell by going around the entire seam with the plastic opening tool.

    • Hearing the plastic click loudly is a good sign, but you shouldn't hear any cracks or breaks.

    • Don't go too fast, or you may risk cracking the cover.

  7. YfoUbcwkQaohh6CP
    YfoUbcwkQaohh6CP
    kUNKpOroEijSWAVk
    om3mWSFNCCjCIPZE
    • Don’t fully pull off the cover yet as there is a ribbon cable that needs to be freed.

    • Disconnect the ribbon cable.

    • Remove the cover.

  8. ATwXKTQjs6YawNUS
    ATwXKTQjs6YawNUS
    aV1rmkwmgLAZkTHc
    • Flip the drone back over so that the landing gear is facing up.

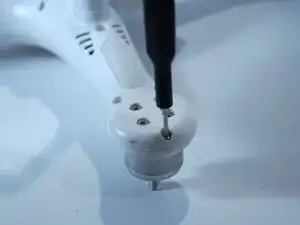
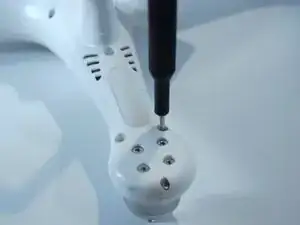
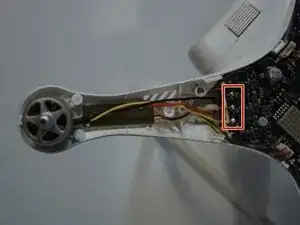
    • Remove the four screws connecting each motor to the casing with a 2 mm Hex screwdriver.

  9. SbcSTs2tpFsKb2fu
    SbcSTs2tpFsKb2fu
    AwIsKQyYSqnhhyCU
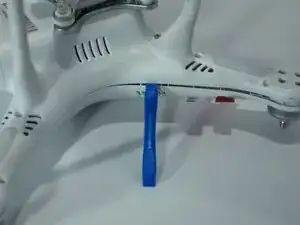
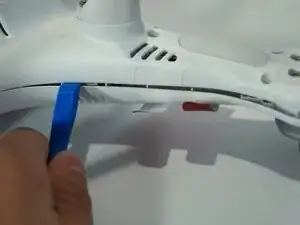
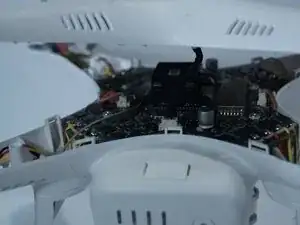
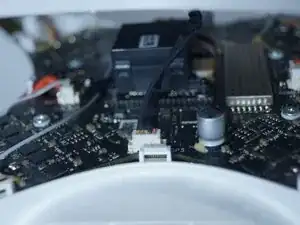
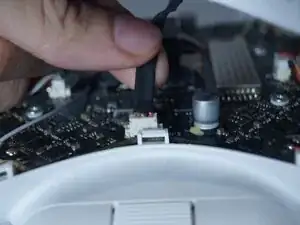
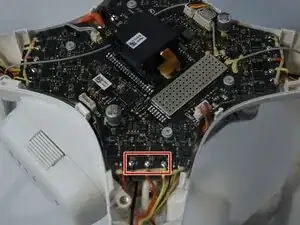
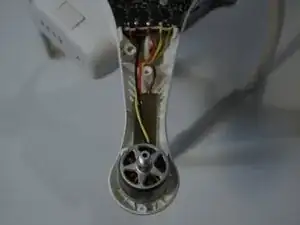
    • Remove the glue around the three wires that connect the motor to the flight controller with a metal spudger.

    • Repeat this step for each arm you plan to remove a motor from.

  10. wd1qHeUMNaCc12V6
    wd1qHeUMNaCc12V6
    GaXNiobZmtJGrjln
    • Desolder the three wires connected to the flight controller from the motor.

    • For soldering tips, check out this guide.

    • Remove the motor and repeat for each motor as needed

Conclusão

To reassemble your device, follow these instructions in reverse order.

Logan Daniel Ramos

Membro desde: 22/10/25

461 Reputação

0 comentários