Introdução
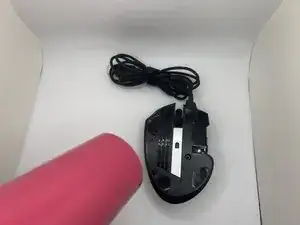
This guide will show you how to replace the scroll wheel for a Corsair Scimitar. The scroll wheel is the small disk in the middle of the mouse that allows you to scroll up and down pages easily when you rotate it. You may need to replace the scroll wheel of your Corsair Scimitar if the scroll wheel resists being rotated, if the scroll wheel does not rotate at all, or if the scroll wheel rotates but doesn't respond to scrolling.
Replacement scroll wheels are sometimes difficult to find online to purchase. If you have a 3D printer available to you, 3D printing the scroll wheel is a viable alternative to purchasing one. For more on 3D printing a Corsair Scimitar scroll wheel, click here.
-
-
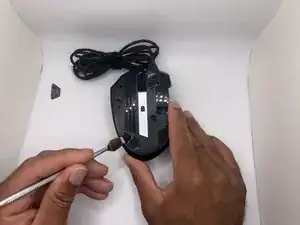
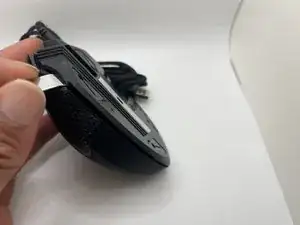
Heat the mouse feet with a heat gun to loosen the adhesive.
-
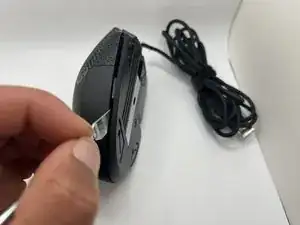
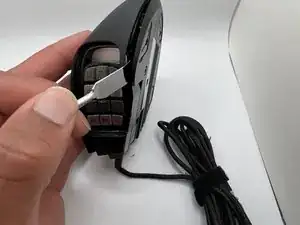
Pry the mouse feet off of the mouse with the metal spudger.
-
-
-
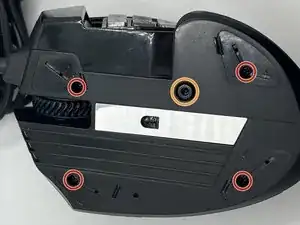
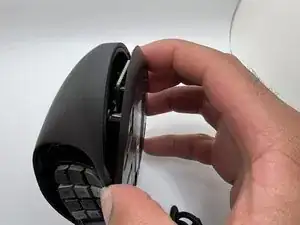
Unscrew the four 8.9 mm bottom screws with a JIS #00 screwdriver.
-
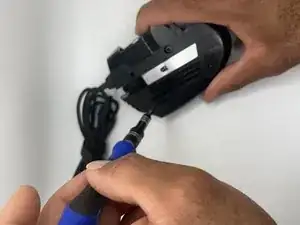
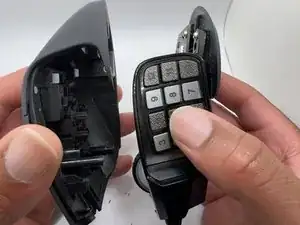
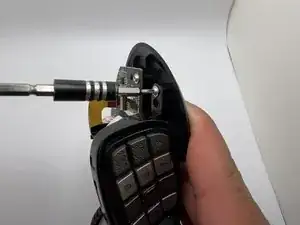
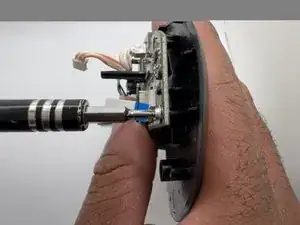
Loosen the keyslider lock with a 2.5 mm hex screw driver.
-
-
-
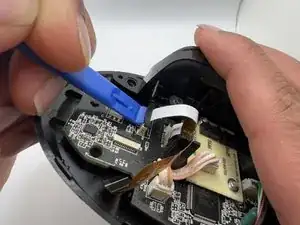
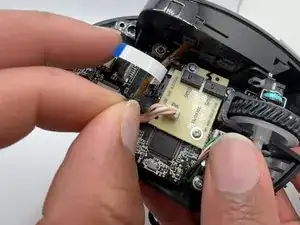
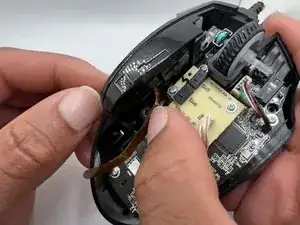
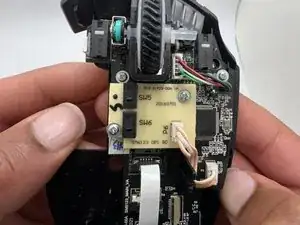
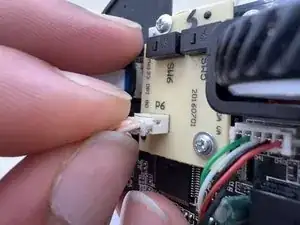
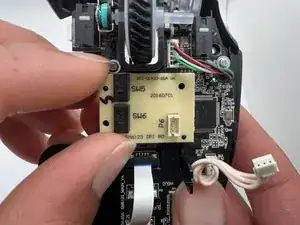
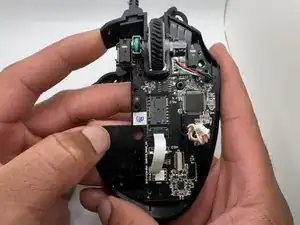
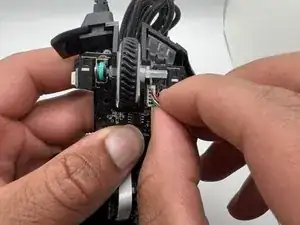
Lift the locking mechanism on the auxiliary switch board ribbon cable connector with a plastic spudger.
-
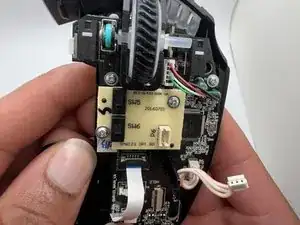
Pull the ribbon cable gently to disconnect from the main board.
-
-
-
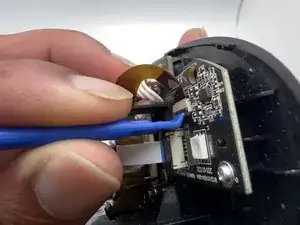
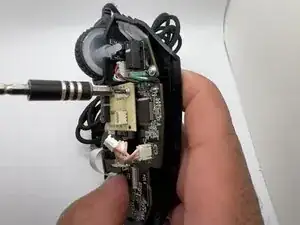
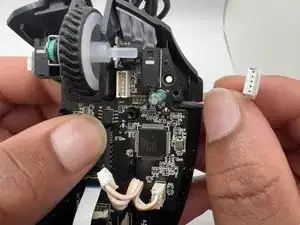
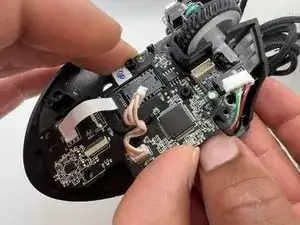
Lift the locking mechanism on the Key Slider assembly ribbon cable connector with a plastic spudger.
-
Pull the Key Slider assembly ribbon cable gently to disconnect it from the main board.
-
-
-
Use a JIS #0 screwdriver to remove the 6 mm screw from the key slider assembly.
-
Remove the key slider assembly from the body of the mouse.
-
-
-
Use a JIS #0 screwdriver to remove the two 6 mm screws from the auxiliary switch board.
-
Remove the auxiliary switch board.
-
-
-
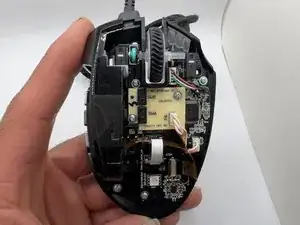
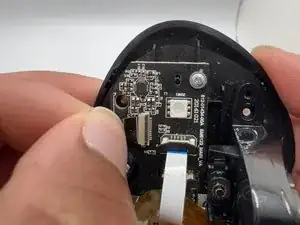
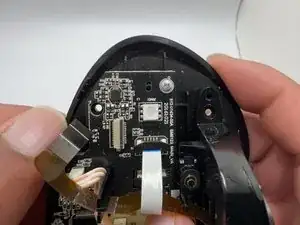
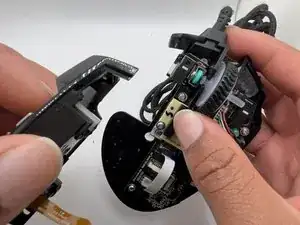
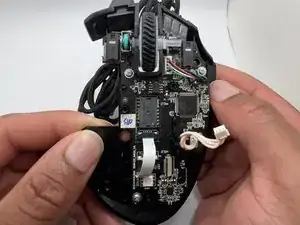
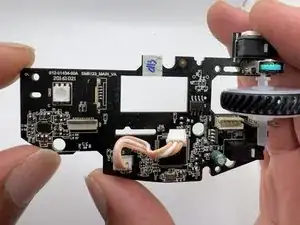
Use a JIS #0 screwdriver to remove the three 6 mm screws from the main board to separate it from the mouse body.
-
-
-
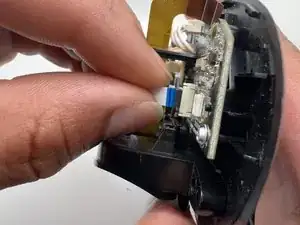
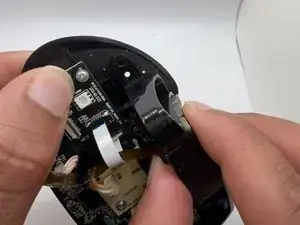
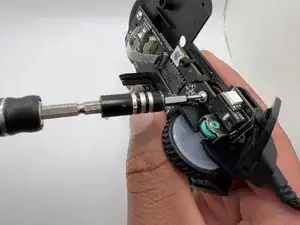
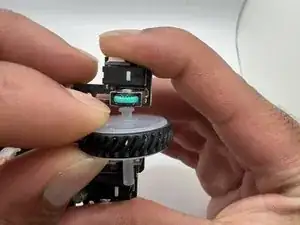
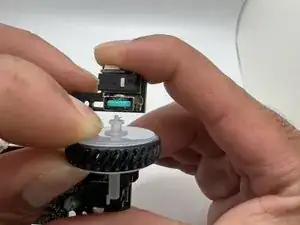
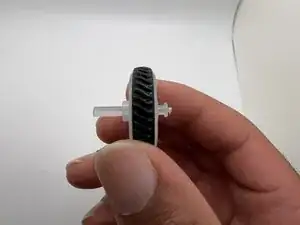
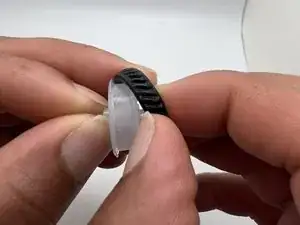
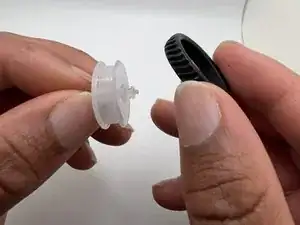
Push the scroll wheel gently away from the rotary encoder switch to remove it.
-
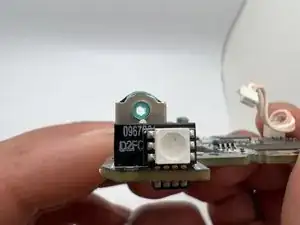
Check the rotary encoder hex hole to make sure it is clear of debris.
-

To reassemble your device, follow these instructions in reverse order.
