Introdução

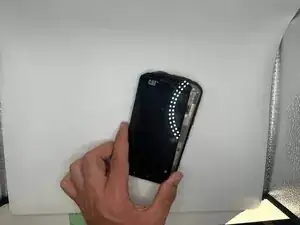
This is a guide to replace the screen of a CAT S48c.

If you're experiencing issues such as:

  • Flickering
  • Discoloration
  • Black spots
  • No display

You may need to replace your screen, this guide is to help you go step through step to easily replace it.

You can find a replacement on Ebay: CAT S48C LCD Screen with Digitizer Full Assembly (Black)

  1. wrxhgTS5dnvWClvw
    wrxhgTS5dnvWClvw
    CY2xyptJqQLIdHpS
    • Remove the ten T5 Torx 4 mm-long screws on the sides of the case.

  2. rdjg2CMDdjWtqMA1
    rdjg2CMDdjWtqMA1
    Ve5seGTJDboskk5l
    • Open the side covers and remove the SIM card with tweezers or a pick.

    • If there is an SD card remove that as well.

  3. FMFaHPeXu5wiVphF
    FMFaHPeXu5wiVphF
    DTsHK4mws4FSLrD2
    tBiqttwENflrmbKt
    • Use an opening pick to pry off the rear cover.

  4. VMpTeQuRl5mDboik
    VMpTeQuRl5mDboik
    VVJRAiP1DSwwLD4Z
    I1OFwFAIsTiZcWdv
    • Remove the five 3 mm-long Phillips #000 screws that secure the lower midframe.

  5. BSljuZEheocw1Joj
    BSljuZEheocw1Joj
    fSkYUEByLmhGqpBl
    • Use the tip of a spudger to pry up and disconnect the battery press connector.

  6. RJFyvJSApyjCHSpl
    RJFyvJSApyjCHSpl
    hMDMmMEmMQIKMjkL
    UpBnvT2YCpabLGxZ
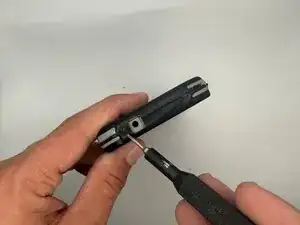
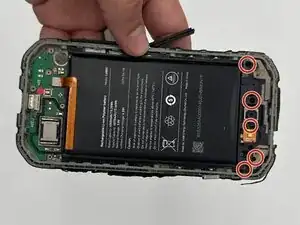
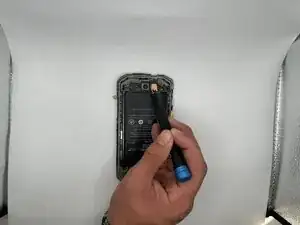
    • Remove the five 3 mm-long Phillips #000 screws from the top section of the midframe.

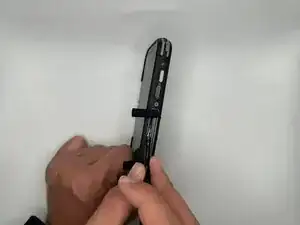
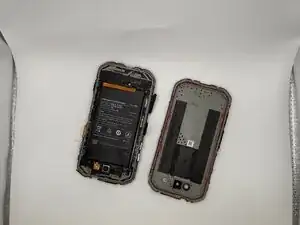
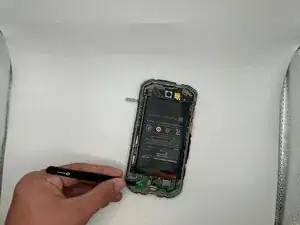
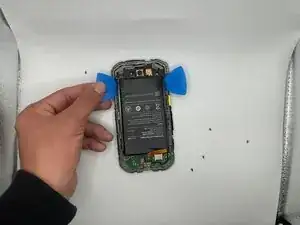
    • Gently pry the section along with the battery off of the case.

  7. 4w2uRjqTAOvXUhby
    4w2uRjqTAOvXUhby
    xZDabJbyEWh3VAUe
    • Gently pry the battery from the case, making sure not to bend the battery.

    • Replace the battery with your replacement, popping it in the frame and insert the flex cable.

    • Keep in mind that if it has lumps or damages it could be dangerous to handle as it can catch on fire.

  8. 3lNU2VexKUs2LZ4m
    3lNU2VexKUs2LZ4m
    aLyATmKJPKlbUBNT
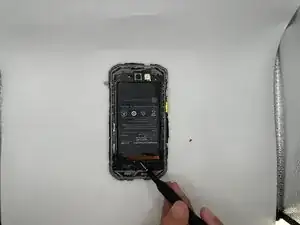
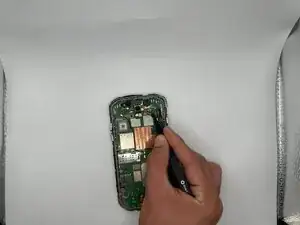
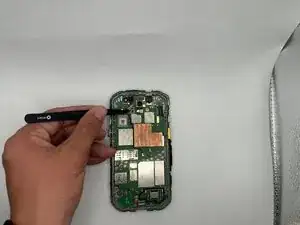
    • Detach the headphone jack press connector at the top of the motherboard with tweezers, an opening pick, or your finger tips.

  9. QYyZvLFFsK4orLfK
    QYyZvLFFsK4orLfK
    OeVXKCOqCJDSbGAk
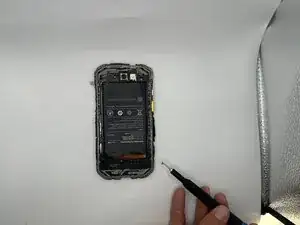
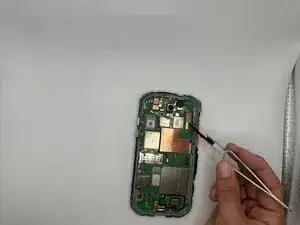
    • Detach the display press connector the top-right of the motherboard with tweezers, a pick, or your fingertips.

  10. AAVPMGSYZpmuM1sj
    AAVPMGSYZpmuM1sj
    JAwrPSxCVUJJSKph
    rWOO1X2qmdPHFAB1
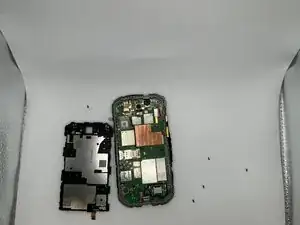
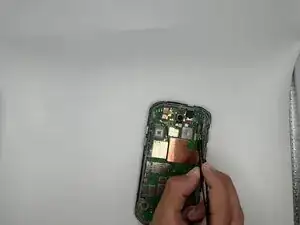
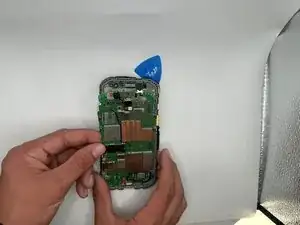
    • The charging port will be somewhat lodged into the frame to keep in tact, move it up and pop it out to remove the motherboard.

  11. B51edFQUvHAAXSMr
    B51edFQUvHAAXSMr
    ge6ZUL5ALGsn45EL
    GAYfvFSAecyuGooE
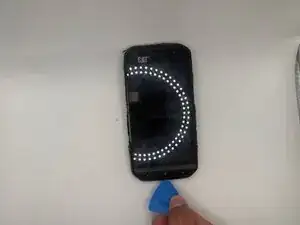
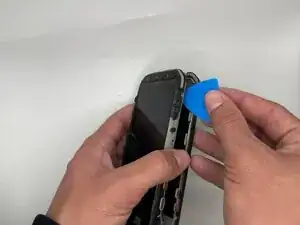
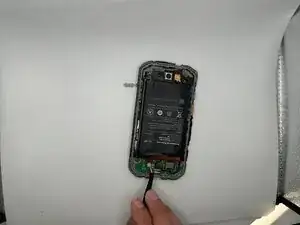
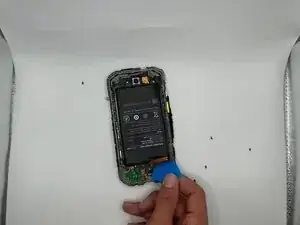
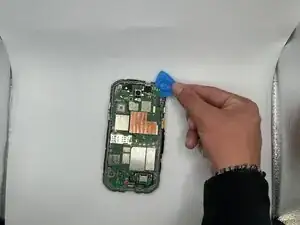
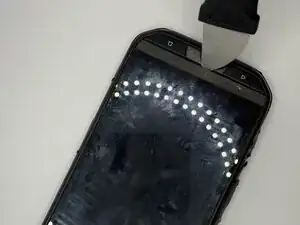
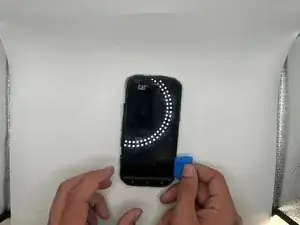
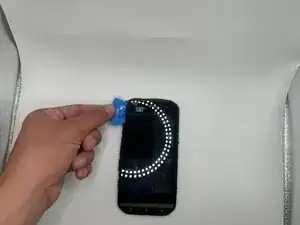
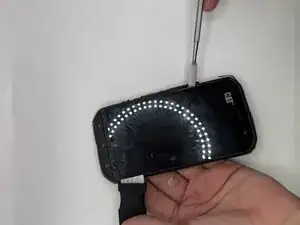
    • Start by going in between the case and the screen and find a narrow opening to pry in to with a pry tool.

  12. BweVdgSxOItkeZo1
    BweVdgSxOItkeZo1
    QIqDX2HxVYylBZka
    • Continue to pry it open evenly to not cause any damage.

  13. CYhnsICAdetScHDN
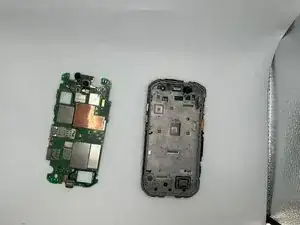
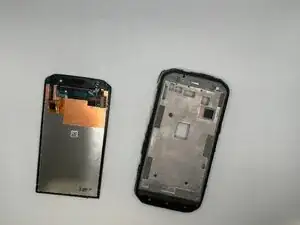
    • Once you feel it all has detached from the frame, take it out.

    • You'd need to go through the battery and motherboard to take out the flex cable connecting to the motherboard

    • Attach the flex cable to the motherboard with your new screen and put it back into the frame.

Conclusão

To reassemble your device, follow the above steps in reverse order.
Take your e-waste to an R2 or e-Stewards certified recycler.
Repair didn’t go as planned? Try some basic troubleshooting or ask our Answers community for help.

Jasmine Kao

Membro desde: 15/09/25

100 Reputação

0 comentários