Introdução
This guide will help you replace the on/off switch for the Alienware Pro Wireless Gaming Mouse (model name PRO-MS and PRO-M-D). The on/off switch is a mechanical control that physically breaks the circuit between the battery and the motherboard. Failure of the on/off switch will result in the mouse being stuck “on” leading to rapid battery drain or the mouse being stuck “off” and not powering on, even with a charged battery.
Before replacing the on/off switch, please refer to the troubleshooting guides. The prerequisite guides will show you exactly how to disassemble the mouse to access the on/off switch. This guide will walk you through step by step how to remove the on/off switch.
Caution: Be careful when handling electronic components and wash your hands after the repair.
Before you begin the repair, power off and disconnect your mouse from any devices or the charger.
-
-
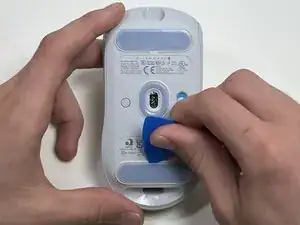
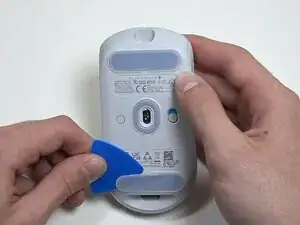
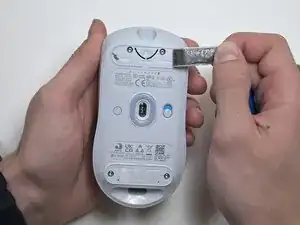
Flip the mouse over so the bottom is facing up..
-
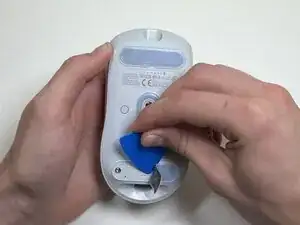
Use an opening pick to gently peel the mouse foot off the bottom case.
-
-
-
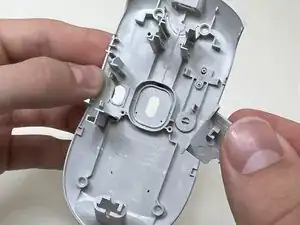
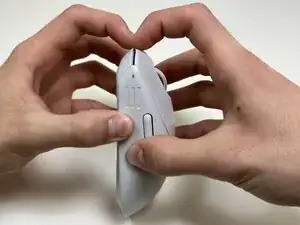
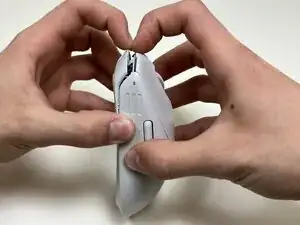
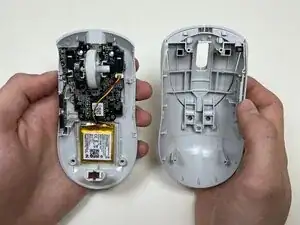
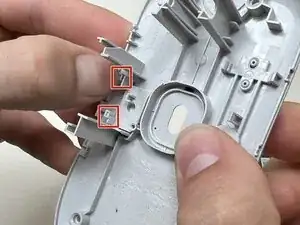
Use your hands or a spudger to separate the bottom and top of the mouse.
-
Insert the end of the spudger in the seam between the top and bottom case, and slide it around the perimeter to release the clips holding it together.
-
-
-
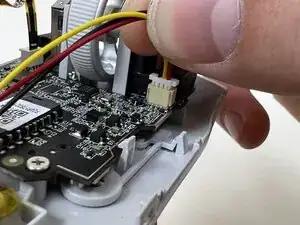
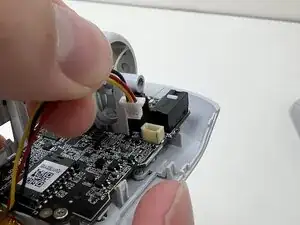
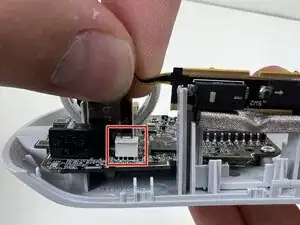
Use the pointed end of a spudger to push on alternating sides of the battery connector to "walk" it out of its socket.
-
-
-
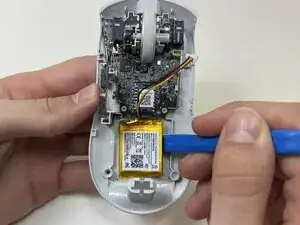
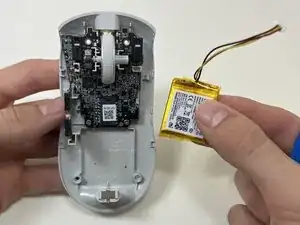
Use an opening tool or spudger to loosen the adhesive under the battery.
-
Remove the battery.
-
-
-
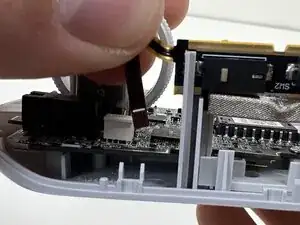
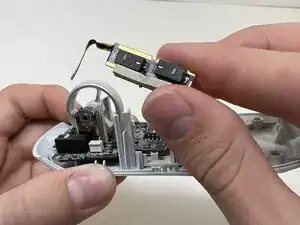
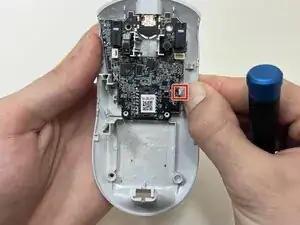
Pinch the upper part of the ribbon cable.
-
Pull the ribbon cable gently to detach it from the socket on the motherboard.
-
-
-
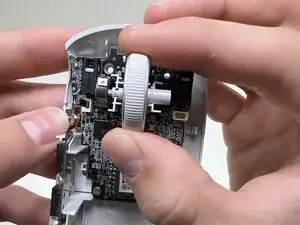
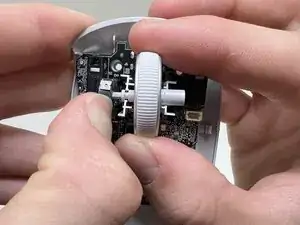
Hold the scroll wheel encoder steady and gently pull the scroll wheel to the right to remove it.
-
-
-
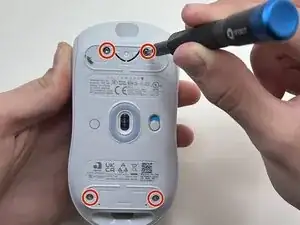
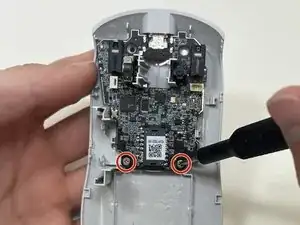
Use a Phillips #00 screwdriver to remove the two 5 mm screws at the bottom of the motherboard.
-
-
-
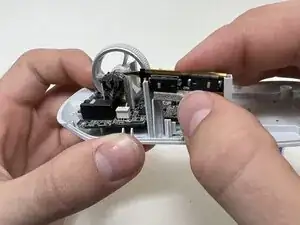
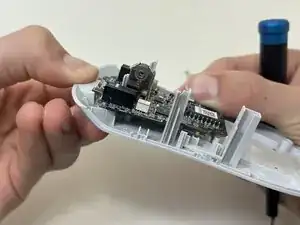
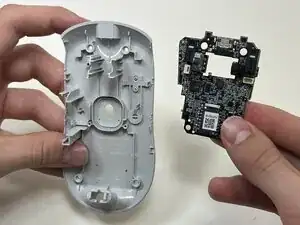
Bend the front nose of the mouse body to release the motherboard.
-
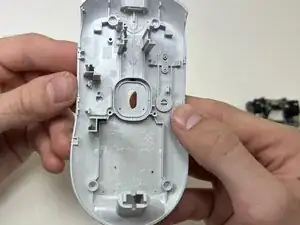
Remove the motherboard from the bottom case.
-


To reassemble your device, follow these instructions in reverse order. Take your e-waste to an R2 or e-Stewards certified recycler.