Introdução
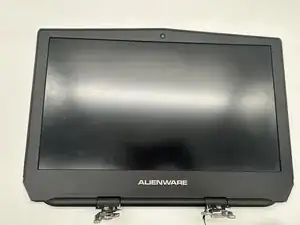
The display on an Alienware 15 R2 is one of the most important parts of the laptop, and it can begin to show problems as the device ages. Issues like dead pixels, flickering, backlight failure, or physical cracks can make the screen difficult or impossible to use. Sometimes the display cable or panel can also wear out from regular opening and closing of the lid. When these problems occur, replacing the display is often the most reliable way to restore clear visuals and normal functionality. A new screen ensures you can continue using the laptop without constant visual interruptions. This introduction covers the main reasons why a display replacement might be necessary.
Ferramentas
-
-
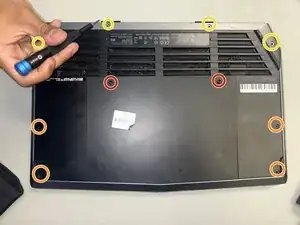
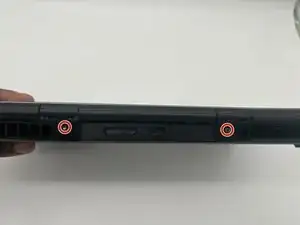
Place the laptop upside down with the hinge facing you. Using the Phillips #0 screwdriver, remove the two 9 mm screws located in the top left and right of the rear panel.
-
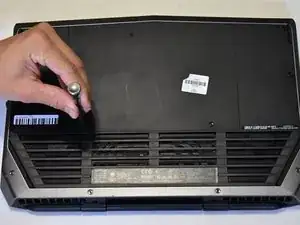
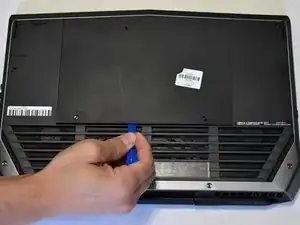
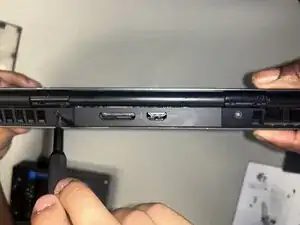
Remove the rear panel by using the iFixit opening tool to separate it from the back of the laptop.
-
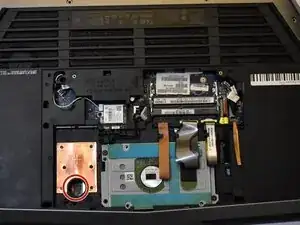
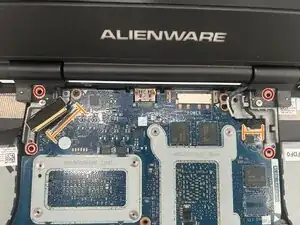
Remove the four 18 mm screws with a Phillips #0 screwdriver.
-
Remove the four 10 mm screws with a Phillips #0 screwdriver.
-
-
-
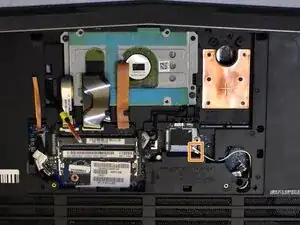
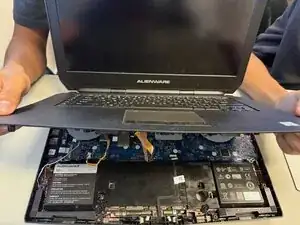
Disconnect the ribbon cables on the bottom of the laptop to gain more room in order to lift the keyboard up and out of the way.
-
-
-
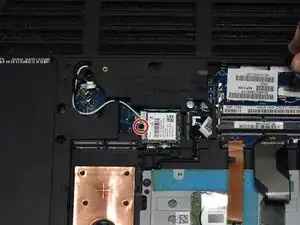
Using a Phillips #0 screwdriver, remove the screws holding the wires to the Wi-Fi card.
-
Disconnect the wires connected to the Wi-Fi card.
-
-
-
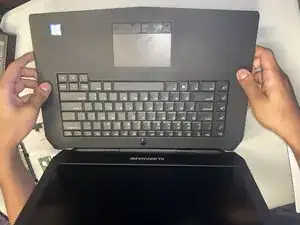
Flip the laptop around to the keyboard side, then gently pry and lift the keyboard removing the keyboard.
-
Press through the hole to help release the keyboard.
-
-
-
Using a Phillips #0 screwdriver, remove the small 3 mm screws holding the screen hinges in place.
-
Gently unlatch and unplug the cables connected to the display.
-


To reassemble your device, follow the above steps in reverse order.
Take your e-waste to an R2 or e-Stewards certified recycler.
Repair didn’t go as planned? Try some basic troubleshooting or ask our Answers community for help.